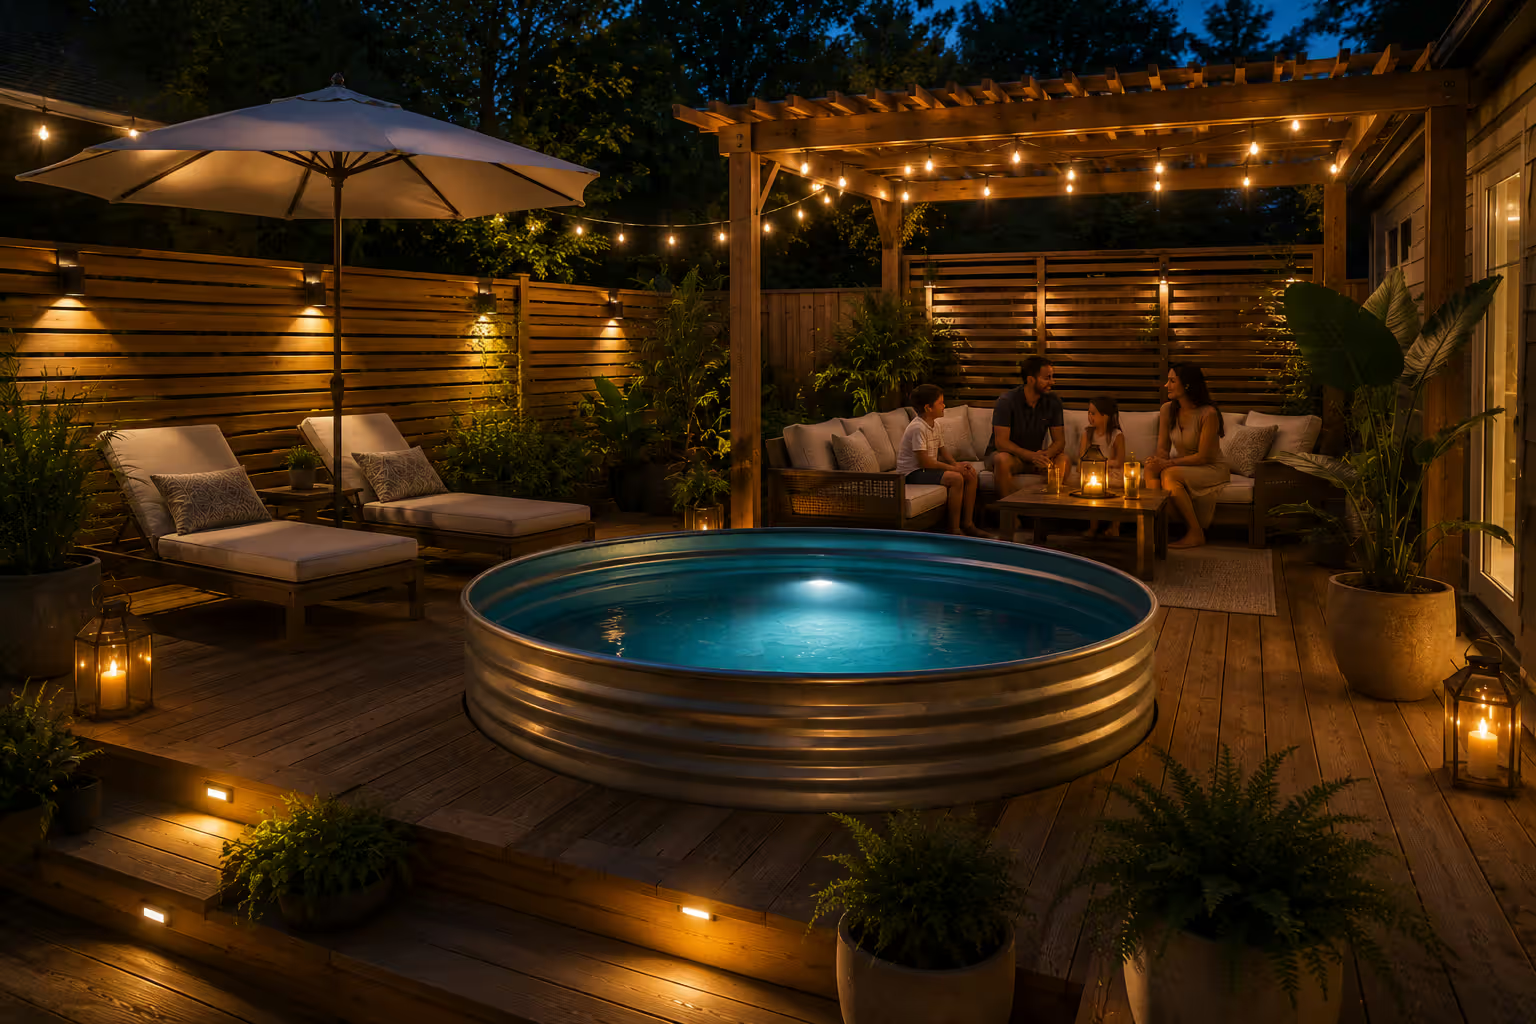
You've probably seen them all over Instagram and Pinterest—those circular galvanized tubs that people are turning into backyard pools. My neighbor installed one last June, and within two weeks, she'd created a mud pit around it. Every time her kids climbed in, they tracked grass clippings and dirt into the water. That's when she called me about building a proper surround.
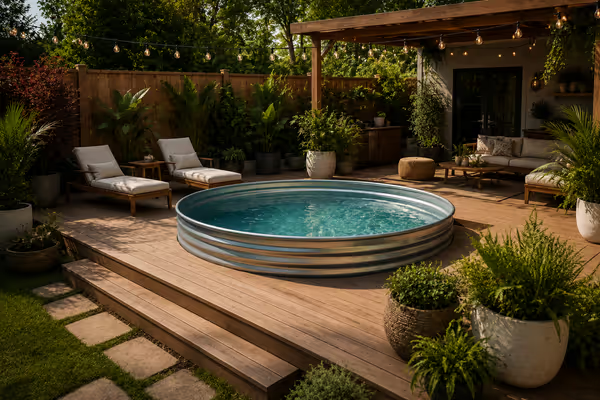
Here's what nobody tells you when you buy a stock tank: the pool itself is the easy part. The real challenge? Making it look like it belongs in your yard instead of a cattle pasture. A well-designed deck or patio transforms that $600 livestock trough into something you'd actually want to show off during backyard barbecues.
I've helped install seven of these setups in my neighborhood alone. The difference between the ones that look amazing and the ones that look like afterthoughts? About two weekends of work and some smart planning.
Why Add Decking Around a Stock Tank Pool
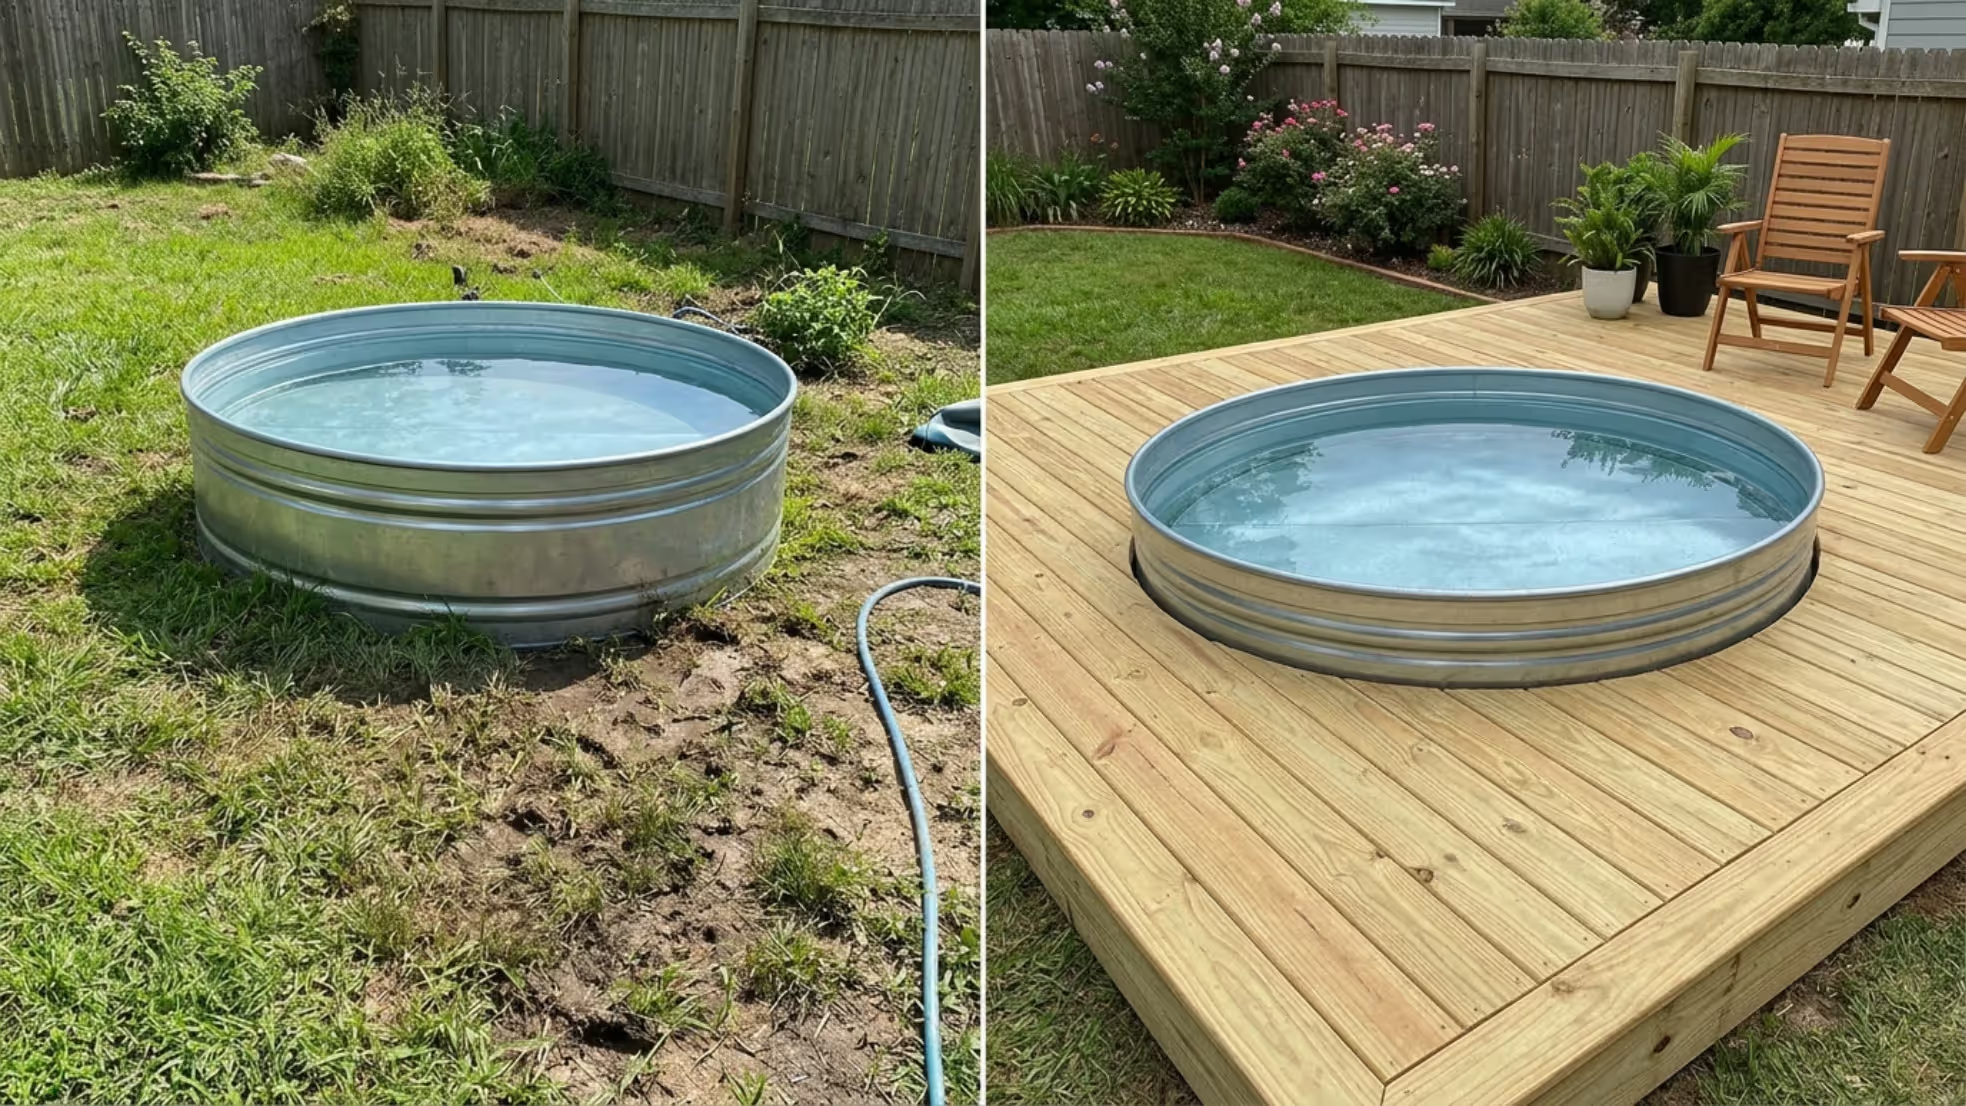
Let's start with the mud situation. Without decking, you'll create a permanent soggy ring around your pool by mid-July. Grass dies from constant splashing and foot traffic. Then rain turns the dirt into a slippery mess that gets tracked everywhere—into the pool, onto your patio, through your back door.
Decking solves this immediately. You get clean, stable ground that actually dries between uses.
But there's more to it than avoiding mud. That bare metal tank sitting on your lawn? It screams "temporary." Add proper surroundings, and suddenly it reads as intentional design. You're telling visitors (and potential home buyers) that you invested thought and effort here.
The functional advantages stack up fast. Where do you set your phone when you're in the pool? Your drink? The sunscreen bottle? Without decking, you're balancing everything on wobbling lawn chairs or the grass. With a proper surround, you've got stable surfaces within arm's reach.
Property value gets a bump too—not huge, but measurable. A realtor friend told me that finished stock tank setups add about 60% of their installation cost to perceived home value. That's better than most outdoor projects. It signals to buyers that you maintain your property thoughtfully.
Most people I know add decking within three weeks of filling their tank. They realize pretty quickly that the pool alone isn't enough.
Author: Sienna Calder;
Source: cribbslandscaping.com
Best Deck Materials for Stock Tank Pools
Your material choice determines three things: what you'll spend now, how much time you'll spend maintaining it, and whether you'll still like it in five years.
Material Type
Cost Per Square Foot
How Long It Lasts
Maintenance Reality
Where It Works Best
Pressure-treated pine
$3–$6
10–15 years
You'll stain it every spring
Budget builds with traditional appeal
Composite decking
$8–$12
25–30 years
Rinse with hose occasionally
If you hate maintenance tasks
Pavers (concrete/stone)
$6–$15
20–30 years
Pull weeds from cracks twice yearly
Permanent installations with refined style
Pea gravel or crushed stone
$1–$3
Indefinitely
Rake it flat once a month
Casual beach vibes, perfect drainage
Treated lumber gives you that classic deck appearance without breaking the bank. It handles moisture well and accepts any stain color you want. The catch? You'll spend a Saturday every spring resealing it, and you'll pull splinters occasionally.
Composite boards cost double upfront but eliminate nearly all maintenance. They don't rot, splinter, or require refinishing. Just one problem—dark colors get hot enough to burn bare feet in direct sun. I learned this the hard way at my sister's house.
Pavers create a permanent, upscale look that handles freeze-thaw cycles better than wood. Installation requires more grunt work (excavating, laying base materials, leveling), but once it's done, you're basically finished forever.
Gravel or stone is the easiest option by far. Drainage is automatic, costs stay minimal, and you can install it in an afternoon. It delivers that relaxed, coastal aesthetic that actually suits stock tanks perfectly. My favorite budget approach.
How to Build a DIY Stock Tank Pool Deck
Planning Your Layout and Measurements
Start by figuring out how much deck you actually need. For the standard 8-foot round tanks, I recommend 2.5 to 3 feet of decking on all sides. That's enough space to walk around comfortably and set down a couple of chairs.
Sketch your design on graph paper first. Mark where the tank goes, where people will enter and exit, and where you'll position furniture or planters. I've seen gorgeous decks that created awkward traffic patterns because nobody planned the entry point.
Check your local building codes right now—not halfway through construction. Call your city's building department and ask specifically about ground-level decks near pools. Many cities exempt small ground-level decks from permits, but pools sometimes trigger different rules. My cousin in Phoenix needed permits; I didn't in my Colorado town. It varies wildly.
Buy 10% more material than your calculations show. You'll waste some on cuts and mistakes. Everyone does.
Ground Preparation and Leveling
This is where most DIY projects succeed or fail.
Strip everything growing in your work area—grass, weeds, roots, all of it. Dig down 4 to 6 inches below where you want your finished surface. You need room for base materials that prevent settling and handle drainage.
Level everything meticulously. Use a long 2x4 and a carpenter's level, checking in multiple directions. Even a 2-inch slope across 10 feet will cause problems—water pools unevenly, materials shift, and your tank might not sit right. Spend three hours getting this perfect.
Add 3 to 4 inches of crushed gravel as your foundation layer. Compact it thoroughly with a tamper (you can rent plate compactors for about $60/day). The surface should feel rock-solid when you walk on it.
Lay landscape fabric over the compacted gravel. This single step prevents years of weed-pulling headaches.
Author: Sienna Calder;
Source: cribbslandscaping.com
Installation Steps by Material Type
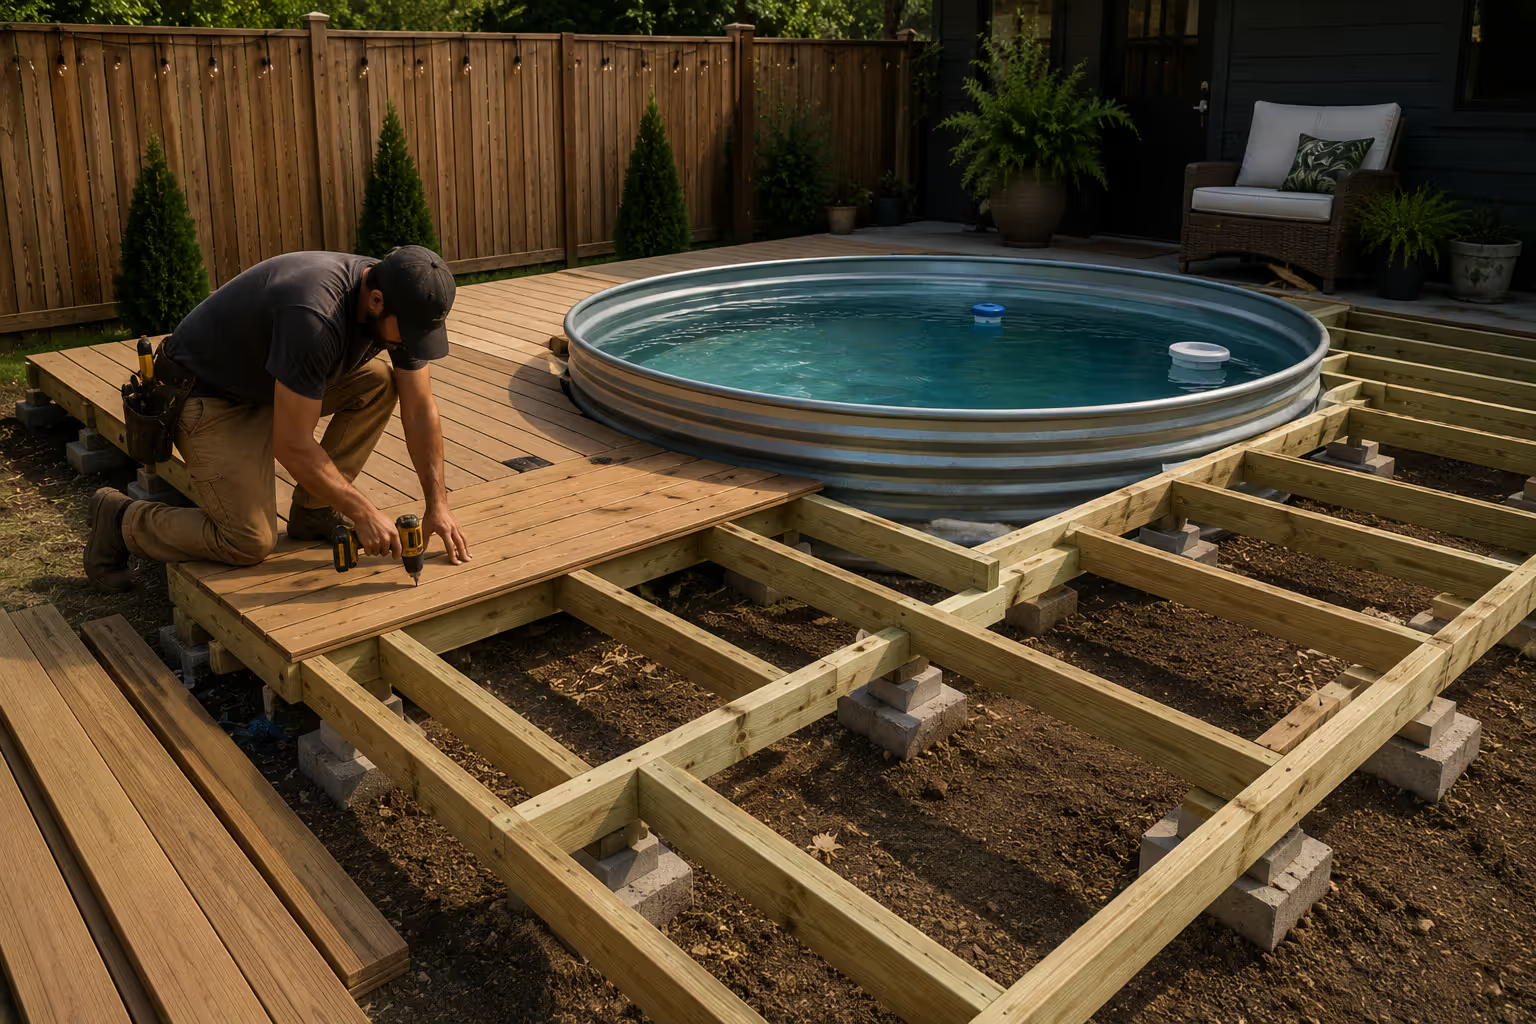
For wood or composite: Build a frame using treated 2x6 joists spaced 16 inches apart. Set this frame on concrete pier blocks—don't let wood sit directly on soil. Screw your deck boards across the joists, leaving 1/8-inch gaps between boards for drainage and expansion. Start from one edge and work across, cutting boards to fit around the tank's curve.
For pavers: After compacting your gravel base, spread 1 inch of sand across the entire area. Level this sand layer carefully using a straight board. Start laying pavers from one corner, working outward in whatever pattern you've chosen. Cut edge pieces with a masonry blade. When all pavers are placed, sweep polymeric sand into the joints, then mist lightly with water to activate the bonding.
For stone: This is beautifully simple. After leveling and adding landscape fabric, dump 3 to 4 inches of pea gravel or similar stone across the area. Rake it smooth. Done. Add borders with landscape timbers or metal edging to keep the stone contained.
The biggest mistake I see with stock tank pool installations is inadequate ground preparation. People want to skip straight to the pretty part, but if your base isn't level and well-drained, you'll fight problems all season. Spend 80% of your time on prep work and 20% on finishing touches—that ratio produces results that last.
— Martinez Elena
Landscaping and Surround Ideas for Cattle Tank Pools
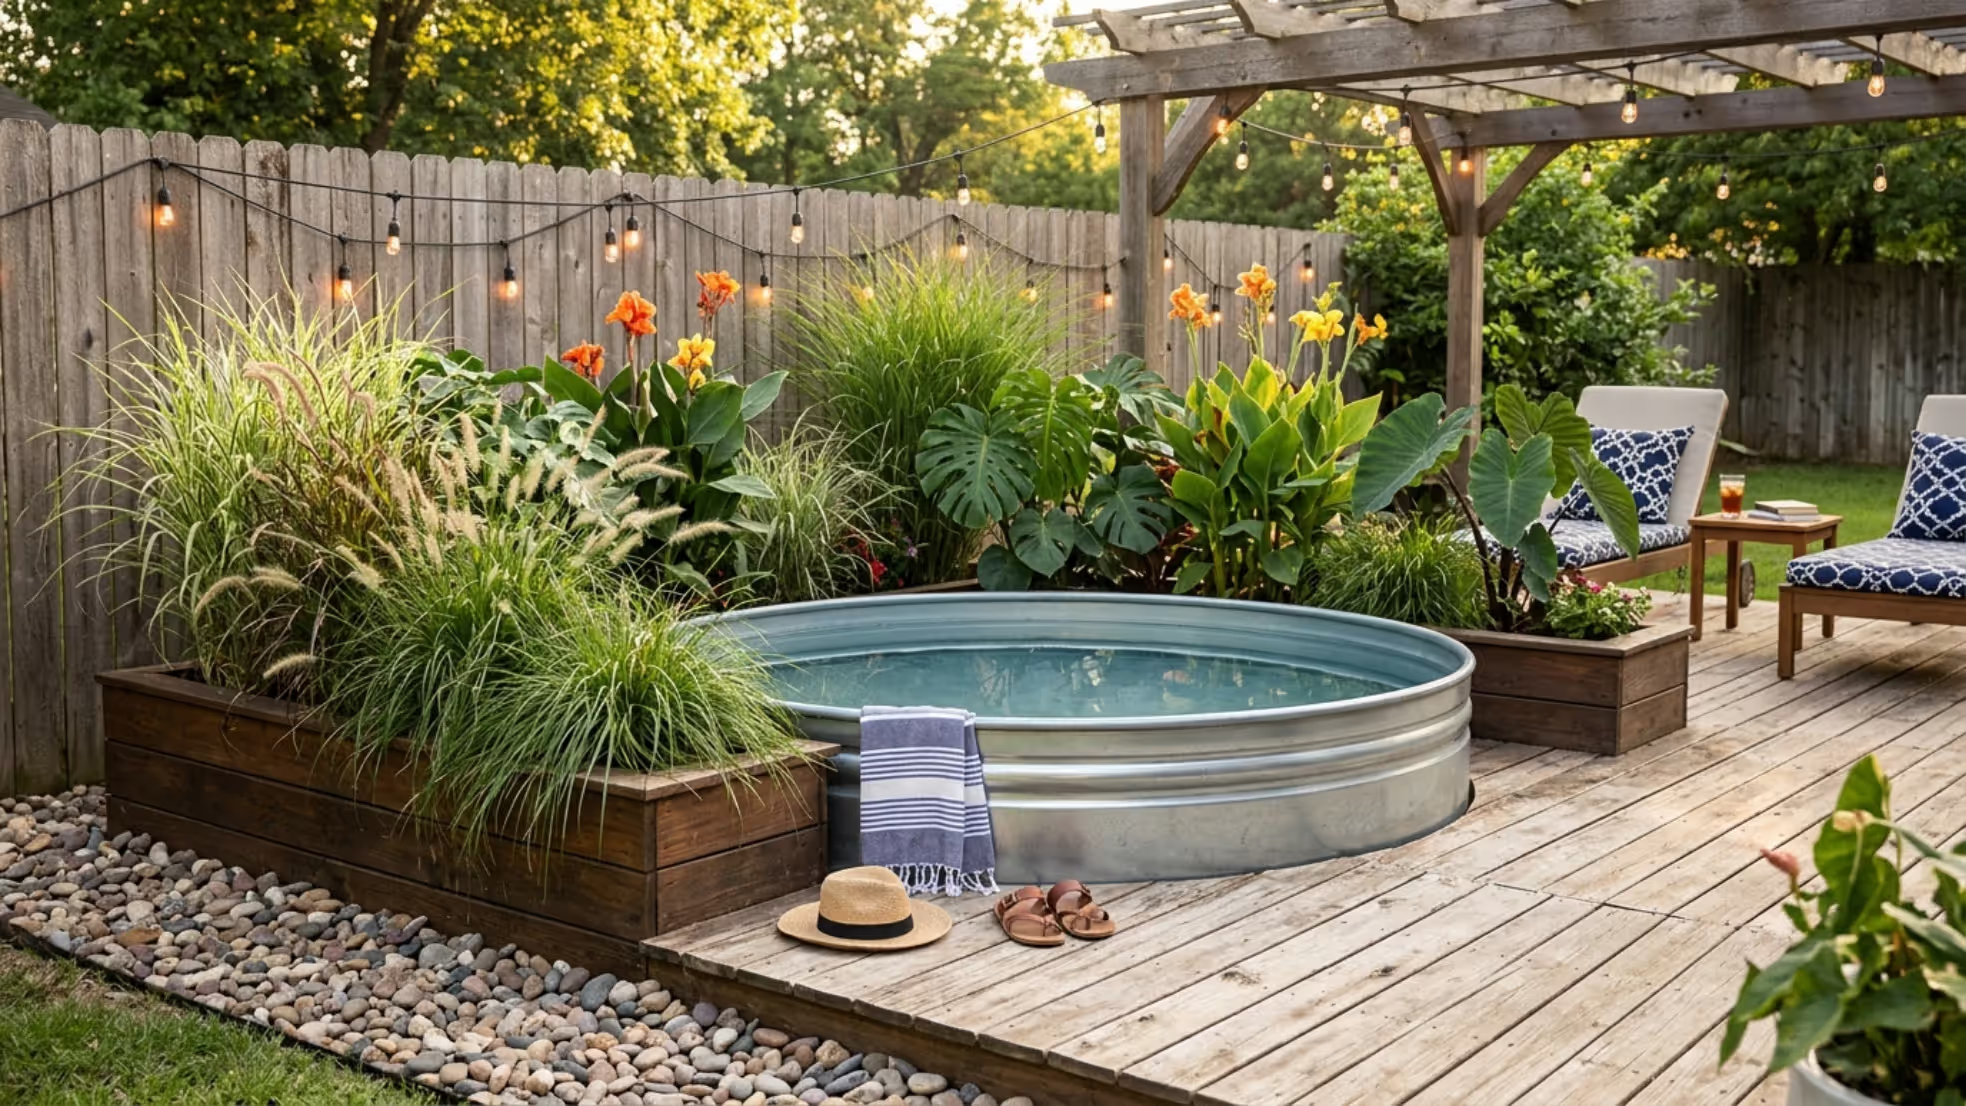
Strategic planting softens that industrial galvanized look and helps your pool blend into the existing landscape.
A stone border works wonders. Create a 12 to 18-inch band of river rock or decorative gravel around the deck edge. This establishes clean separation from your lawn and improves drainage. I've used white marble chips for modern looks and natural river stones for organic styles.
Raised planter boxes positioned near (but not touching) the tank add vertical interest. Fill them with ornamental grasses, flowering perennials, or herbs that tolerate occasional splashing. Lavender, rosemary, and fountain grass all thrive here.
Want a resort vibe? Plant lush foliage in mulched beds around your deck. Elephant ears, canna lilies, and banana plants deliver vacation atmosphere if you're in the right climate. Up north, try hardy hibiscus and tall ornamental grasses that return each spring.
Desert landscaping actually complements stock tanks brilliantly. Surround your setup with succulents, agave, and decorative boulders. Add barrel cacti or columnar varieties where your climate allows. That galvanized metal looks intentional in xeriscaped settings.
Large container gardens offer flexibility. Position substantial pots around the deck for seasonal changes. Choose big containers—small pots look cluttered beside a stock tank's bold presence.
One tip from experience: maintain 6 to 12 inches of clearance between plants and tank. This allows air circulation and prevents roots from interfering with your decking or base.
Author: Sienna Calder;
Source: cribbslandscaping.com
Privacy Screen Options for Stock Tank Pool Areas
Stock tanks sit about 2 feet tall, which means you're highly visible while using them. Privacy features make the space feel more secluded and comfortable.
Standard fencing provides maximum privacy. A 6-foot solid fence panel positioned strategically blocks sightlines from neighbors or the street. You don't need complete enclosure—one or two panels in key spots often do the job.
Lattice panels create lighter, more decorative screening. Attach them to posts or existing structures, then train climbing plants through the openings. Clematis or jasmine work beautifully. This approach works particularly well where HOA rules prohibit solid fencing.
Bamboo fencing delivers instant tropical character. Pre-made bamboo panels install quickly and establish that resort mood. They're affordable and light enough to relocate if needed. Natural weathering turns them an attractive silvery-gray over time.
Pergolas define space without full enclosure. Build or buy a basic pergola over part of your deck, then add fabric curtains, climbing vines, or shade cloth. This creates a room-like atmosphere while preserving airflow.
Living walls using vertical planters or trellises with dense vegetation provide organic screening. They require time to establish but offer the most natural appearance. Fast-growing vines like Virginia creeper or golden hops deliver quick coverage.
Start simple. Add one or two privacy elements rather than building a fortress. You can always add more later.
Complete Patio Setup Ideas for Galvanized Tank Pools
Smart patio arrangements extend your season and create genuine outdoor comfort.
Furniture placement matters more than furniture quality. Position loungers where they'll get afternoon shade. Place small side tables within easy reach for sunscreen and drinks. A compact bistro set nearby creates space for reading or snacking between swims.
Shade is essential in most climates. A large market umbrella with a weighted base offers portable shade. Permanent options include pergola structures, shade sails tensioned between posts, or house-mounted awnings. Even partial shade dramatically improves comfort on 90-degree days.
Lighting extends usability after sunset. String lights overhead create ambiance without harsh glare. Solar pathway lights around deck edges improve safety. A few landscape uplights aimed at plantings or the tank itself add visual drama.
Storage keeps everything organized. Waterproof deck boxes hold toys, towels, and maintenance supplies. Wall-mounted hooks on privacy fencing organize skimmers and brushes. Reducing visible clutter makes any space appear more polished.
Outdoor rugs define seating zones and add comfort underfoot. Choose synthetic materials designed for outdoor exposure—they resist mold and dry quickly. A 5x7 or 8x10 rug beneath furniture groupings unifies the visual design.
Finishing touches enhance the experience: waterproof Bluetooth speakers, beverage carts, coordinated container plantings, and maybe a compact outdoor fan for still evenings.
Author: Sienna Calder;
Source: cribbslandscaping.com
Common Mistakes When Installing Stock Tank Pool Decking
Poor drainage creates the most frequent headaches. Without proper water escape routes, you'll battle standing water, mosquito breeding, and material deterioration. Always grade surfaces slightly away from the tank (roughly 1/4 inch per foot) and ensure base layers drain effectively.
Unlevel foundations cause ongoing frustration. Wobbly decking feels cheap and poses safety risks. This is why foundation work matters so critically. You can't level a deck built on unlevel ground—the problem just multiplies.
Wrong material choices happen when aesthetics alone drive decisions. That stunning dark composite looks incredible in the store but becomes unbearably hot barefoot in full sun. Consider your climate and sun exposure during material selection.
Permit violations generate expensive complications. Some jurisdictions classify any pool-adjacent structure as requiring permits, inspections, and specific safety features like self-latching gates. Research requirements before starting, not after neighbors complain.
Neglecting tank support is surprisingly common. Stock tanks need firm, level foundations—not just level surrounding decking. When tanks rest on soft ground while decks sit on proper bases, differential settling separates them over time.
Overbuilding wastes resources. Small pools don't need massive decks. A modest 10x10 surround often outperforms elaborate 20x20 platforms that overwhelm the space and exhaust budgets.
FAQ: Stock Tank Pool Deck Questions Answered
Do I need a permit to build a deck around a stock tank pool?
Rules vary dramatically by location and deck specifications. Most cities exempt ground-level decks under 200 square feet that aren't attached to your house from permitting requirements. However, some municipalities enforce special rules for pool-related construction regardless of size. Pool installations may trigger requirements for perimeter fencing, self-closing gates, or inspections. Reach out to your city's building office before starting work. Describe your planned dimensions and materials for definitive guidance. This brief conversation can prevent costly corrections later.
What's the typical budget for building a stock tank pool deck?
Plan on spending $500 to $3,000 for typical DIY projects, depending on size and materials. Basic stone surrounds for 8-foot tanks run $200 to $400 in supplies. Simple lumber decking around the same tank costs $800 to $1,500 for self-installation. Composite materials or paver options push expenses to $2,000 to $3,000 for quality results. Professional installation typically doubles material costs. Tanks themselves cost $400 to $900, so total project budgets should accommodate $1,000 to $4,000 for complete installations including surrounds.
What's the best ground preparation for a stock tank pool?
Start with level, compacted foundations that drain effectively. Remove all vegetation and organic material from your work area. Excavate down 4 to 6 inches and backfill with compacted crushed aggregate or decomposed granite. This foundation prevents settling while enabling water drainage. Level surfaces meticulously—even 1-inch variations across 8-foot tanks create issues. Cover with weed barrier fabric, then add your selected deck material. For tanks themselves, many installers add sand layers atop compacted gravel for final leveling and bottom protection.
Can I place a stock tank pool directly on a deck?
Usually not, unless the deck was structurally engineered for the load. Eight-foot stock tanks filled with water weigh approximately 3,500 to 4,000 pounds—far exceeding typical deck capacities. Standard residential decks support 40 to 50 pounds per square foot, adequate for furniture and occupants but insufficient for concentrated pool weight. If you want elevated tank placement, consult structural engineers about potential reinforcement. The safer, more common method places tanks at ground level with surrounding decking built around them.
How do I prevent drainage problems around my stock tank pool?
Establish positive drainage flowing away from the pool zone in every direction. Grade your deck or patio at minimum 1/4 inch per foot away from the tank. Install gravel base layers beneath all surfaces to enable water infiltration. Eliminate depressions where water accumulates. For yards with naturally poor drainage, consider installing French drains or dry wells adjacent to pool areas. Direct roof gutters and downspouts away from the pool zone. Routine maintenance includes removing debris that might obstruct drainage routes.
What size deck do I need for an 8-foot stock tank pool?
Target a 12x12 to 14x14 foot overall footprint for comfortable functionality. This provides 2 to 3 feet of deck surrounding the 8-foot diameter tank. That's sufficient space for comfortable circulation, setting items down, and placing chairs. You can reduce to 10x10 surrounds if space constrains you, but anything smaller feels cramped. For full patio setups with furniture and entertaining capacity, expand to 16x16 or beyond. The essential requirement is maintaining at least 18 to 24 inches clearance on all sides for practical access.
The difference between stock tanks that look temporary and those that feel like permanent backyard features comes down to thoughtful finishing. Your deck or patio surround anchors everything visually and functionally.
Start with solid foundation work—it lacks glamour, but enables everything else. Choose materials matching your budget, maintenance preferences, and design vision. Don't overthink it. Simple stone surrounds with strategic plantings often surpass overly complex designs.
Add privacy screens where beneficial, include comfortable seating, and incorporate evening lighting. These elements transform stock tanks from cooling-off spots into genuine outdoor living areas you'll enjoy throughout the season.
Stock tank pools offer remarkable flexibility. Start simply and enhance gradually. Install the tank and basic surround this season, add landscaping next year, and construct that pergola when finances allow.
Discover practical exterior walkout basement ideas including patio layouts, landscaping solutions, and drainage strategies. Learn how to turn your below-grade outdoor space into a functional, attractive area with expert tips on materials, plantings, and design.
Transform your rooftop into a functional outdoor living space. Learn about structural requirements, weight limits, flooring options, wind-resistant furniture, container gardening, and design layouts for rooftops of all sizes.
Discover how to fit a functional half circle driveway into a compact front yard. This guide covers layout planning, material selection, landscaping strategies, common mistakes to avoid, and realistic cost estimates for creating an attractive semicircular driveway that improves traffic flow and curb appeal.
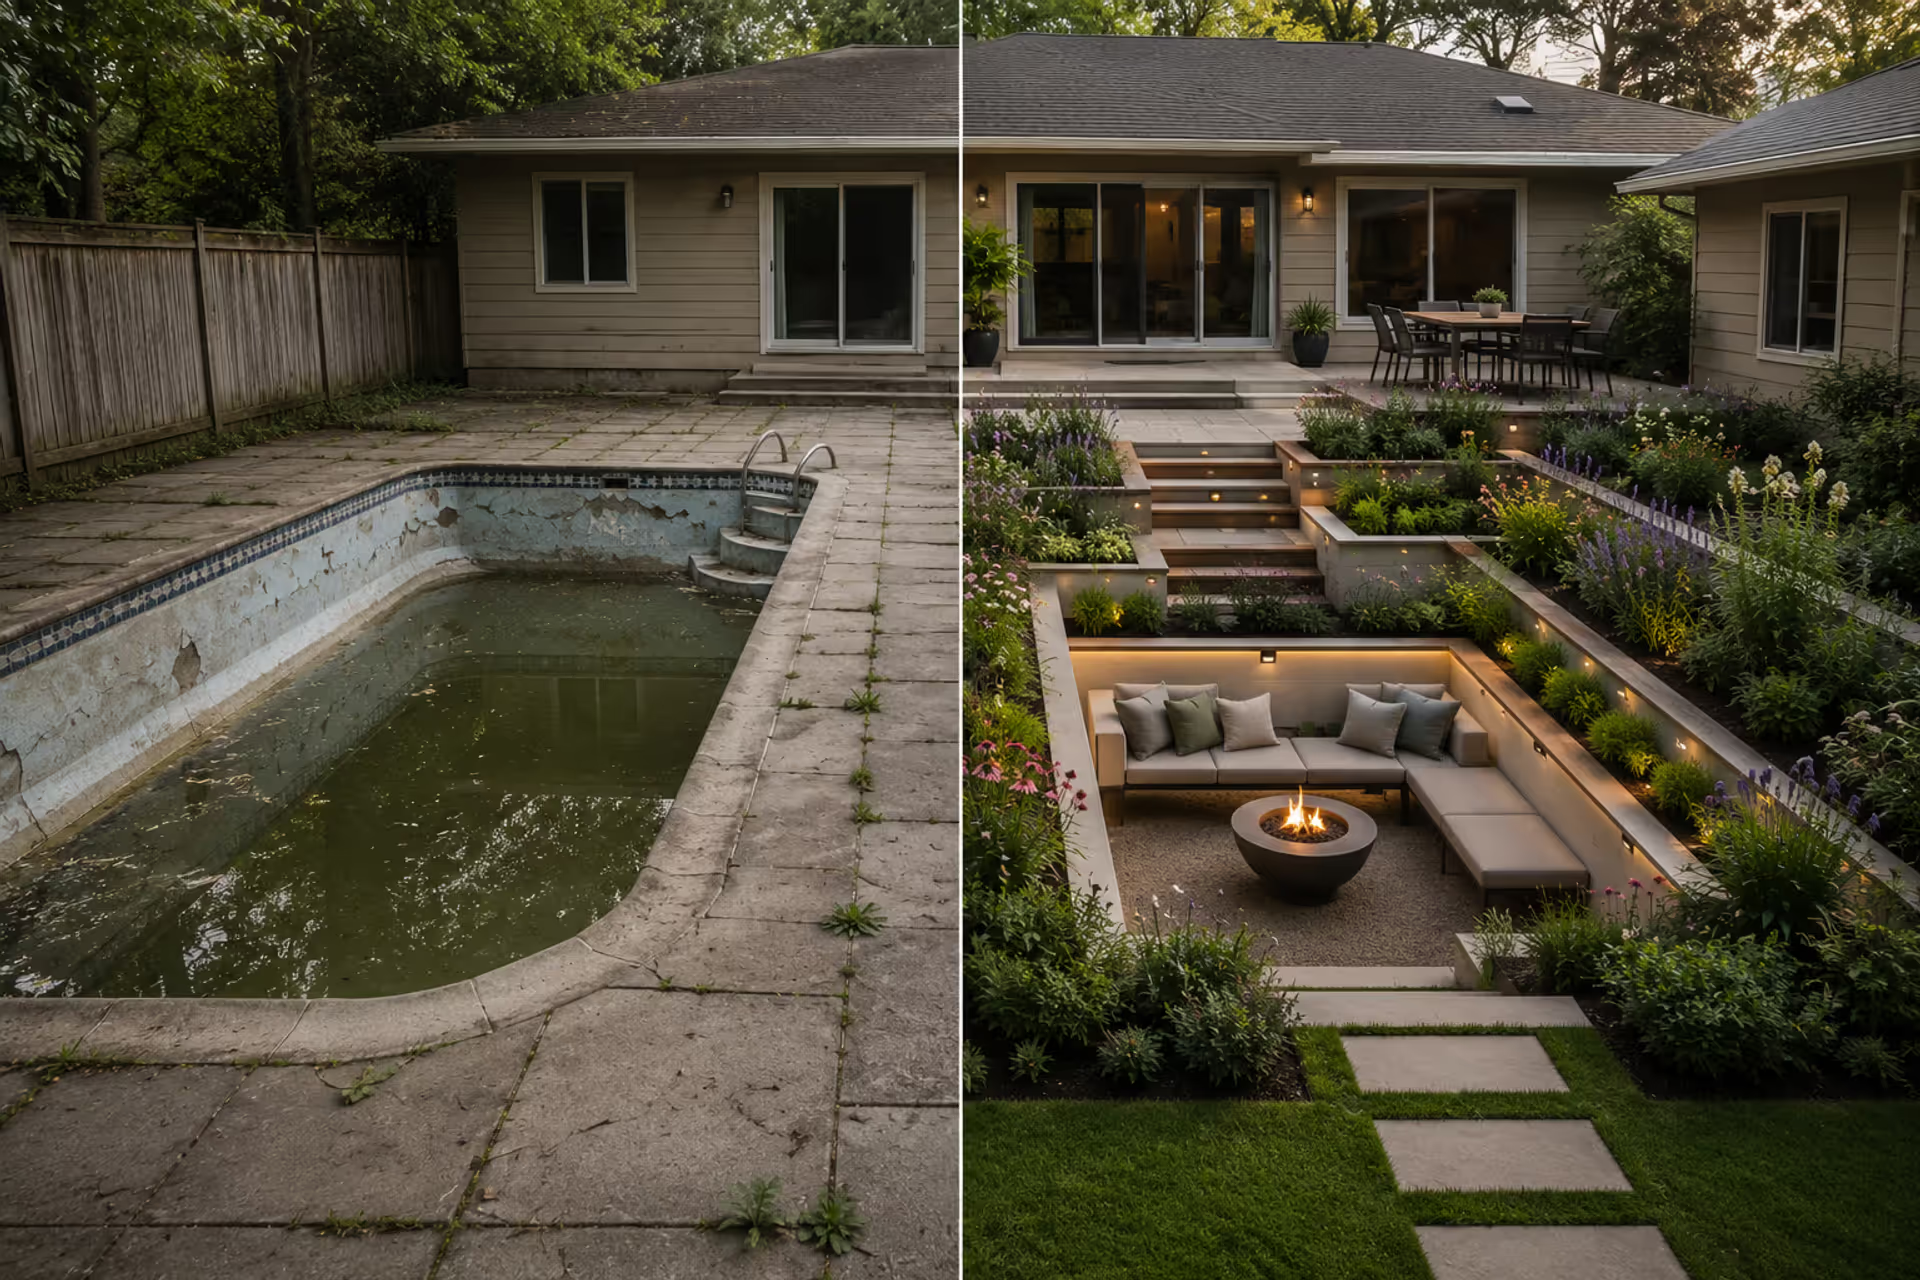
Thousands of US homeowners are converting aging inground pools into functional spaces—gardens, ponds, sunken lounges, and more. Learn the costs, processes, and creative alternatives to expensive pool removal that can transform your backyard.
The content on this website is provided for general informational and educational purposes only. It is intended to explain concepts related to landscape design, outdoor spaces, plants, irrigation, hardscape and softscape, and sustainable landscaping.
All information on this website, including articles, guides, and examples, is presented for general educational purposes. Outcomes may vary depending on local climate, soil, plant selection, and project implementation.
This website does not provide professional design, construction, or horticultural advice, and the information presented should not be used as a substitute for consultation with qualified landscape architects, contractors, or horticulturists.
The website and its authors are not responsible for any errors or omissions, or for any outcomes resulting from decisions made based on the information provided on this website.