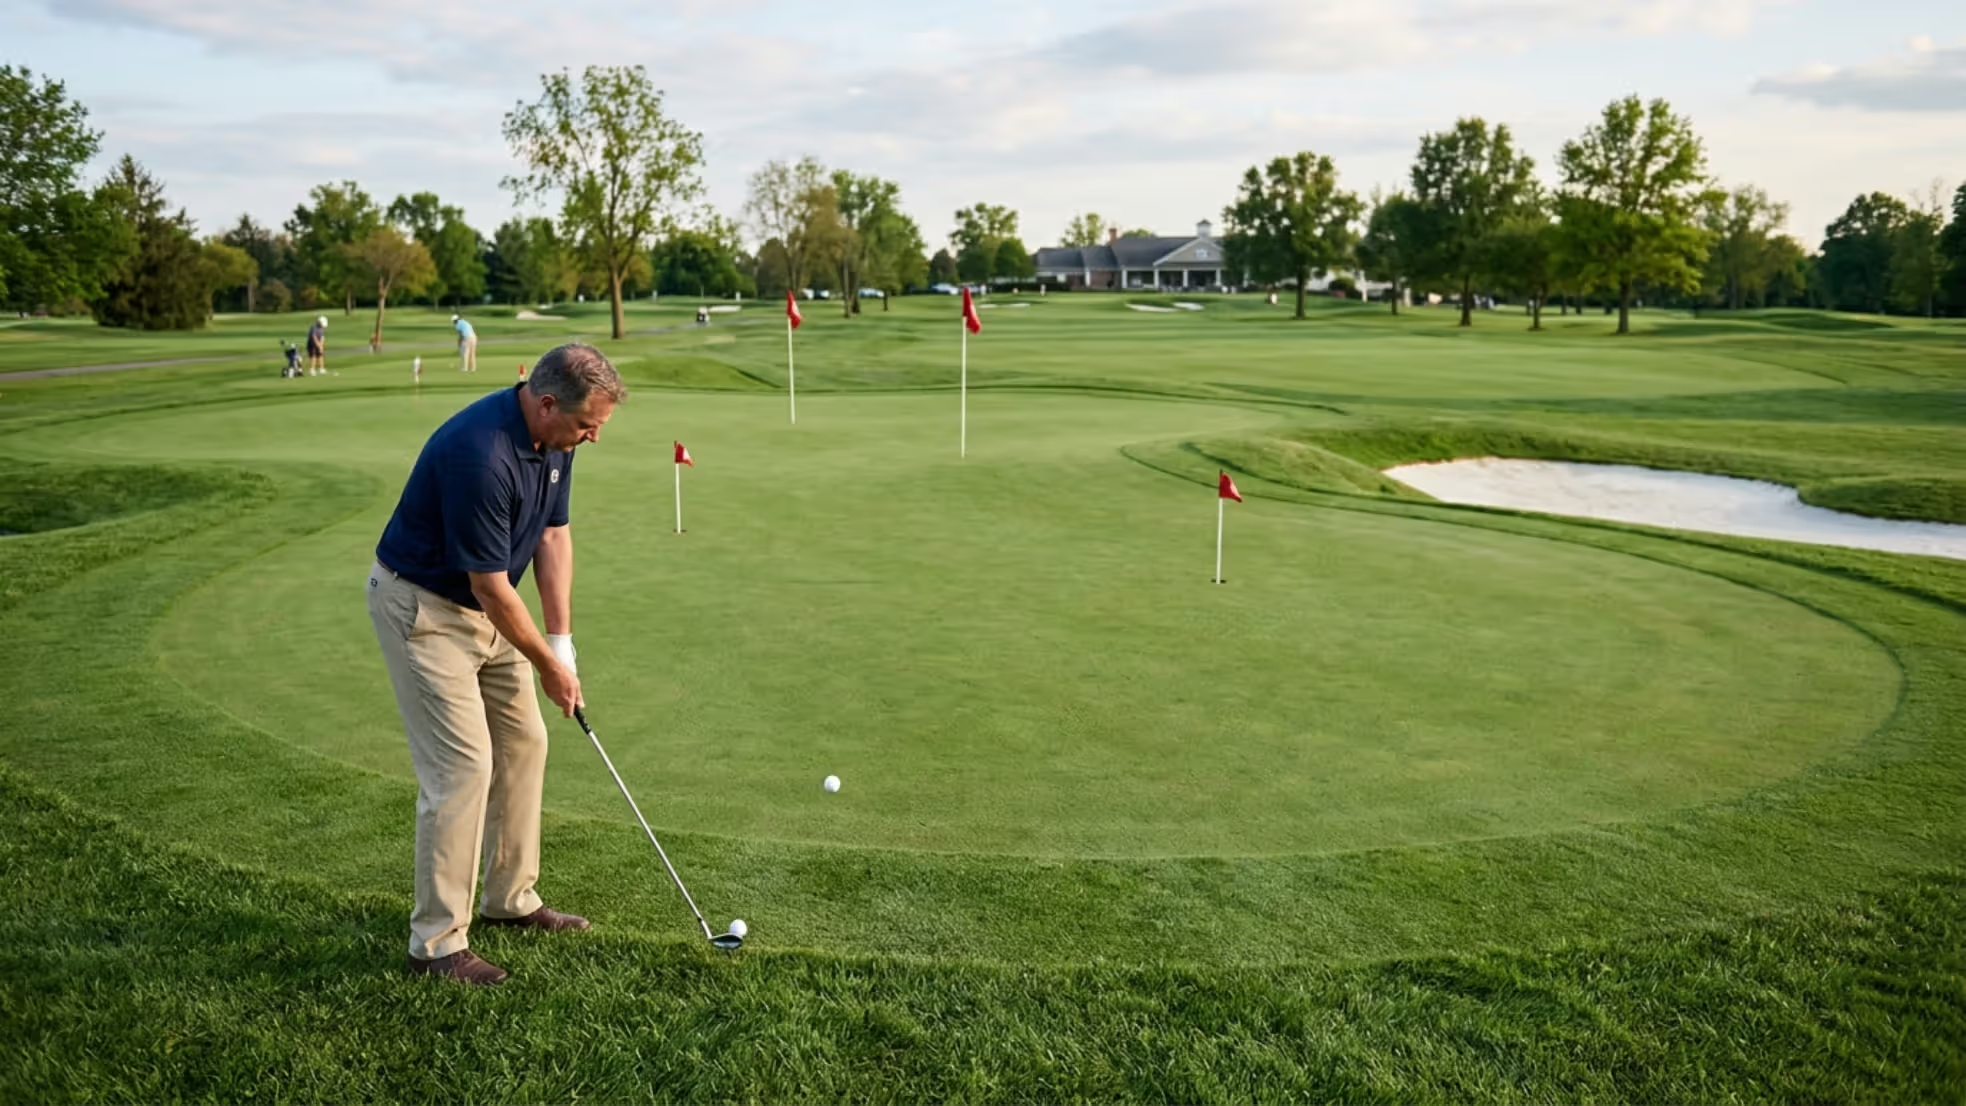
Designing a putting green for your home isn't just about rolling out synthetic turf and calling it a day. You're creating a practice space that needs to function like the real thing while fitting seamlessly into your property's layout and aesthetic. Whether you're carving out a corner of your side yard or wrapping a green around your pool deck, the decisions you make during the planning phase will determine whether you end up with a genuine practice tool or an expensive lawn ornament.
Planning Your Backyard Putting Green Layout
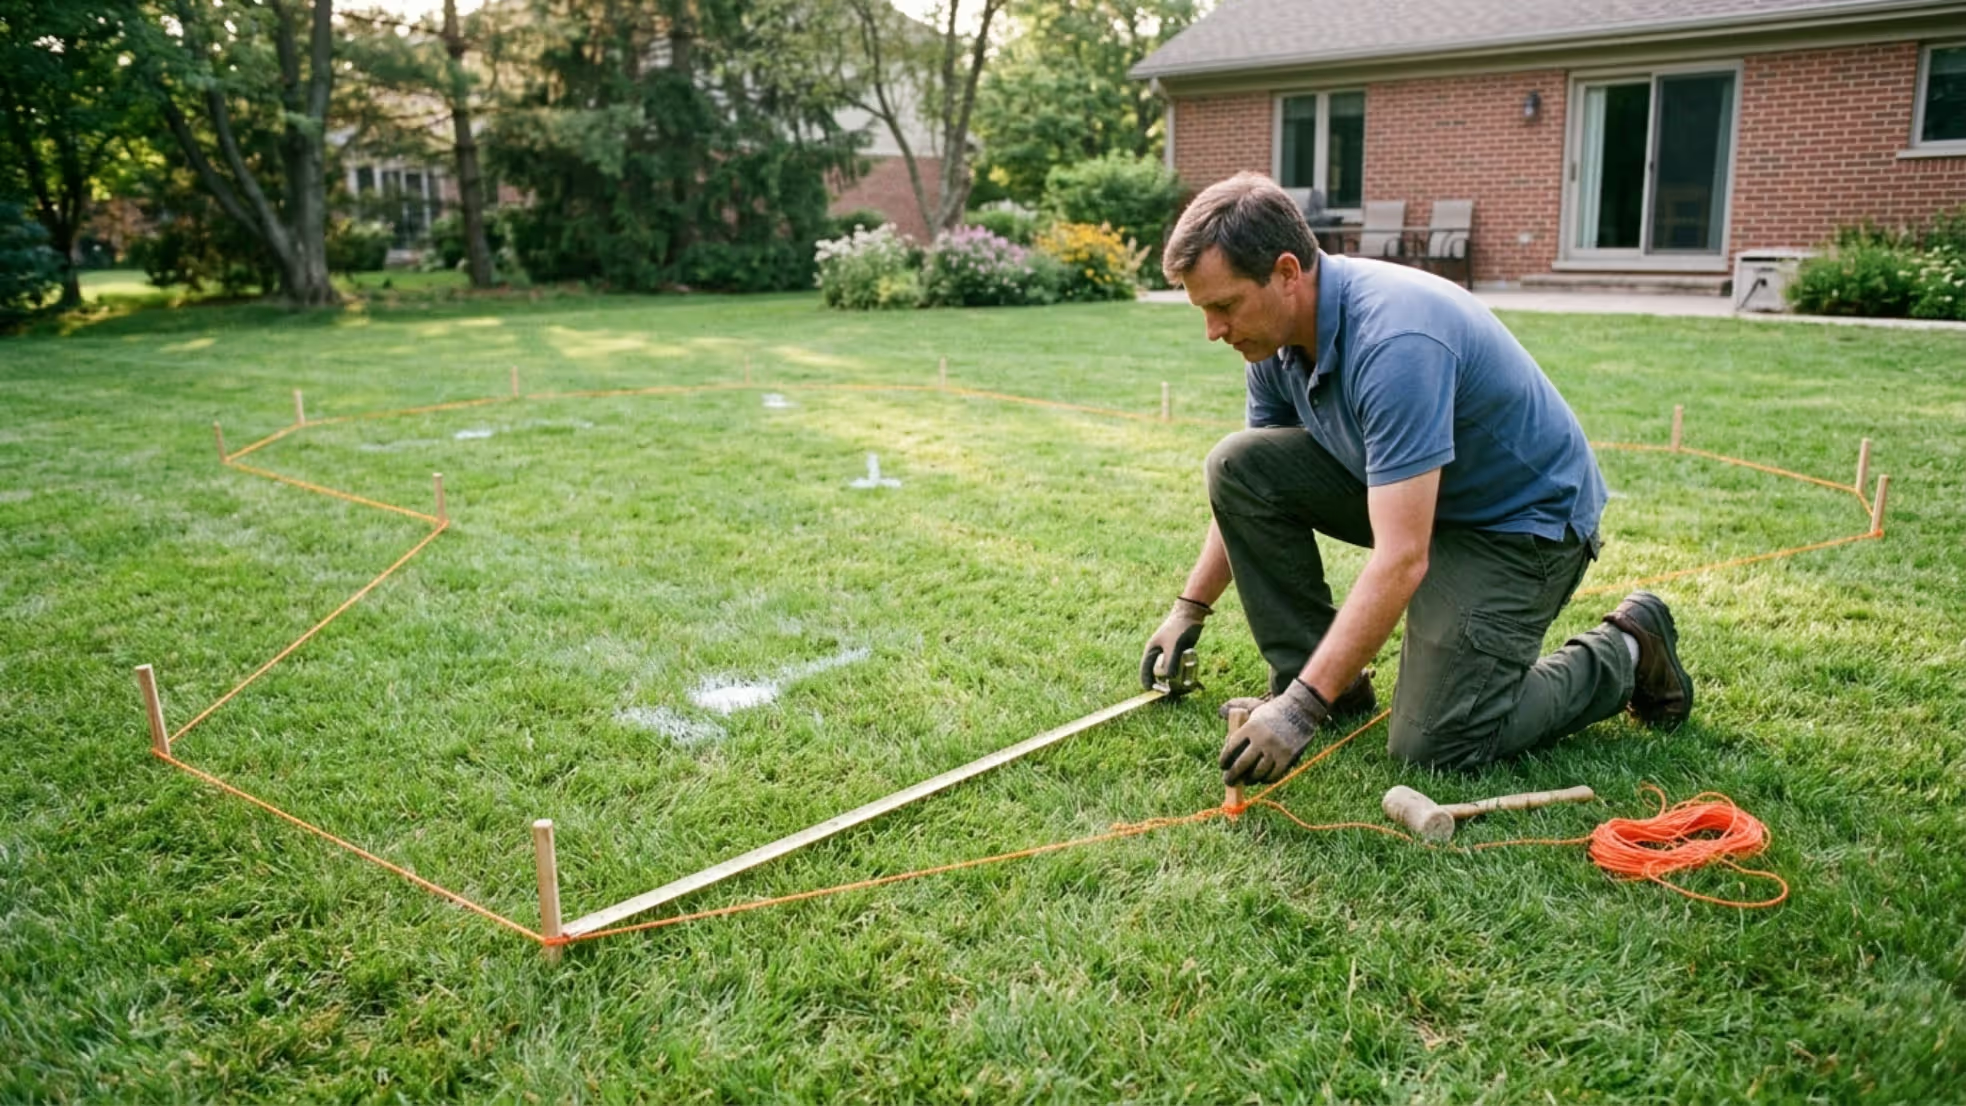
Start with what you have, not what you wish you had. Walk your property with a tape measure and mark potential zones with spray paint or stakes. Most residential putting green layouts range from 300 to 1,200 square feet, but even 200 square feet can work if you design thoughtfully.
Slope matters more than most homeowners realize. A completely flat green plays nothing like a real course. You want subtle undulation—typically 1-3% grade changes—to create interesting putts without making the ball roll on its own. Natural terrain often gives you these contours for free. The pattern I see most often is homeowners fighting their yard's natural slope when they should be working with it.
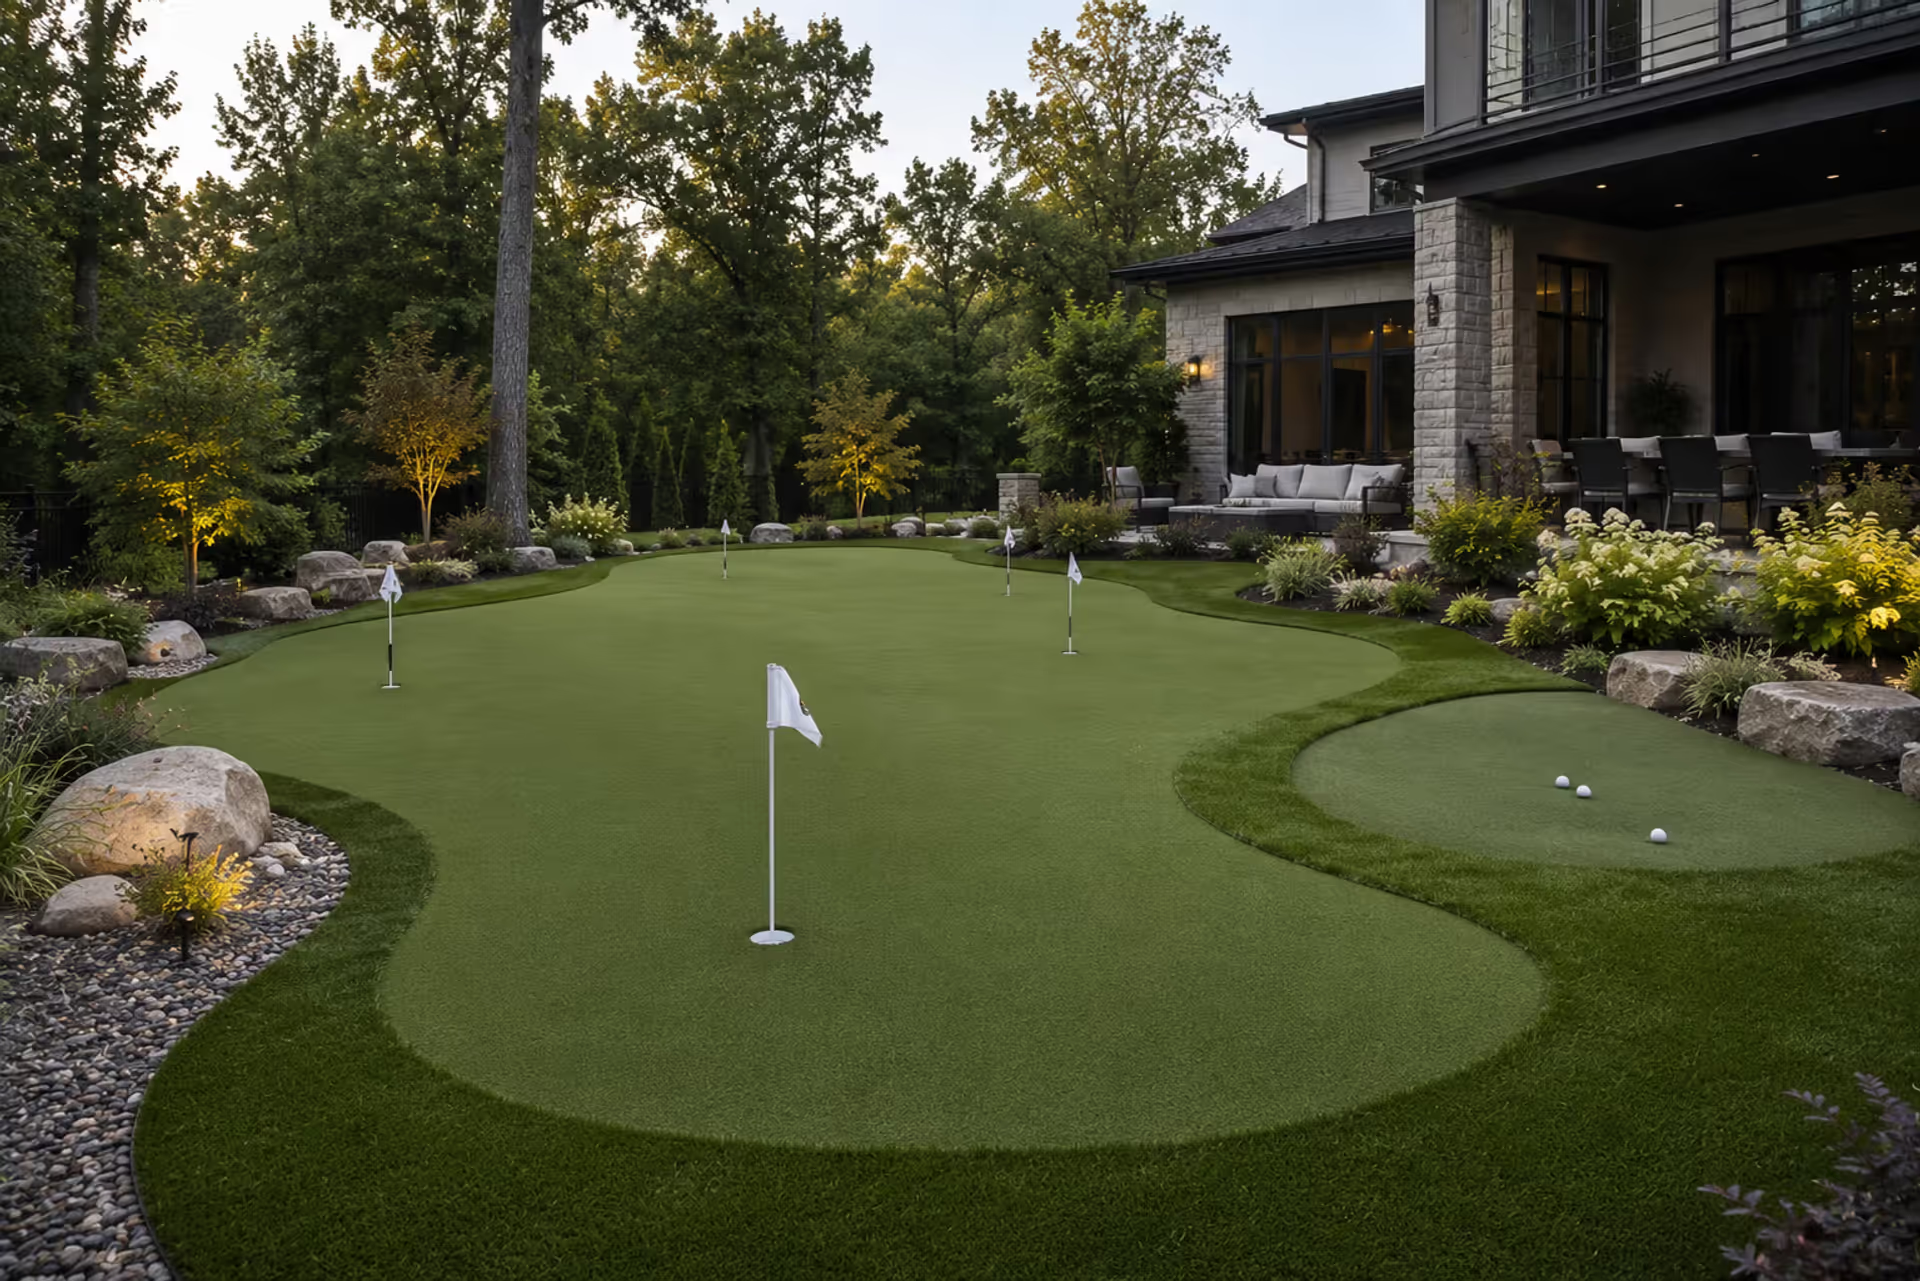
Shape options fall into two camps: geometric and organic. Geometric designs (rectangles, ovals, kidney shapes) fit cleanly into formal landscapes and maximize usable putting surface. They're easier to install and maintain defined edges. Organic shapes mimic real golf course greens with flowing curves and irregular perimeters. They blend better with natural landscaping but require more material and skilled installation.
Traffic flow deserves attention early. If your green sits between your patio and pool, people will walk across it. Period. Plan pathways around high-traffic edges or accept that those areas will wear faster. Some homeowners install stepping stones or a different turf type along predictable walking routes.
Consider multiple hole locations from the start. A single cup gets boring fast. Three to five hole positions let you change the layout weekly, creating different putting challenges from the same surface. Mark these spots during planning so your installer can adjust the base preparation for proper drainage at each cup location.
Author: Sienna Calder;
Source: cribbslandscaping.com
Where to Install Your Putting Green
Location determines everything from drainage requirements to how often you'll actually use the green. Pick wrong and your investment becomes yard art.
Side Yard Putting Green Installations
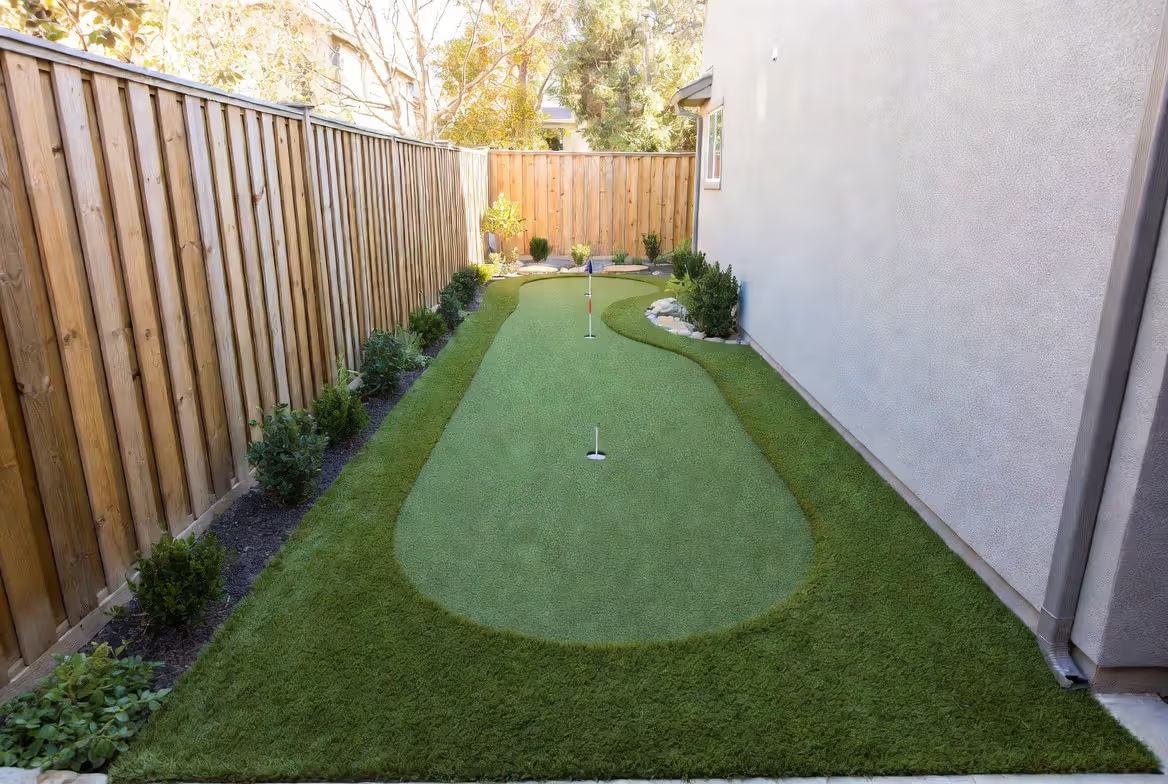
Side yards are the secret weapon of residential putting green design. They're typically underutilized, offer privacy from neighbors, and create a dedicated practice zone away from main entertaining areas.
The narrow dimensions work better than you'd think. A 10-foot-wide side yard gives you plenty of room for a functional putting surface with strategic hole placements. Long, narrow greens naturally create distance putting practice—something wider spaces don't always provide.
Drainage in side yards needs extra attention. These areas often become water channels during heavy rain. Your base preparation must include proper grading and potentially a French drain system along the fence line. Skipping this step leads to standing water and turf failure within two years.
Sun exposure varies dramatically in side yards depending on fence height and home orientation. South-facing side yards get full sun most of the day. North-facing areas may stay shaded. Synthetic turf handles both, but temperature differences affect how the surface plays. Full-sun installations get hotter underfoot and may play slightly faster.
Putting Greens Around Pool Areas
Wrapping a putting green around your pool creates a resort-style backyard, but the combination introduces specific challenges.
Chlorine and synthetic turf don't mix well. Splashed pool water containing chlorine will gradually degrade certain turf fibers, particularly lower-quality polypropylene. If you're installing within six feet of the pool edge, specify chlorine-resistant turf or plan for accelerated replacement cycles.
Drainage becomes critical. Pool decks already channel significant water runoff. Your putting green base must handle both rainfall and pool overflow without creating puddles. Most professional installations include perforated drainage pipe beneath the entire green when it's adjacent to a pool.
Safety factors in too. Wet synthetic turf can be slippery. The infill type matters here—rounded silica sand provides better traction when wet than crumb rubber. Some installers add a textured walking path between pool and green using a different material.
The visual payoff is substantial. A well-designed putting green around pool areas creates a country club atmosphere and maximizes usable yard space. Just budget for proper engineering and higher-grade materials.
Front Yard and Other Locations
Front yard putting greens make a statement. They're conversation starters and clearly signal your priorities. But they also face neighborhood scrutiny and HOA restrictions.
Check your covenants before planning. Many HOAs restrict front yard modifications or require architectural approval. Some neighborhoods prohibit synthetic turf entirely. Surprising how many homeowners skip this step and face removal orders after installation.
Front yards offer excellent sun exposure and typically drain well since they're graded away from the house. Accessibility is easy—you can practice before work without walking through the house.
Backyards remain the most popular location for obvious reasons. Privacy, flexibility, and integration with existing outdoor living spaces make them the default choice. The main challenge is competing with other backyard priorities: pools, patios, play areas, gardens. Something has to give.
Author: Sienna Calder;
Source: cribbslandscaping.com
Choosing the Right Turf for Your Putting Green
Not all synthetic turf is created equal. The difference between bargain turf and quality putting green material is the difference between practice and frustration.
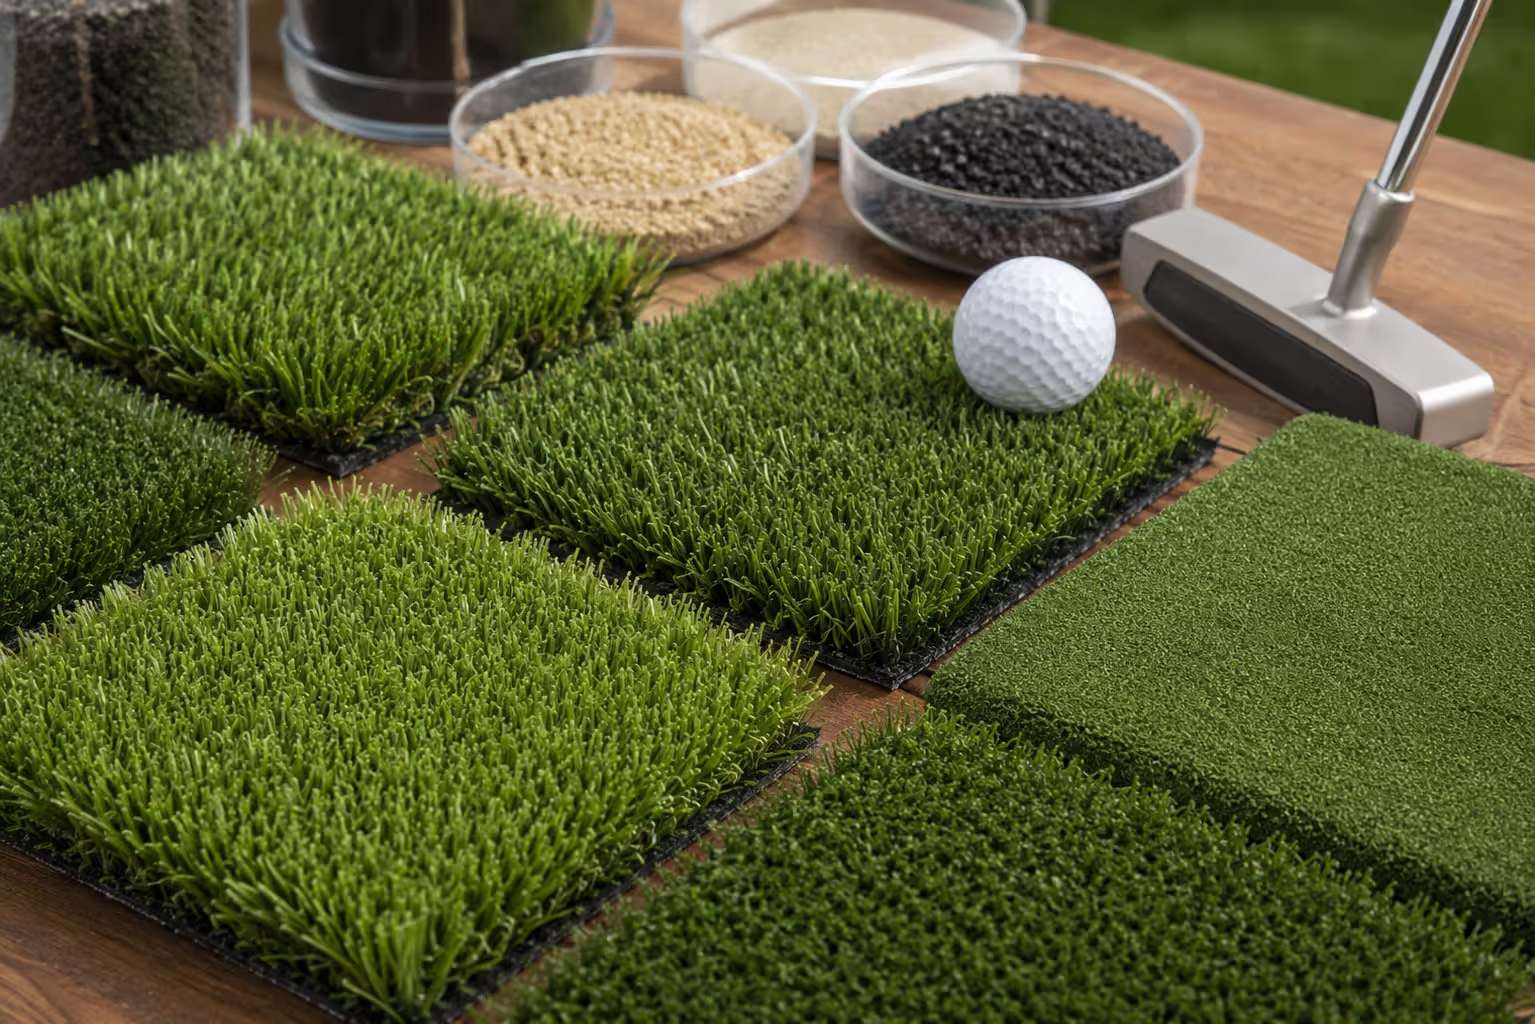
Fiber type determines durability and ball roll characteristics. Nylon offers the best resilience and stands up to heavy use, but it's the most expensive option. Polyethylene provides a softer feel and good ball roll at mid-range pricing—it's the sweet spot for most residential installations. Polypropylene costs less but wears faster and doesn't maintain consistent ball speed as it ages.
Blade length matters enormously for putting performance. True putting green turf uses blades between 0.5 and 1 inch. Anything longer plays too slow and doesn't hold a consistent line. Shorter is generally better for serious practice, though it shows wear patterns more quickly.
Infill types affect both performance and maintenance. Silica sand is the traditional choice—it's heavy, provides good ball roll, and doesn't retain heat like rubber. Acrylic-coated sand offers slightly better performance and resists compaction. Crumb rubber is cheaper but gets hot in summer and doesn't provide the firm surface serious golfers want.
Stimp meter ratings measure how far a ball rolls under standardized conditions. Professional tour greens typically rate 11-13 on the stimp meter. Quality residential synthetic greens can achieve 9-11, which provides realistic practice without being unmanageably fast. Anything below 8 won't prepare you for real course conditions.
Maintenance requirements vary by material. Synthetic turf needs regular brushing to prevent matting, periodic infill top-ups, and occasional deep cleaning. Natural grass putting greens require mowing every 2-3 days, frequent rolling, precise fertilization, and pest management. The synthetic option wins on time commitment, but natural grass offers the most authentic experience.
Turf Material
Durability
Ball Roll Quality
Maintenance Needs
Price Range (per sq ft)
Nylon
Excellent (15+ years)
Very consistent, fast
Brush weekly, add infill yearly
$8-$12
Polyethylene
Good (10-12 years)
Consistent, medium-fast
Brush bi-weekly, add infill yearly
$5-$8
Polypropylene
Fair (6-8 years)
Inconsistent as it ages
Brush weekly, add infill twice yearly
$3-$5
Bentgrass (natural)
Requires replacement every 5-7 years
Most authentic
Daily mowing, weekly rolling, constant care
$2-$4 (plus high maintenance costs)
Author: Sienna Calder;
Source: cribbslandscaping.com
Sizing Your Outdoor Putting Green
Size determines functionality. Too small and you can't create interesting putts. Too large and you've wasted money and yard space.
The minimum functional size for a backyard putting green is about 200 square feet—roughly 10 feet by 20 feet. This gives you room for two hole positions and putts up to 15 feet. It's tight, but it works for focused practice.
Most residential installations fall between 400 and 800 square feet. This range provides three to five hole locations, varied putting distances up to 30 feet, and enough surface area to create contour and break. You can practice most of the putts you'll face on a real course.
Larger greens (1,000+ square feet) allow for multiple practice zones, longer lag putting practice, and more dramatic contours. They also accommodate chipping areas without compromising putting surface. But they require significant yard space and proportionally higher investment.
Balance matters when adding chipping areas. A common mistake is allocating too much space to chipping at the expense of putting surface. The ratio should favor putting 2:1 or 3:1 unless you're specifically building a short game complex.
Space for multiple holes makes the difference between a practice tool and a novelty. Three holes minimum. Five is better. This lets you rotate cup positions weekly, preventing wear patterns and keeping practice fresh. Each hole position should offer a different length and break combination.
Your practice focus should drive size decisions. If you're working on speed control and short putts (the strokes that actually lower scores), a smaller, well-designed green serves you better than a sprawling surface with mediocre contours. If you're entertaining and want the wow factor, go bigger.
Adding a Chipping Green to Your Design
A dedicated chipping area transforms your putting green from a one-dimensional practice space into a genuine short game training facility.
Integrated designs combine putting and chipping surfaces with a natural transition zone. The chipping area typically uses slightly longer turf (1.5-2 inches) to simulate fairway lie, while the putting surface maintains true putting green length. A fringe area between them—usually 2-3 feet wide with intermediate blade length—mimics real course conditions.
Separate chipping greens work better when space allows. You can orient the chipping area to target the putting surface from different angles, creating varied practice scenarios. This setup also prevents excessive wear on the putting surface from landing chips.
Fringe grass options matter more than most people realize. The fringe is where you'll practice those tricky 30-40 foot chips and bump-and-runs. Many installers use the same turf throughout, which doesn't replicate real conditions. Specifying a distinct fringe turf with 1-1.5 inch blades adds minimal cost but dramatically improves practice value.
Bunker additions take your design to the next level. A small practice bunker (even 4x6 feet) lets you work on the most feared shot in golf. Real sand bunkers require ongoing maintenance—raking, sand replenishment, edge trimming. Synthetic bunker turf exists but doesn't replicate the feel of sand. The simpler option usually wins here: if you'll maintain a sand bunker, add it; if not, skip it.
Elevation changes create realistic short game scenarios. A raised green section (even 6-12 inches) forces you to practice landing chips on an upslope or dealing with downhill chips. These elevation changes should be built into the base preparation, not added afterward.
Multi-purpose practice zones maximize limited space. Some homeowners create a chipping area that doubles as a bocce court or putting course for kids. The key is ensuring the primary function (short game practice) isn't compromised by secondary uses.
Author: Sienna Calder;
Source: cribbslandscaping.com
Cost Factors and Installation Considerations
Budget reality: professional putting green installation typically runs $15-$35 per square foot, all-in. A 500-square-foot green costs $7,500-$17,500 depending on materials, site conditions, and design complexity.
DIY installation can cut costs by 40-60% if you're willing to handle base preparation and turf installation yourself. But this isn't a weekend project. Proper base preparation requires excavation (4-6 inches deep), crushed rock base installation, precise grading, compaction, and drainage integration. Most DIY failures happen at the base level, not the turf installation.
Base preparation accounts for 50-60% of professional installation costs. This is where you cannot cut corners. The base must drain properly, remain stable through freeze-thaw cycles, and maintain grade consistency. Skimping here leads to settling, drainage failures, and premature turf replacement.
Drainage systems vary by site conditions. Simple installations on well-draining soil might only need a properly graded crushed rock base. Problem sites require perforated drainage pipe, gravel trenches, and tie-ins to existing drainage systems. Expect to add $2-$5 per square foot for engineered drainage solutions.
Permits are required in some jurisdictions, not in others. It depends on local codes and whether your project involves grading changes, drainage modifications, or structures. Most municipalities don't require permits for simple turf installation, but call your building department before you start. Fines for unpermitted work can exceed the project cost.
Ongoing maintenance costs for synthetic greens are minimal compared to natural grass. Budget $100-$300 annually for infill replenishment, occasional deep cleaning, and equipment (brushes, leaf blower). Natural grass putting greens can cost $2,000-$5,000 yearly in maintenance, specialized equipment, and inputs.
ROI for home value is debatable. A well-designed putting green appeals to golf enthusiasts but may not increase your home's appraised value dollar-for-dollar. Think of it as a lifestyle investment, not a financial one. The value is in years of practice and entertainment, not resale premium.
Professional installation versus DIY comes down to three factors: your skill level with site work, available time, and quality expectations. If you want a green that performs like a real course and lasts 15 years, hire professionals. If you're comfortable with a good-enough practice surface and enjoy hands-on projects, DIY can work.
The biggest mistake I see in residential putting green design is prioritizing size over quality. A 300-square-foot green with proper contouring, quality turf, and correct stimp speed will serve you better than a 1,000-square-foot surface with cheap materials and flat topography. Your practice is only as good as the surface you're practicing on.
— Richardson Tom
Your backyard putting green should match your goals, not someone else's Instagram feed. Start with honest assessment of your space, budget, and how you'll actually use it. A thoughtfully designed 400-square-foot green with quality materials outperforms a sprawling mediocre installation every time.
The details matter: proper drainage prevents expensive failures, quality turf provides realistic practice, and smart location choices mean you'll actually use what you build. Don't rush the planning phase. The decisions you make now determine whether your putting green becomes a valued practice tool or a costly regret.
Most importantly, remember that even a modest backyard putting green gives you something priceless: the ability to practice whenever you want, in whatever you're wearing, without leaving home. That convenience alone transforms short games faster than any amount of occasional range practice.
FAQ: Putting Green Design Questions Answered
What is the ideal size for a backyard putting green?
The ideal size depends on your goals and available space, but 400-600 square feet offers the best balance for most homeowners. This provides room for 3-5 hole positions, putts ranging from 5-30 feet, and subtle contours that replicate real course conditions. You can create functional practice areas as small as 200 square feet if space is limited, though you'll sacrifice variety in putting distances and hole placements. Larger greens (800-1,200 square feet) allow for more dramatic features and dedicated chipping areas but require proportionally higher investment and yard space commitment.
How much does a residential putting green cost to install?
Professional installation typically costs $15-$35 per square foot, meaning a 500-square-foot putting green runs $7,500-$17,500. The wide price range reflects differences in turf quality, site preparation complexity, drainage requirements, and design features. Base preparation accounts for roughly half the cost—this includes excavation, crushed rock installation, grading, and compaction. Premium nylon turf costs more than polyethylene or polypropylene options. DIY installation can reduce costs by 40-60% if you handle site work yourself, but proper base preparation requires equipment and skill most homeowners don't have.
Can I install a putting green on a sloped yard?
Yes, and slope can actually enhance your putting green if managed correctly. Gentle slopes (1-3% grade) create interesting putting challenges and aid drainage without making balls roll on their own. Steeper slopes require terracing or strategic contouring to create usable putting surfaces within the overall grade. The key is working with your yard's natural topography rather than fighting it through excessive grading. Some of the most interesting residential putting greens incorporate existing slope into multi-tiered designs. Professional installers can assess your specific site and recommend whether the slope works in your favor or requires modification.
How long does synthetic putting green turf last?
Quality synthetic putting green turf lasts 10-15 years with proper maintenance, though lifespan varies by fiber type and usage intensity. Nylon turf can exceed 15 years while maintaining performance characteristics. Polyethylene typically lasts 10-12 years before showing significant wear. Polypropylene degrades faster, usually requiring replacement after 6-8 years. Factors affecting longevity include sun exposure (UV degradation), traffic patterns, maintenance consistency, and initial quality. Regular brushing to prevent matting, periodic infill replenishment, and protecting the surface from sharp objects extend turf life. Most manufacturers warranty their products for 8-10 years against manufacturing defects.
Do I need a permit to build a backyard putting green?
Permit requirements vary by municipality and project scope. Most jurisdictions don't require permits for simple synthetic turf installation on existing grade, but you should verify with your local building department before starting. Permits may be required if your project involves significant grading changes (moving more than 50 cubic yards of soil), modifications to drainage systems, or installation of structures like retaining walls. HOA approval is separate from building permits—many homeowner associations require architectural review for landscape modifications regardless of permit requirements. Unpermitted work can result in fines and forced removal, so confirm requirements early in your planning process.
What's the difference between a putting green and a chipping green?
A putting green uses very short turf (0.5-1 inch blade length) designed for ball roll consistency and speed control, replicating the surface where you putt on a golf course. A chipping green uses longer turf (1.5-2.5 inches) that simulates fairway or rough conditions, providing realistic lies for practicing chip shots, pitch shots, and short approaches. Many residential installations combine both features: a putting surface for stroke practice surrounded by or adjacent to a chipping area with longer turf. This integrated design creates a complete short game practice facility. The best setups include a fringe area between putting and chipping zones with intermediate blade length, just like real golf courses.
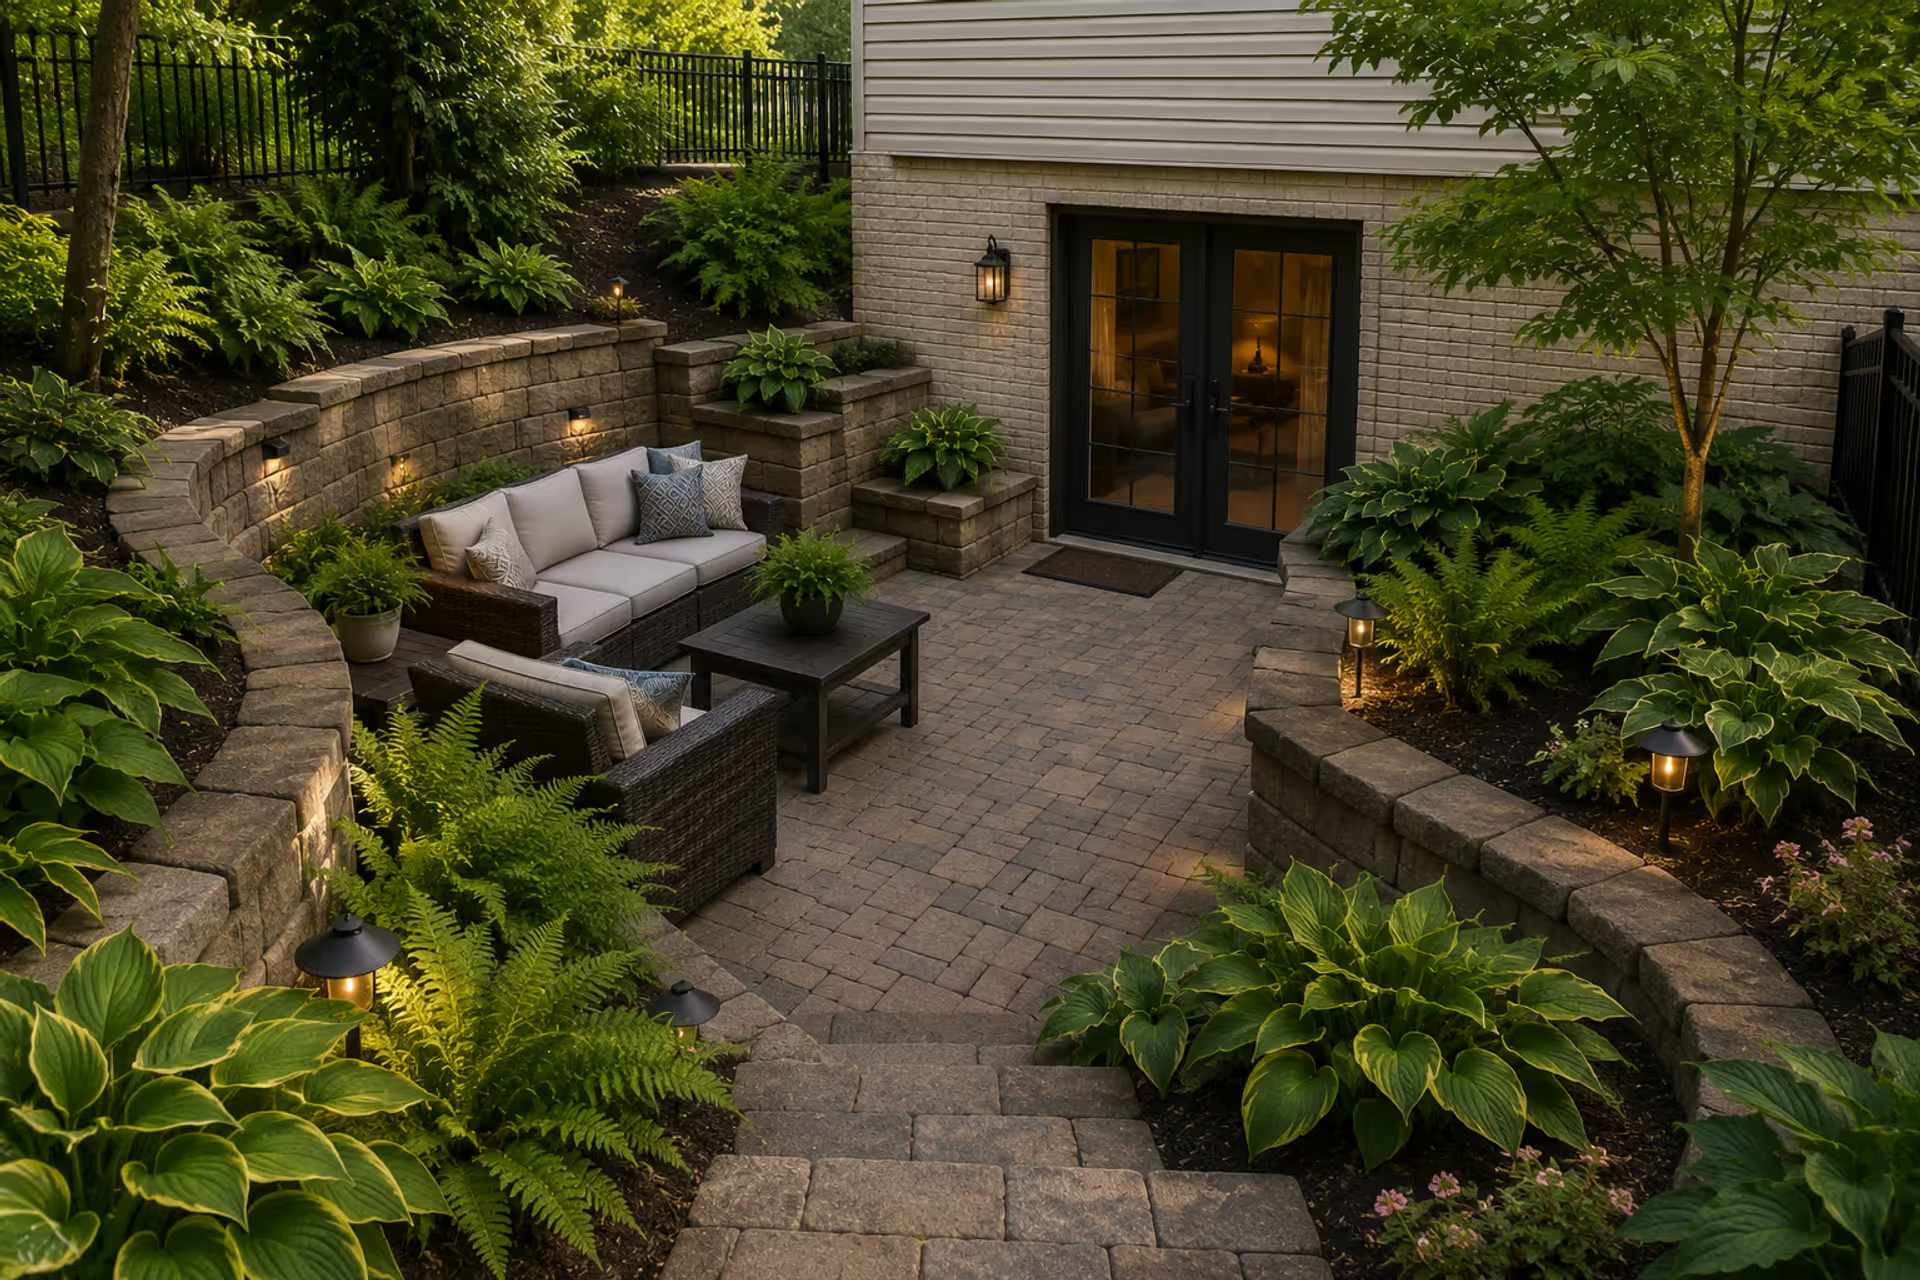
Discover practical exterior walkout basement ideas including patio layouts, landscaping solutions, and drainage strategies. Learn how to turn your below-grade outdoor space into a functional, attractive area with expert tips on materials, plantings, and design.
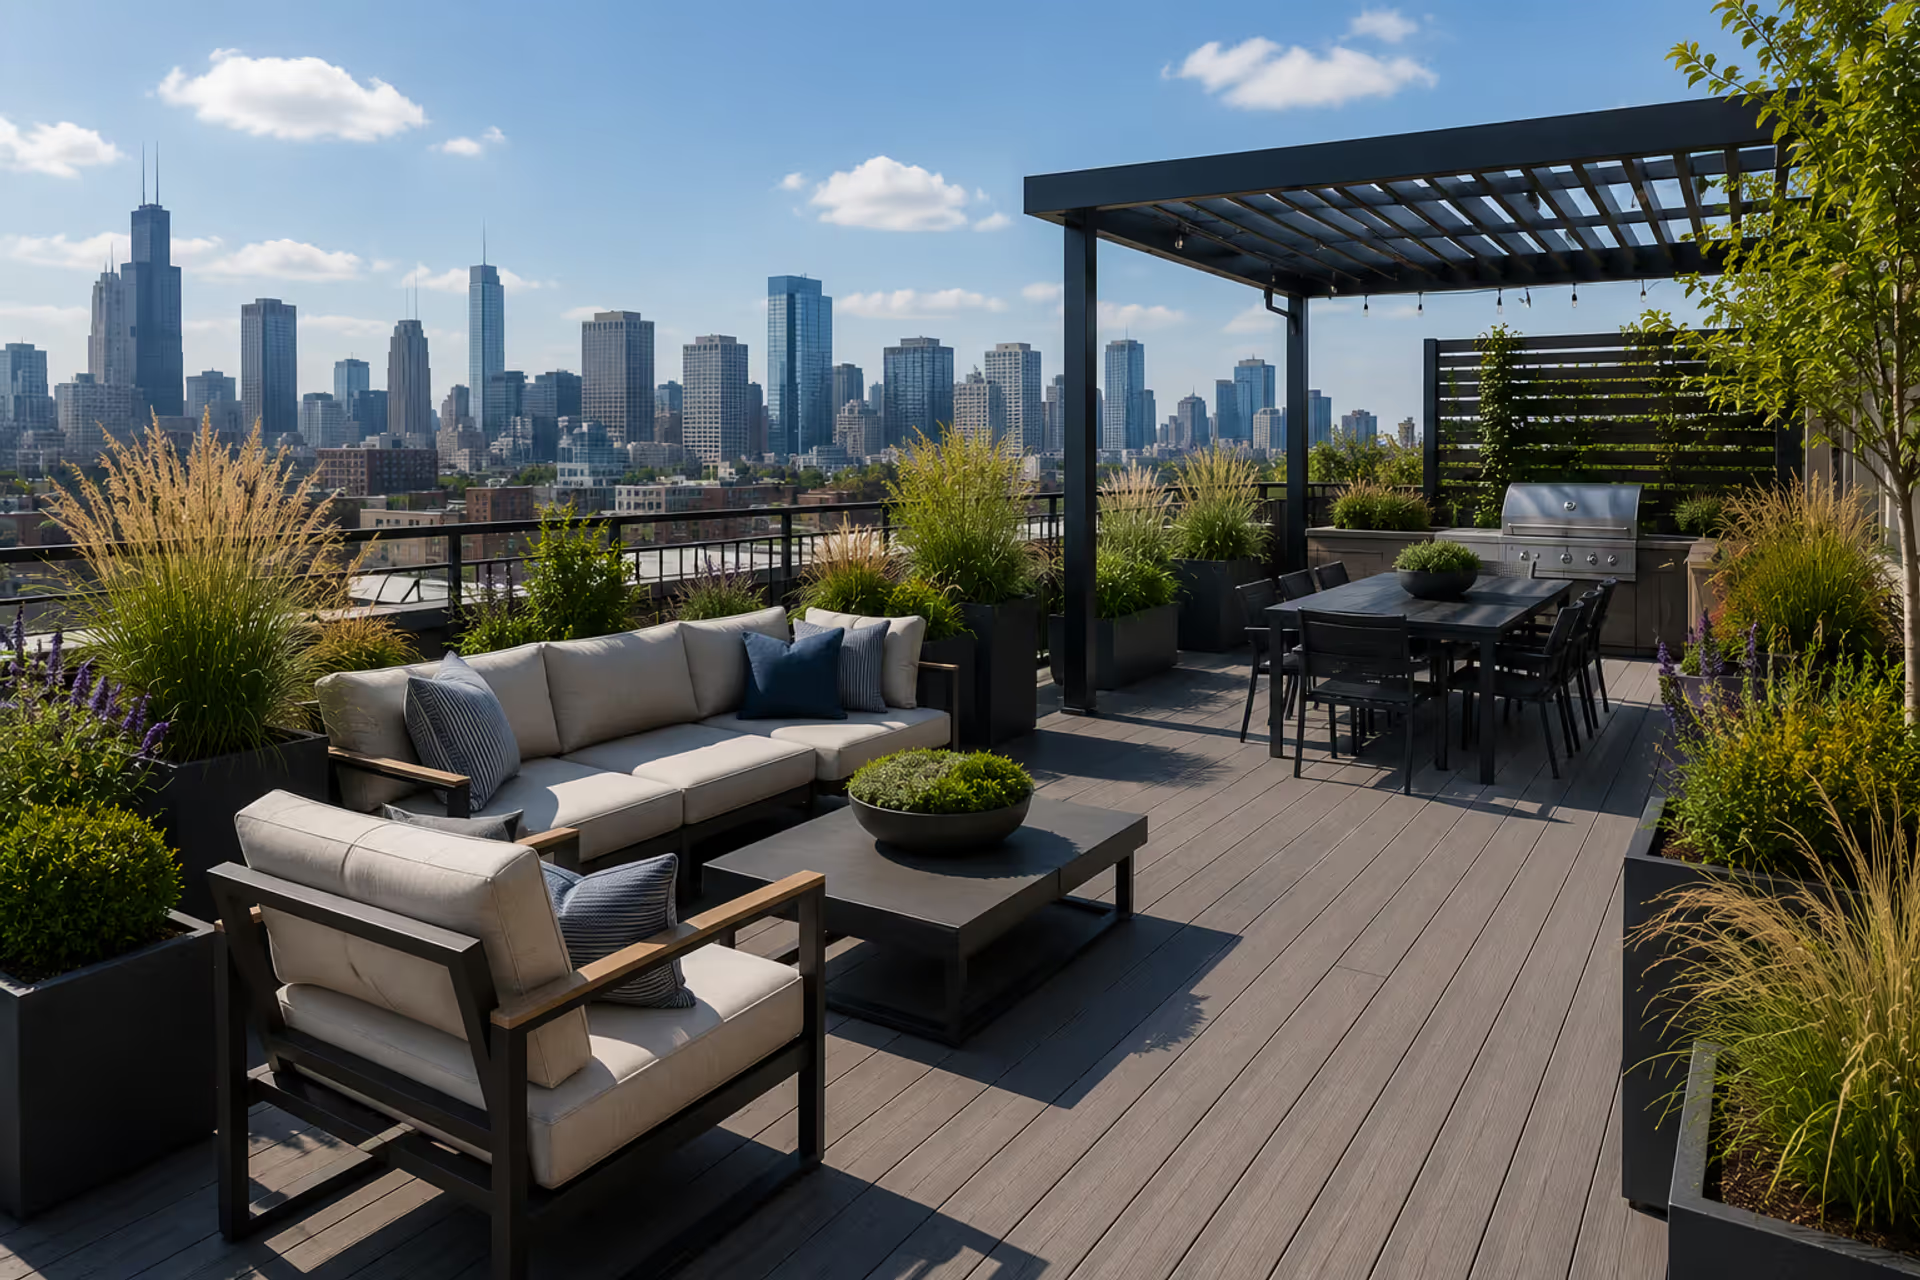
Transform your rooftop into a functional outdoor living space. Learn about structural requirements, weight limits, flooring options, wind-resistant furniture, container gardening, and design layouts for rooftops of all sizes.
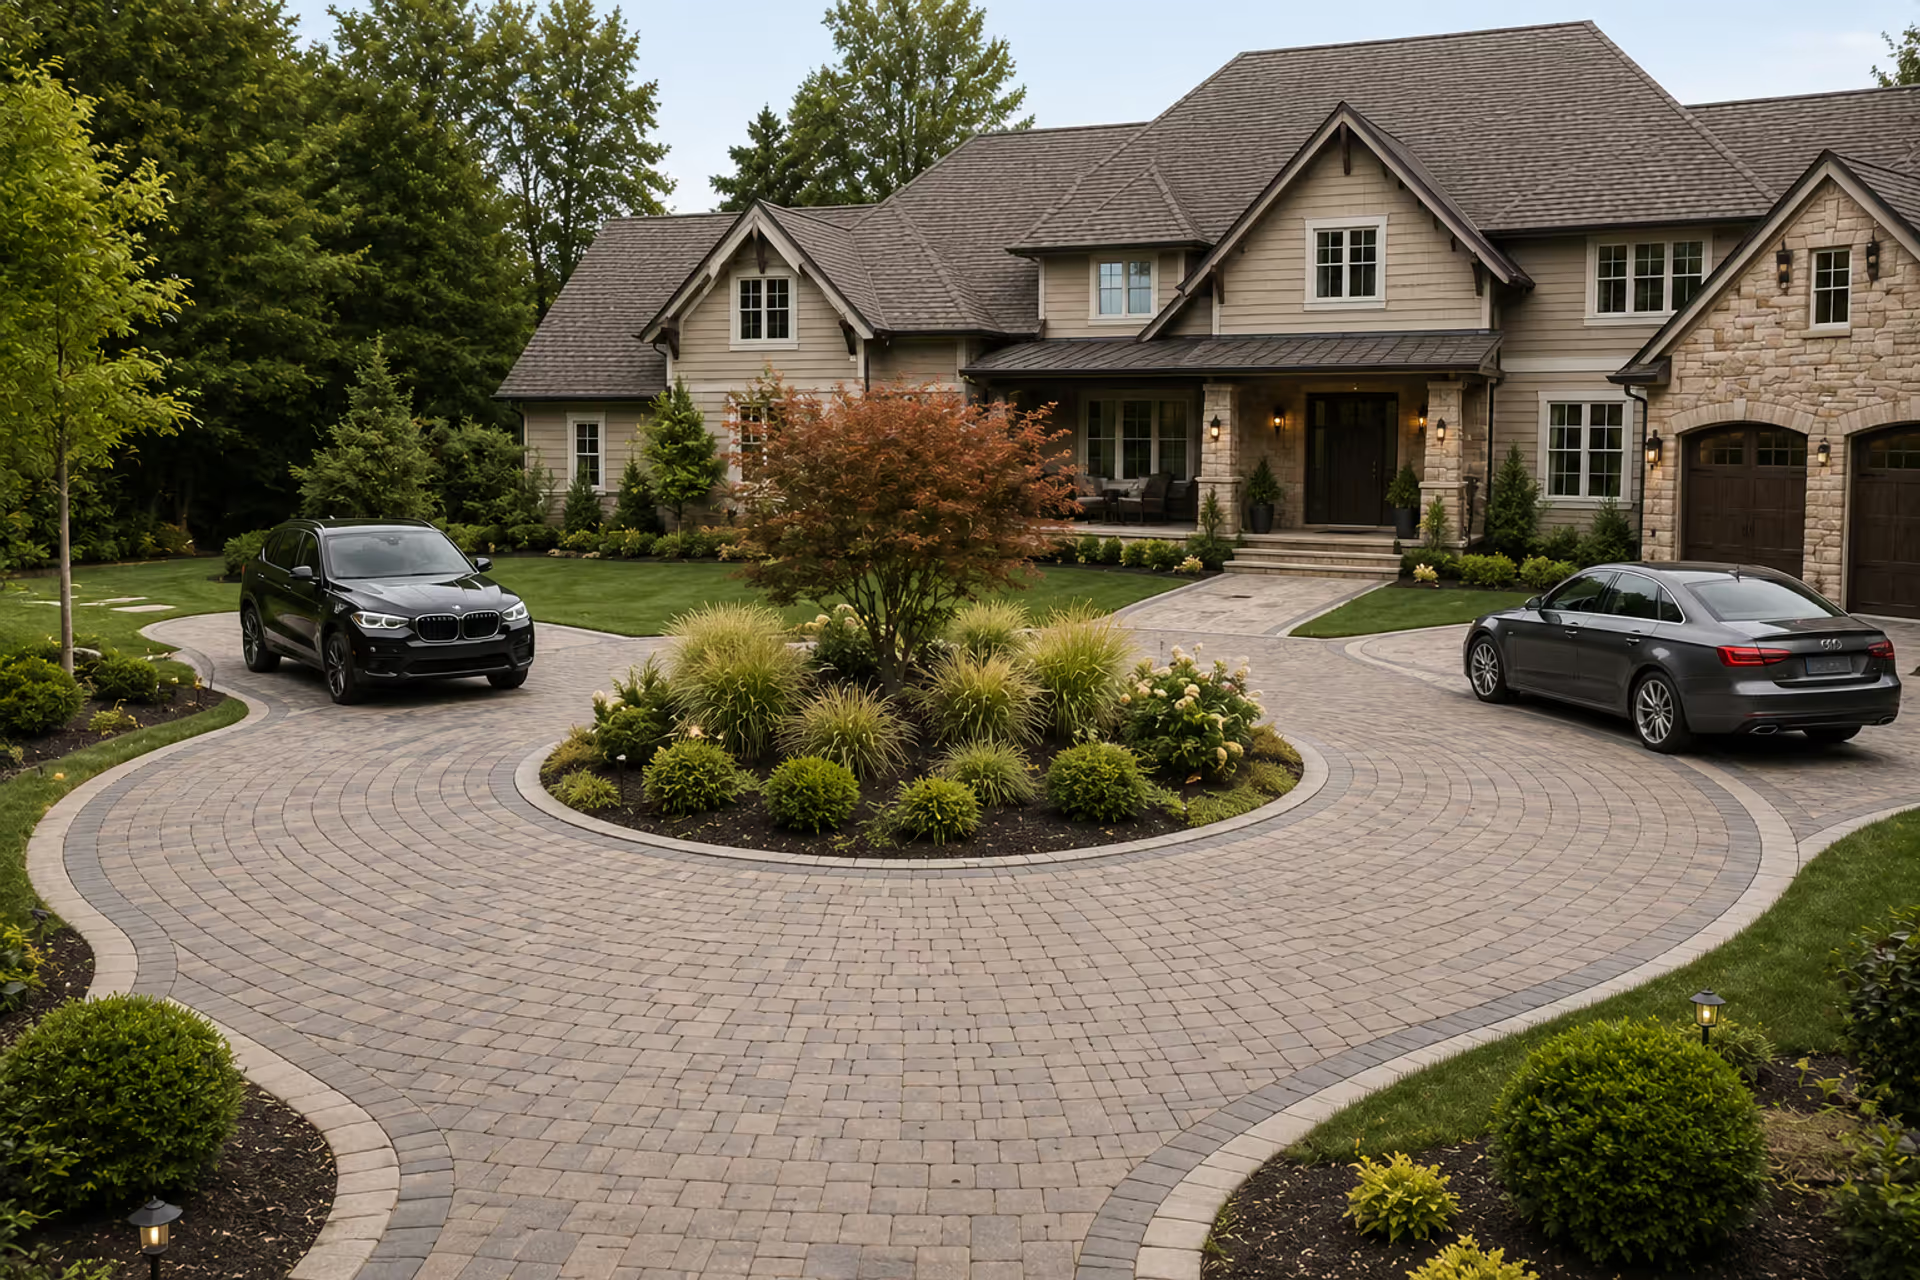
Discover how to fit a functional half circle driveway into a compact front yard. This guide covers layout planning, material selection, landscaping strategies, common mistakes to avoid, and realistic cost estimates for creating an attractive semicircular driveway that improves traffic flow and curb appeal.
Discover practical stock tank pool deck ideas for small backyards. Learn how to build DIY decking, choose materials, add landscaping, and create privacy screens around your galvanized tank pool with expert installation tips and budget-friendly designs.
The content on this website is provided for general informational and educational purposes only. It is intended to explain concepts related to landscape design, outdoor spaces, plants, irrigation, hardscape and softscape, and sustainable landscaping.
All information on this website, including articles, guides, and examples, is presented for general educational purposes. Outcomes may vary depending on local climate, soil, plant selection, and project implementation.
This website does not provide professional design, construction, or horticultural advice, and the information presented should not be used as a substitute for consultation with qualified landscape architects, contractors, or horticulturists.
The website and its authors are not responsible for any errors or omissions, or for any outcomes resulting from decisions made based on the information provided on this website.