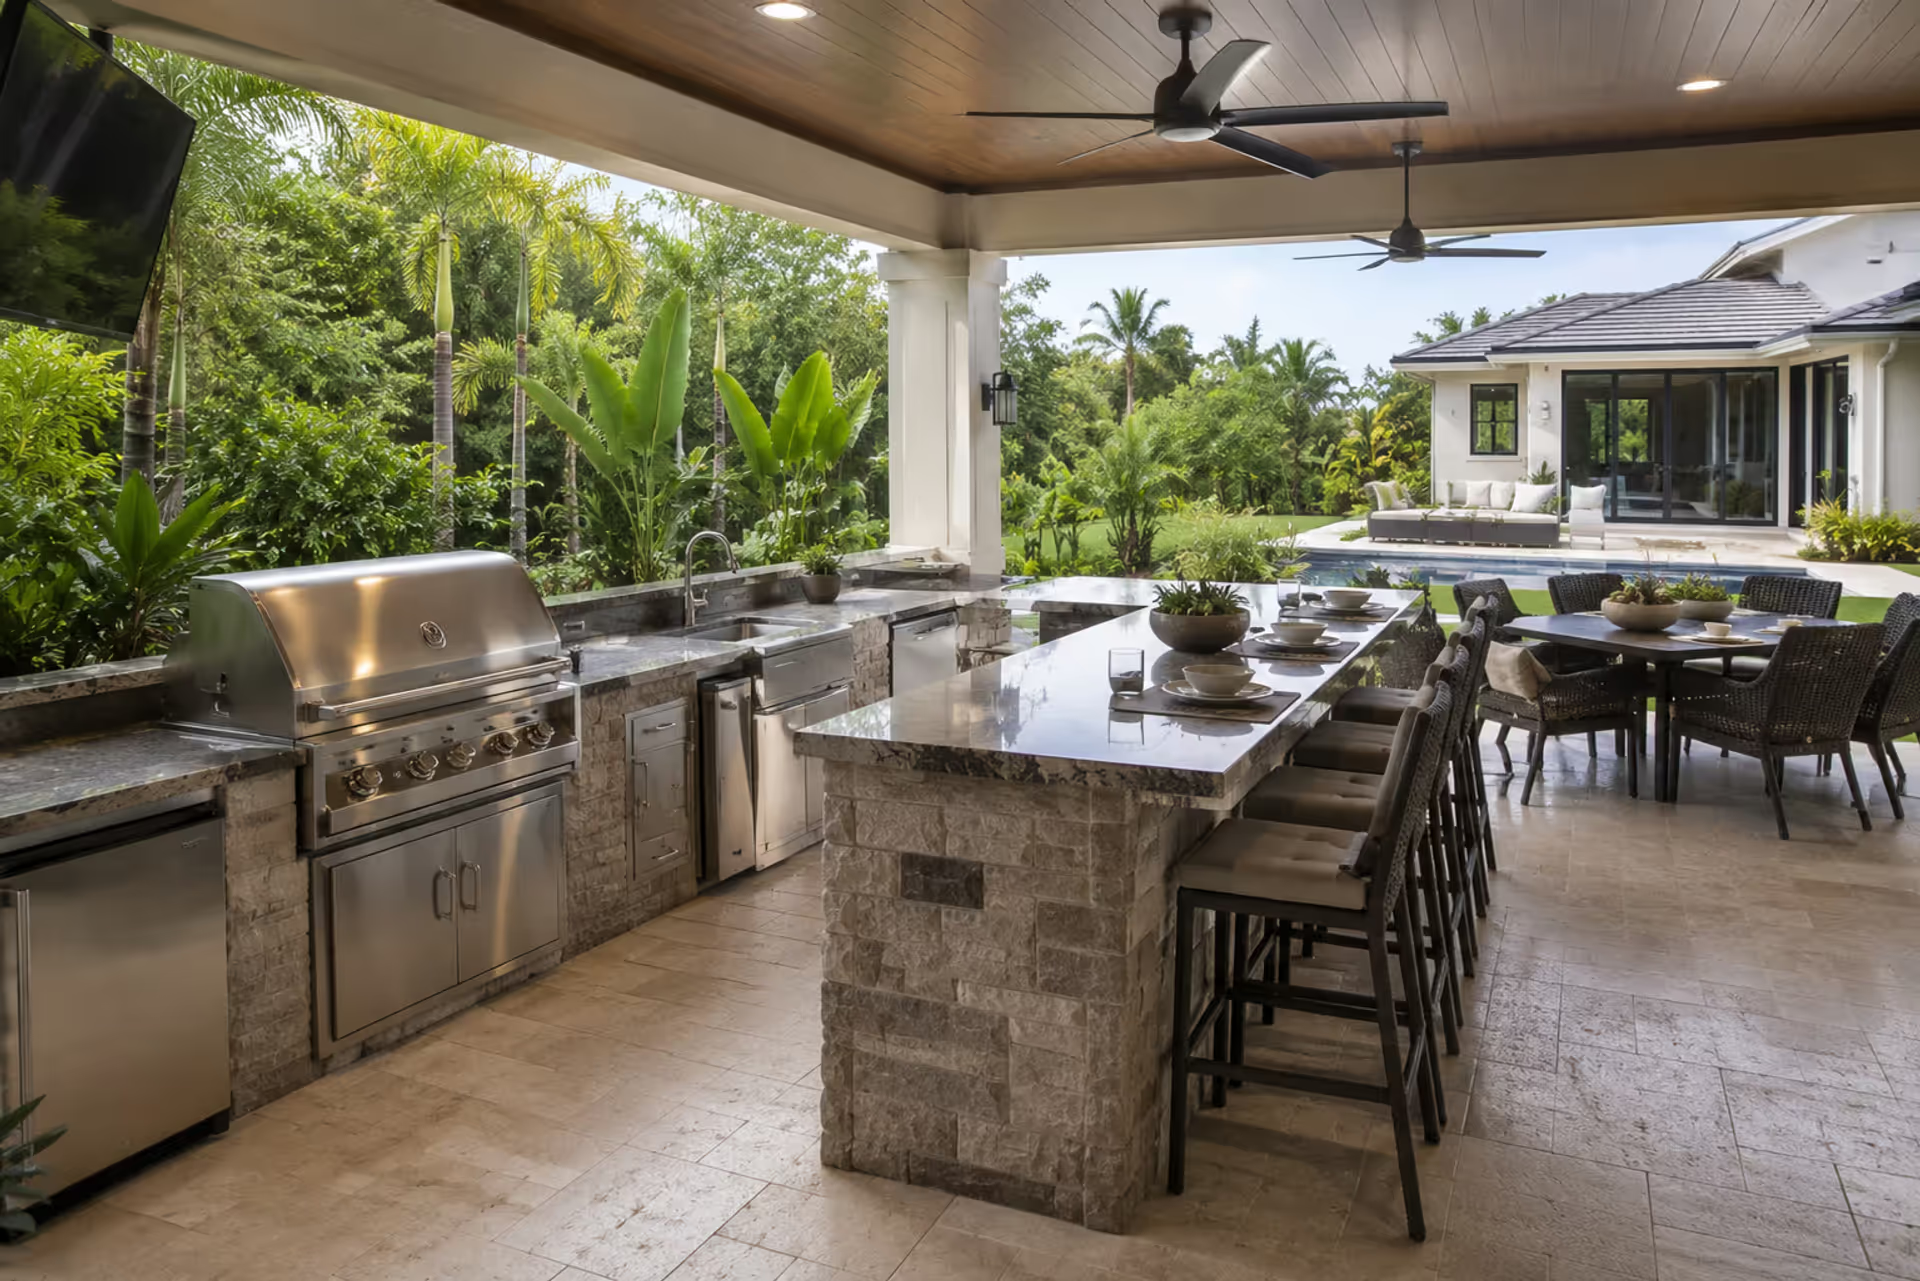
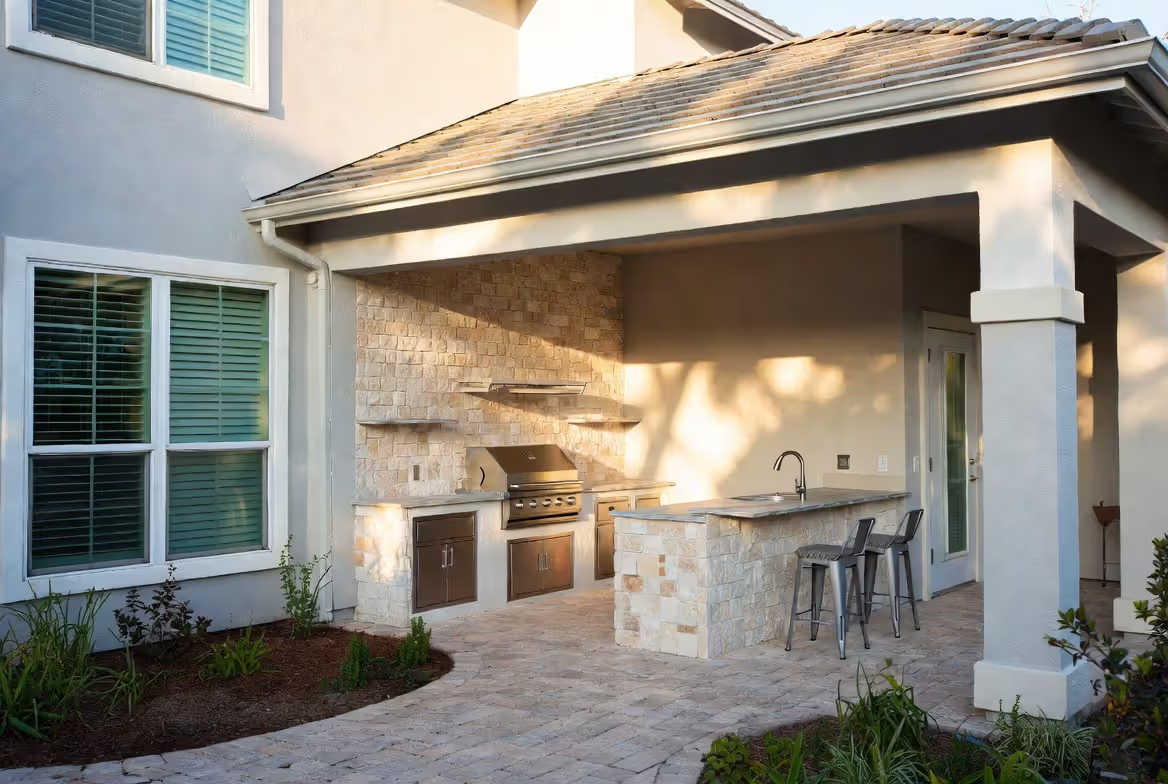
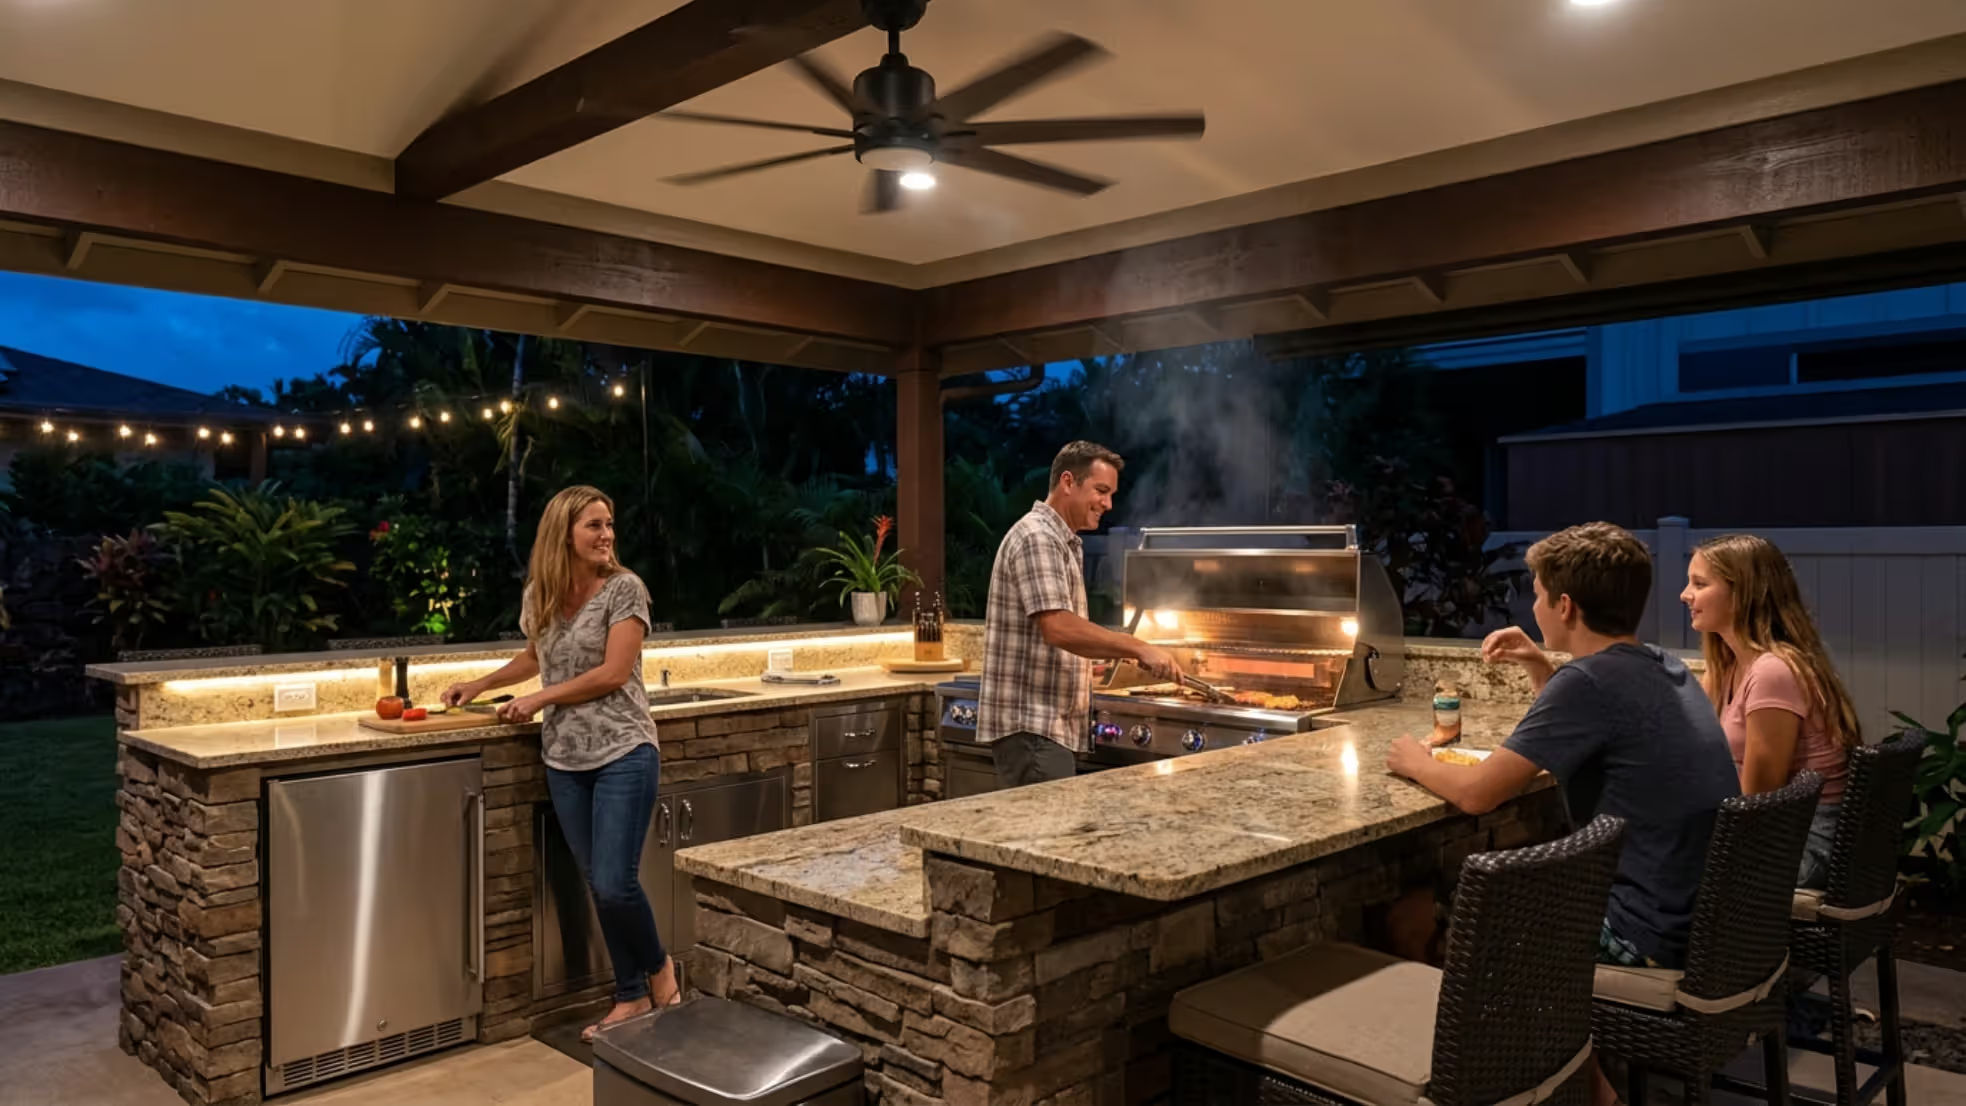
Creating an outdoor kitchen under your lanai transforms a basic covered patio into year-round entertainment headquarters. You're not just adding a grill—you're building a functional cooking zone that stays dry during summer storms and comfortable when the sun's blazing overhead. The setup works because lanais already provide the roof and often the flooring you need, cutting construction costs while delivering a space that feels like an extension of your indoor kitchen. Most homeowners discover they use this space far more than they expected, especially once they realize they can cook outside in nearly any weather.
Why Build Your Kitchen Under a Lanai
Weather protection ranks as the biggest advantage. Your outdoor kitchen against house stays usable during light rain, protects equipment from direct sun exposure, and extends your cooking season by months compared to fully exposed setups.
The covered structure means you won't cancel dinner plans because of unexpected showers. Your guests stay comfortable, and you're not rushing to cover the grill mid-cookout.
Home value gets a measurable boost too. Real estate data from 2025 shows that well-designed covered outdoor kitchen ideas can return 60-80% of their cost at resale in warm-climate markets. Buyers see these spaces as true outdoor rooms, not just patios with a grill.
Integration with indoor living flows naturally when your kitchen sits under the lanai. You're typically just steps from your interior kitchen, making it easy to grab ingredients, refill drinks, or move between prep areas. The proximity to existing utilities—water lines, electrical panels, gas connections—reduces installation complexity and cost.
Temperature control improves significantly. The roof blocks direct sun, keeping the space 10-15 degrees cooler than open patios during peak afternoon hours. You'll actually want to cook out there in July instead of dreading the heat.
The pattern I see most often is homeowners who initially planned a simple grill setup but expanded once they realized how much protection the lanai roof provided. That protection changes the equation entirely.
Planning Your Lanai Kitchen Layout
Space requirements depend on your cooking style, but minimum dimensions matter. You'll need at least 12-15 linear feet of counter space for a functional setup that includes a grill, prep area, and serving zone.
The classic work triangle applies here just like indoors. Position your grill, sink, and refrigerator within 4-9 feet of each other. This creates efficient movement patterns and prevents bottlenecks when multiple people are cooking.
Proximity to house utilities determines much of your layout. Running water lines more than 20 feet from your main house plumbing gets expensive fast. Same with electrical—every extra foot of conduit adds cost and complexity.
Screened porch kitchen designs require extra ventilation planning. The screens trap heat and smoke if you don't account for airflow. Position your grill near an opening or add a roof-mounted exhaust fan rated for outdoor use.
Traffic flow considerations get overlooked constantly. Don't block the main path from your house to the yard with your grill island. Leave at least 42 inches of clearance behind anyone working at the counters so people can pass comfortably.
Author: Liam Ashcroft;
Source: cribbslandscaping.com
Best Layouts for Different Lanai Sizes
Small lanais (10x12 feet or less) work best with an L-shaped layout against one wall and the corner. Put your grill on one leg of the L, sink and mini-fridge on the other. This leaves the center open for a small dining table.
Medium lanais (12x16 to 14x20 feet) accommodate straight-line galley layouts or larger L-configurations. The galley style—counters along one long wall—keeps everything within arm's reach and maximizes floor space for seating.
Large lanais (over 14x20 feet) can handle island configurations. Place a grill island in the center with perimeter counters for prep and storage. This creates a true outdoor kitchen design center where the cook faces guests instead of turning away.
One counterintuitive point: bigger isn't always better. Oversized layouts mean more walking between stations and wasted motion. Stick to compact work zones even if you have space to spread out.
Positioning Against the House
Placing your patio kitchen layout against the exterior wall solves multiple problems at once. You get structural support for upper cabinets, easier utility access, and protection from wind.
The back wall typically shares plumbing and electrical with your indoor kitchen. This proximity can cut installation costs by 30-40% compared to freestanding island setups in the middle of your lanai.
But watch for door and window placement. Don't position your grill directly under a window—smoke infiltration becomes a constant headache. Leave at least 3 feet of clearance from any operable windows or doors.
Siding material matters when mounting against the house. Vinyl siding needs a heat shield or clearance gap behind grills. Stucco and brick handle heat better but still benefit from a small air gap for ventilation.
Author: Liam Ashcroft;
Source: cribbslandscaping.com
Essential Features and Appliances
Built-in grill stations form the centerpiece of most lanai kitchens. Size your grill based on regular cooking needs, not the one giant party you throw annually. A 36-inch built-in grill handles most family cooking and typical gatherings without eating up half your counter space.
Refrigeration becomes non-negotiable once you've cooked outside a few times. Running back inside for every beer or condiment kills the outdoor kitchen vibe. A 24-inch outdoor-rated refrigerator stores drinks, condiments, and prepped ingredients within reach.
Sinks rank high on the priority list. Even a small prep sink transforms your workflow by letting you rinse vegetables, wash hands, and clean utensils without indoor trips. Install a minimum 15-inch sink with a pull-down faucet for flexibility.
Storage needs exceed what most people initially plan. You'll accumulate grilling tools, serving platters, seasonings, cleaning supplies, and outdoor dinnerware. Build in at least 6 feet of base cabinets with weatherproof construction.
Pizza ovens and smokers appeal to serious outdoor cooks. A wood-fired pizza oven requires significant space (typically 4-5 feet of counter depth) and proper ventilation. Smokers need less space but benefit from dedicated side tables for wood chips and tools.
Electrical and plumbing needs require professional installation in most jurisdictions. Plan for at least two dedicated 20-amp circuits—one for the refrigerator, one for outlets and lighting. GFCI protection is mandatory for all outdoor receptacles.
Gas connections for grills come in two flavors: natural gas lines from your home system or propane tanks. Natural gas costs more upfront but eliminates tank refills forever. Propane offers flexibility if you're far from gas mains.
Lighting transforms usability after dark. Install task lighting above prep areas (minimum 50 foot-candles of illumination), ambient lighting for dining zones, and accent lighting to highlight architectural features. LED fixtures rated for wet locations last longest.
Material and Design Choices
Countertop materials face harsh conditions under lanais—heat from grills, moisture from rain blown sideways, UV exposure, and temperature swings. Not all surfaces survive equally.
Cabinetry for outdoor use must resist moisture, insects, and temperature extremes. Marine-grade polymer cabinets outlast everything else but cost 40-50% more than stainless steel options. Stainless steel provides the classic outdoor kitchen look and handles weather well if properly sealed.
Wood cabinets belong indoors, period. Even under a covered lanai, humidity and temperature fluctuations will warp and damage traditional wood cabinetry within a few years.
Flooring should match or complement your existing lanai surface. Most lanais feature concrete, tile, or pavers already. If you're upgrading, choose slip-resistant tiles rated for outdoor use with a textured finish.
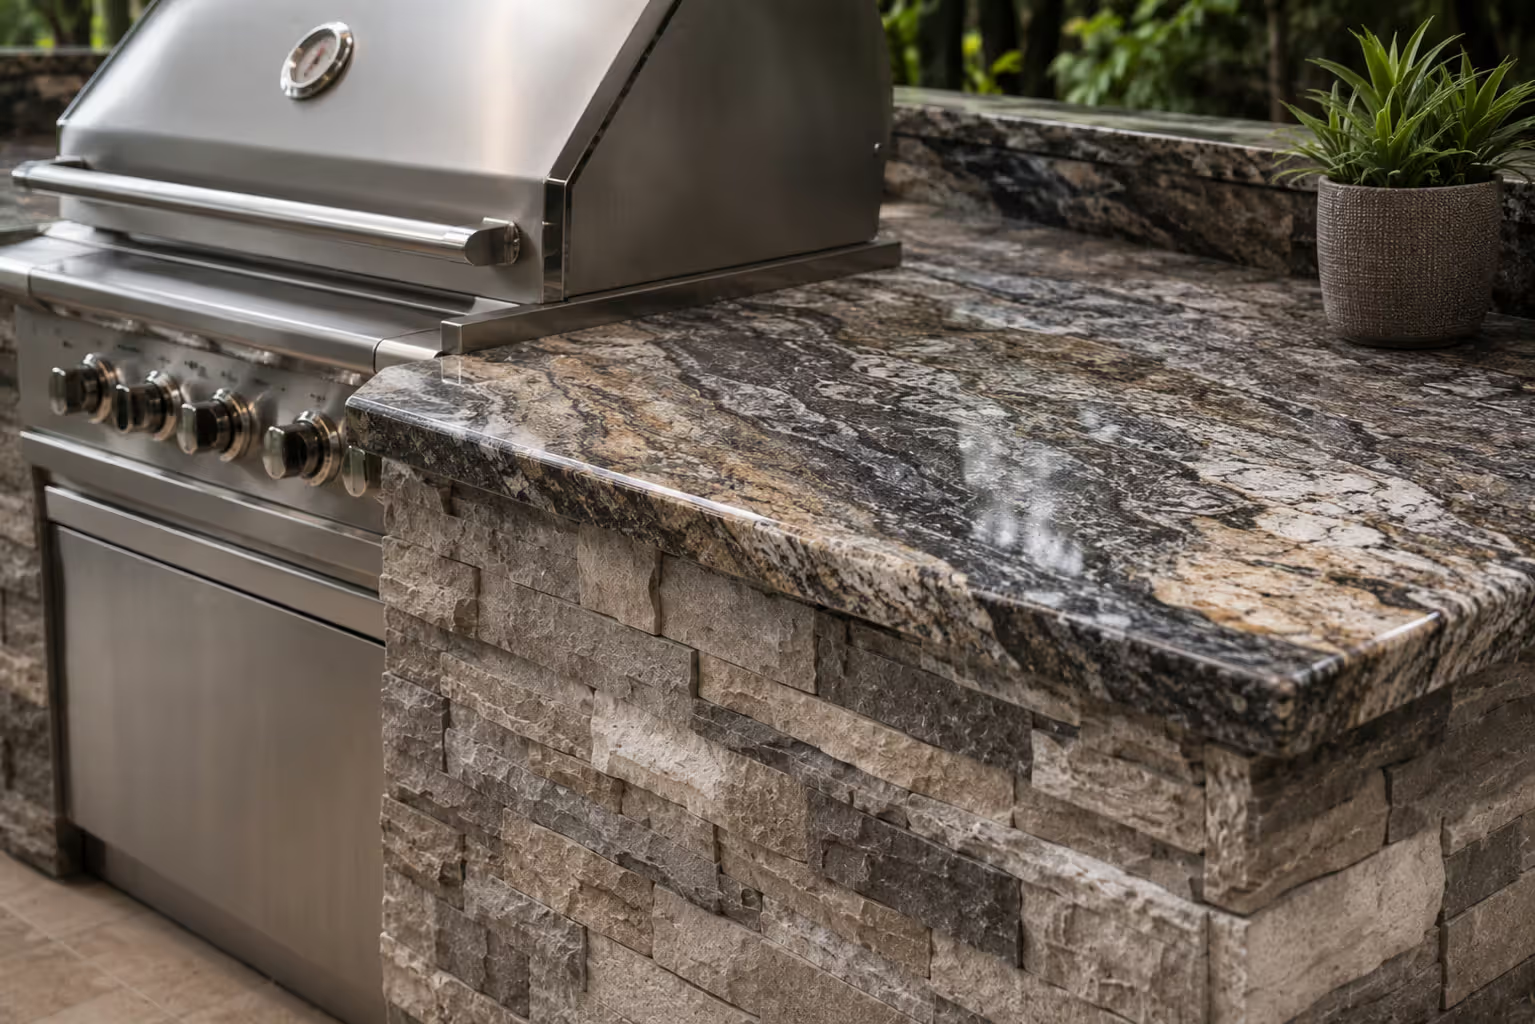
Outdoor kitchen stacked stone applications add visual interest and durability. Use stacked stone as a veneer on grill islands, backsplashes, or accent walls. The material hides minor imperfections, provides texture, and holds up indefinitely in covered applications.
Weatherproof finishes matter even under roof coverage. Powder-coated metals resist rust better than painted surfaces. Sealed natural stone needs annual resealing to prevent staining. Porcelain tile is virtually maintenance-free.
Outdoor Kitchen Countertop Options
Granite remains popular for good reason—it handles heat, resists staining when sealed, and offers countless color options. Expect to pay $60-100 per square foot installed. Reseal annually for best performance.
Concrete countertops provide a modern look and can be cast in custom shapes. Properly sealed concrete resists heat and moisture well. Cost runs $75-150 per square foot for custom poured-in-place installations.
Porcelain slabs have gained market share since 2024. They're non-porous, heat-resistant to 2000°F, and never need sealing. The material mimics marble, concrete, or wood grain convincingly. Pricing sits around $70-120 per square foot.
Tile offers budget-friendly versatility at $15-40 per square foot installed. Use large-format tiles (12x24 inches or bigger) to minimize grout lines. Grout becomes a maintenance headache in outdoor kitchens—the fewer lines, the better.
Avoid: laminate (swells with moisture), butcher block (warps and splits), and marble (stains easily outdoors). These materials fail quickly in outdoor applications, even under cover.
Author: Liam Ashcroft;
Source: cribbslandscaping.com
Stacked Stone Applications
Grill island facades look dramatic wrapped in stacked stone. The texture adds depth and hides the gap between your grill insert and surrounding structure. Use a waterproof membrane behind the stone even though you're under a roof—wind-driven rain happens.
Backsplash areas behind cooktops and sinks benefit from stacked stone's durability. Grease and food splatter wipe off easily, and the material never shows wear. Install it at least 18 inches high, preferably to counter height.
Accent walls create focal points without overwhelming the space. A partial wall of stacked stone defines the kitchen zone while maintaining open sightlines to the rest of your lanai.
Corner columns wrapped in stone add architectural interest and can hide support posts or utility runs. This works especially well if your lanai has existing structural columns that look plain.
Color selection matters more than you'd think. Choose stone colors that complement your house exterior and existing lanai materials. Neutral grays and earth tones blend with most architectural styles.
Lanai vs. Pergola vs. Screened Porch Kitchens
Different covered structures suit different needs and budgets. Here's how they compare for outdoor kitchen applications:
Structure Type
Weather Protection
Ventilation
Bug Protection
Cost Range
Best For
Lanai
Excellent - solid roof
Good - open sides
Optional with screens
$15,000-$35,000
Year-round use, full weather protection
Pergola
Minimal - slatted roof
Excellent - fully open
None
$8,000-$20,000
Partial shade, architectural interest
Screened Porch
Excellent - solid roof
Moderate - needs fans
Excellent - full screening
$18,000-$40,000
Bug-free dining, enclosed feel
Covered Patio
Good - solid roof
Very good - open sides
None
$10,000-$25,000
Budget-friendly, simple design
Pavilion
Excellent - solid roof
Excellent - open sides
None
$12,000-$30,000
Freestanding option, entertaining focus
Lanai kitchen design delivers the most versatile setup. You get complete rain protection with good airflow and the option to add screens later if bugs become problematic. The solid roof means you can install permanent lighting and ceiling fans without weather concerns.
Pergola kitchen design works in dry climates where rain is infrequent. The open slat roof provides partial shade and architectural appeal but offers minimal protection during storms. You'll need weatherproof covers for appliances and should avoid sensitive electronics.
Screened porch kitchen setups excel in buggy regions—coastal areas, near lakes, or anywhere mosquitoes and flies are constant problems. The screening keeps pests out while you cook and dine. The tradeoff is reduced airflow, which means you absolutely need ventilation fans above the grill.
The simpler option usually wins here if you're in a moderate climate. A basic lanai with a solid roof gives you 90% of the benefits at lower cost than a fully screened enclosure.
The most successful outdoor kitchens I design under lanais balance protection with openness. You want that roof overhead for rain and sun control, but keeping the sides open maintains the outdoor experience and prevents heat and smoke buildup that can make cooking uncomfortable.
— Martinez Sarah
Common Mistakes to Avoid
Ventilation issues top the list of problems I see. Even under a covered lanai, grill smoke accumulates without proper airflow. Install a roof-mounted exhaust fan rated for at least 600 CFM if your lanai has low ceilings (under 10 feet) or limited cross-breeze.
Inadequate lighting ruins functionality after sunset. Don't rely on a single overhead fixture. Layer your lighting with task lights over work surfaces, ambient lighting for dining areas, and pathway lighting for safety.
Poor material choices cost thousands in premature replacements. That indoor refrigerator you're tempted to use outside? It'll fail within two years. Outdoor-rated appliances cost more upfront but they're built for temperature swings and humidity.
Ignoring codes and permits creates legal and safety problems. Most jurisdictions require permits for electrical work, gas line installation, and structural modifications. Skipping permits can complicate insurance claims and home sales.
Underestimating storage needs leaves you with cluttered counters and frequent indoor trips. Plan for 50% more storage than you think you need—you'll fill it within the first year.
Placing the grill too close to combustible materials violates fire codes and creates genuine hazards. Maintain at least 12 inches of clearance from any wood trim, siding, or overhead structures. Check your specific grill's installation manual for exact requirements.
Forgetting about drainage causes standing water problems. Even under a roof, wind blows rain onto your lanai. Ensure your floor slopes away from the house at 1/4 inch per foot minimum, and install a floor drain if your lanai is enclosed on multiple sides.
Author: Liam Ashcroft;
Source: cribbslandscaping.com
FAQ: Outdoor Kitchen Under Lanai Questions Answered
Do I need a permit to build an outdoor kitchen under my lanai?
In most US jurisdictions, yes. Electrical work, gas line installation, and plumbing modifications typically require permits regardless of whether they're indoors or out. Some areas also require permits for structural changes to existing lanais or for outdoor cooking appliances over certain BTU ratings. Contact your local building department before starting work—permit requirements vary significantly by county and municipality. The permit process usually takes 2-4 weeks and costs $200-800 depending on project scope.
What's the minimum size lanai needed for an outdoor kitchen?
You can build a functional outdoor kitchen in a lanai as small as 10x10 feet, but 12x14 feet provides more comfortable working space. The minimum setup includes a 36-inch grill, 3-4 feet of prep counter, and a small refrigerator—this requires about 8-10 linear feet of counter space. Add at least 42 inches of clearance behind the work area for movement. Smaller lanais work better with L-shaped layouts that maximize corner space. If you plan to include dining areas under the same roof, budget at least 14x16 feet total.
Can I use regular kitchen cabinets in a lanai kitchen?
No, standard indoor cabinets won't survive outdoor conditions even under a covered lanai. Temperature fluctuations, humidity, and occasional rain exposure cause wood cabinets to warp, swell, and delaminate within 1-2 years. Use cabinets specifically rated for outdoor use—marine-grade polymer, stainless steel, or aluminum frames with weatherproof doors. These materials cost 40-60% more than indoor cabinets but last 15-20 years in outdoor applications. If budget is tight, stainless steel cabinets offer the best value-to-longevity ratio.
How much does an outdoor kitchen under a lanai cost?
Basic setups with a built-in grill, small refrigerator, and simple counters start around $8,000-12,000 for materials and installation. Mid-range projects with quality appliances, stone countertops, and custom cabinetry typically run $15,000-30,000. High-end installations with premium grills, multiple appliances, custom stonework, and extensive counter space can exceed $40,000-60,000. The existing lanai structure reduces costs by $5,000-10,000 compared to building from scratch. Labor typically accounts for 40-50% of total project cost in most markets.
What countertop material lasts longest in a covered outdoor kitchen?
Porcelain slabs and granite tie for longevity in covered outdoor applications, both lasting 20+ years with minimal maintenance. Porcelain requires zero sealing and resists staining better than any natural stone. Granite needs annual sealing but offers more color variety and a traditional look that many homeowners prefer. Concrete countertops last equally long if properly sealed and maintained, though they require resealing every 1-2 years. Avoid tile if possible—the grout lines trap moisture and stains, requiring constant cleaning and periodic resealing.
Should my lanai kitchen have a roof fan or ventilation system?
Yes, if your lanai has a ceiling height under 10 feet or limited cross-ventilation from open sides. Install a ceiling fan rated for outdoor use (minimum 52-inch diameter) to move air and prevent heat buildup. For serious ventilation, add a roof-mounted exhaust fan positioned 2-3 feet above and slightly behind your grill. Size the exhaust fan at 600-1200 CFM depending on your grill's BTU output and lanai size. Screened lanais especially need mechanical ventilation since the screens restrict natural airflow significantly.
Success with an outdoor kitchen under lanai comes down to planning for how you'll actually use the space, not how you imagine using it. Start with the basics—a quality grill, adequate prep space, and convenient refrigeration. You can always add a pizza oven or smoker later once you've established your cooking patterns.
Maintenance requirements stay manageable if you choose the right materials upfront. Sealed stone counters, stainless or polymer cabinets, and outdoor-rated appliances need little more than regular cleaning. Skip the exotic materials that require constant upkeep.
The investment pays off through extended outdoor living months and a space that genuinely gets used. Unlike uncovered outdoor kitchens that sit idle during bad weather, your lanai kitchen stays functional year-round in most climates. That consistent usability drives the value—both in daily enjoyment and eventual resale return.
Your specific setup should reflect your cooking style and entertaining habits. If you're a serious griller, invest in a premium built-in grill station with rotisserie and side burners. If you host large gatherings, prioritize counter space and refrigeration over specialty appliances. The best outdoor kitchen is the one that matches your actual lifestyle, not someone else's Instagram-worthy fantasy.
Discover practical exterior walkout basement ideas including patio layouts, landscaping solutions, and drainage strategies. Learn how to turn your below-grade outdoor space into a functional, attractive area with expert tips on materials, plantings, and design.
Transform your rooftop into a functional outdoor living space. Learn about structural requirements, weight limits, flooring options, wind-resistant furniture, container gardening, and design layouts for rooftops of all sizes.
Discover how to fit a functional half circle driveway into a compact front yard. This guide covers layout planning, material selection, landscaping strategies, common mistakes to avoid, and realistic cost estimates for creating an attractive semicircular driveway that improves traffic flow and curb appeal.
Discover practical stock tank pool deck ideas for small backyards. Learn how to build DIY decking, choose materials, add landscaping, and create privacy screens around your galvanized tank pool with expert installation tips and budget-friendly designs.
The content on this website is provided for general informational and educational purposes only. It is intended to explain concepts related to landscape design, outdoor spaces, plants, irrigation, hardscape and softscape, and sustainable landscaping.
All information on this website, including articles, guides, and examples, is presented for general educational purposes. Outcomes may vary depending on local climate, soil, plant selection, and project implementation.
This website does not provide professional design, construction, or horticultural advice, and the information presented should not be used as a substitute for consultation with qualified landscape architects, contractors, or horticulturists.
The website and its authors are not responsible for any errors or omissions, or for any outcomes resulting from decisions made based on the information provided on this website.