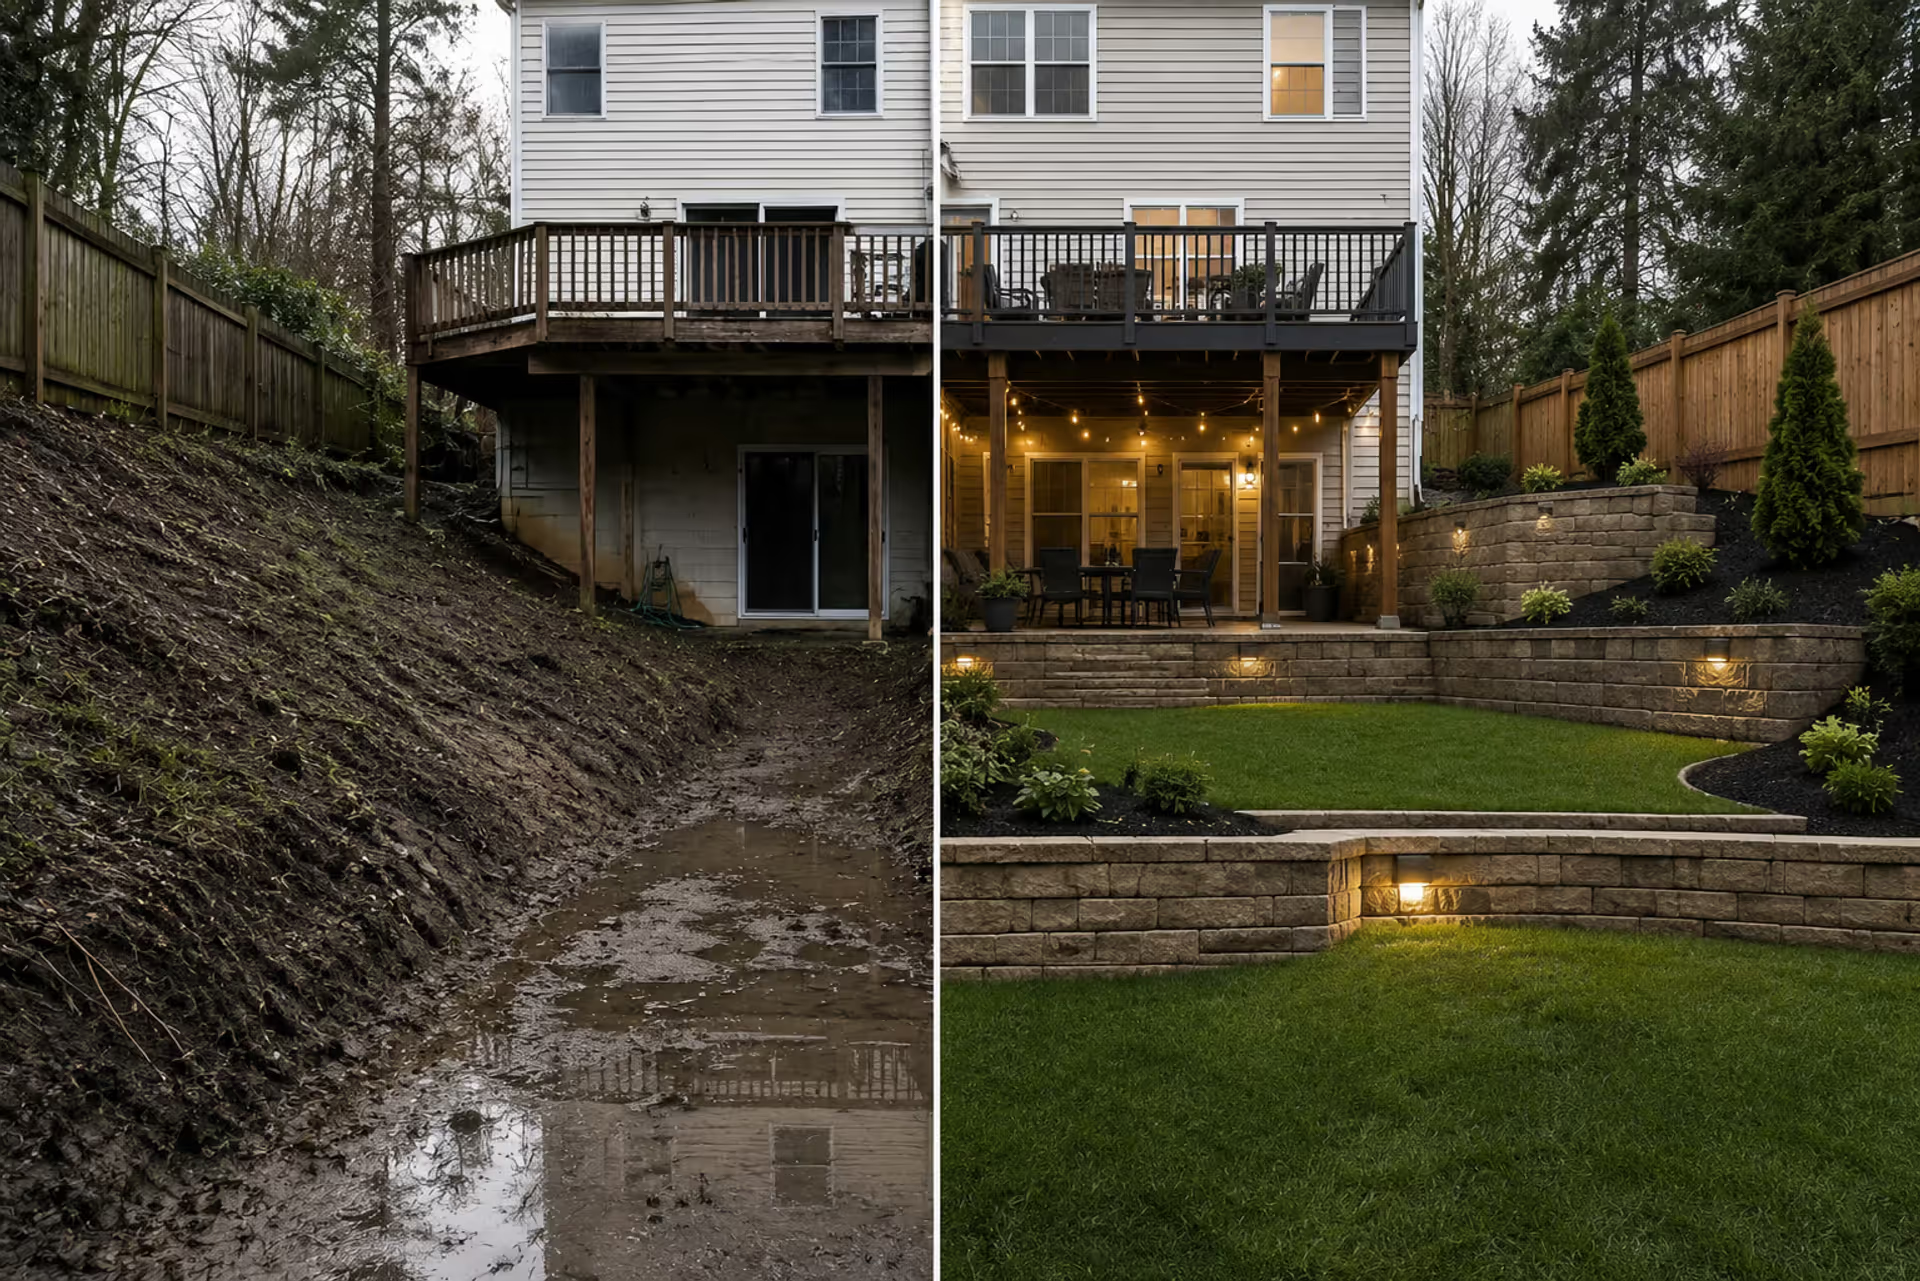
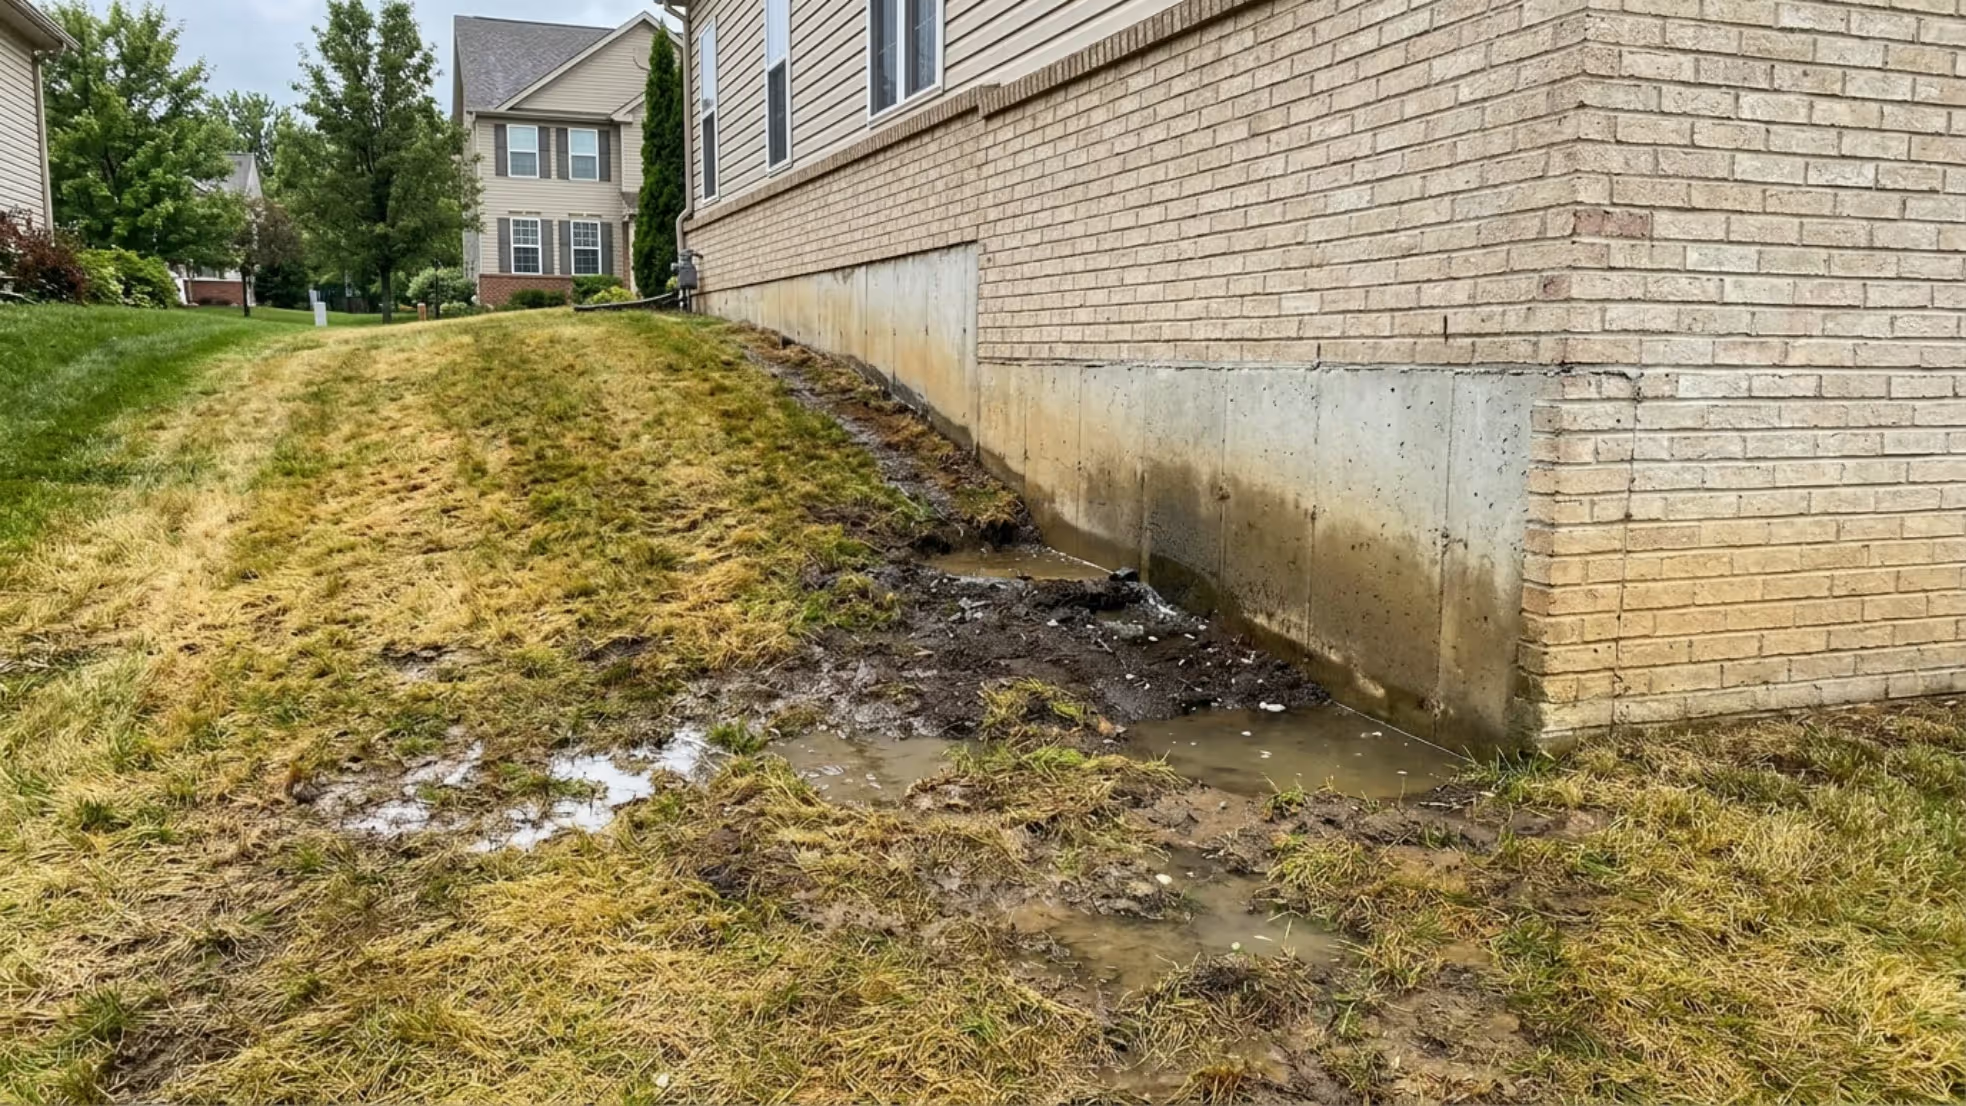
You walk into your backyard and see water pooling against the foundation. Again. Or maybe you've got a hillside so steep the kids can't play on it without sliding down. Either way, you're staring at a sloped yard that just doesn't work. The good news? You're not stuck with it. Homeowners across the country are transforming unusable, problem-prone slopes into functional outdoor spaces—and the before-and-after results can be dramatic.
Why Homeowners Level Sloped Yards
Most people don't wake up thinking about yard grading. They notice the problems first.
Water is the biggest culprit. When your yard slopes toward your house, every rainstorm sends water straight at your foundation. That means wet basements, cracked walls, and mold issues that cost thousands to fix. Even slopes that seem harmless can channel water into low spots where it sits for days, killing grass and creating mosquito breeding grounds.
Then there's the space issue. A steep slope is basically unusable. You can't put a playset on a 15-degree incline. Mowing becomes dangerous. Forget about a patio or garden beds—everything slides downhill.
Safety matters too. Slopes get slippery when wet. Kids running around can take nasty falls. Older homeowners find steep yards increasingly difficult to navigate.
Erosion eats away at your property over time. Heavy rains carve channels through exposed soil, washing away topsoil and creating ugly gullies. I've seen yards lose several inches of elevation in just a few years because the slope was too steep and unprotected.
Before-and-after example 1: A Chicago homeowner had a backyard that dropped 4 feet over 20 feet of distance—a 20% slope. Water constantly flooded their basement. After regrading to a gentle 2% slope away from the house and installing proper drainage, the yard became flat enough for a patio and raised garden beds. The basement stayed dry through two spring storm seasons.
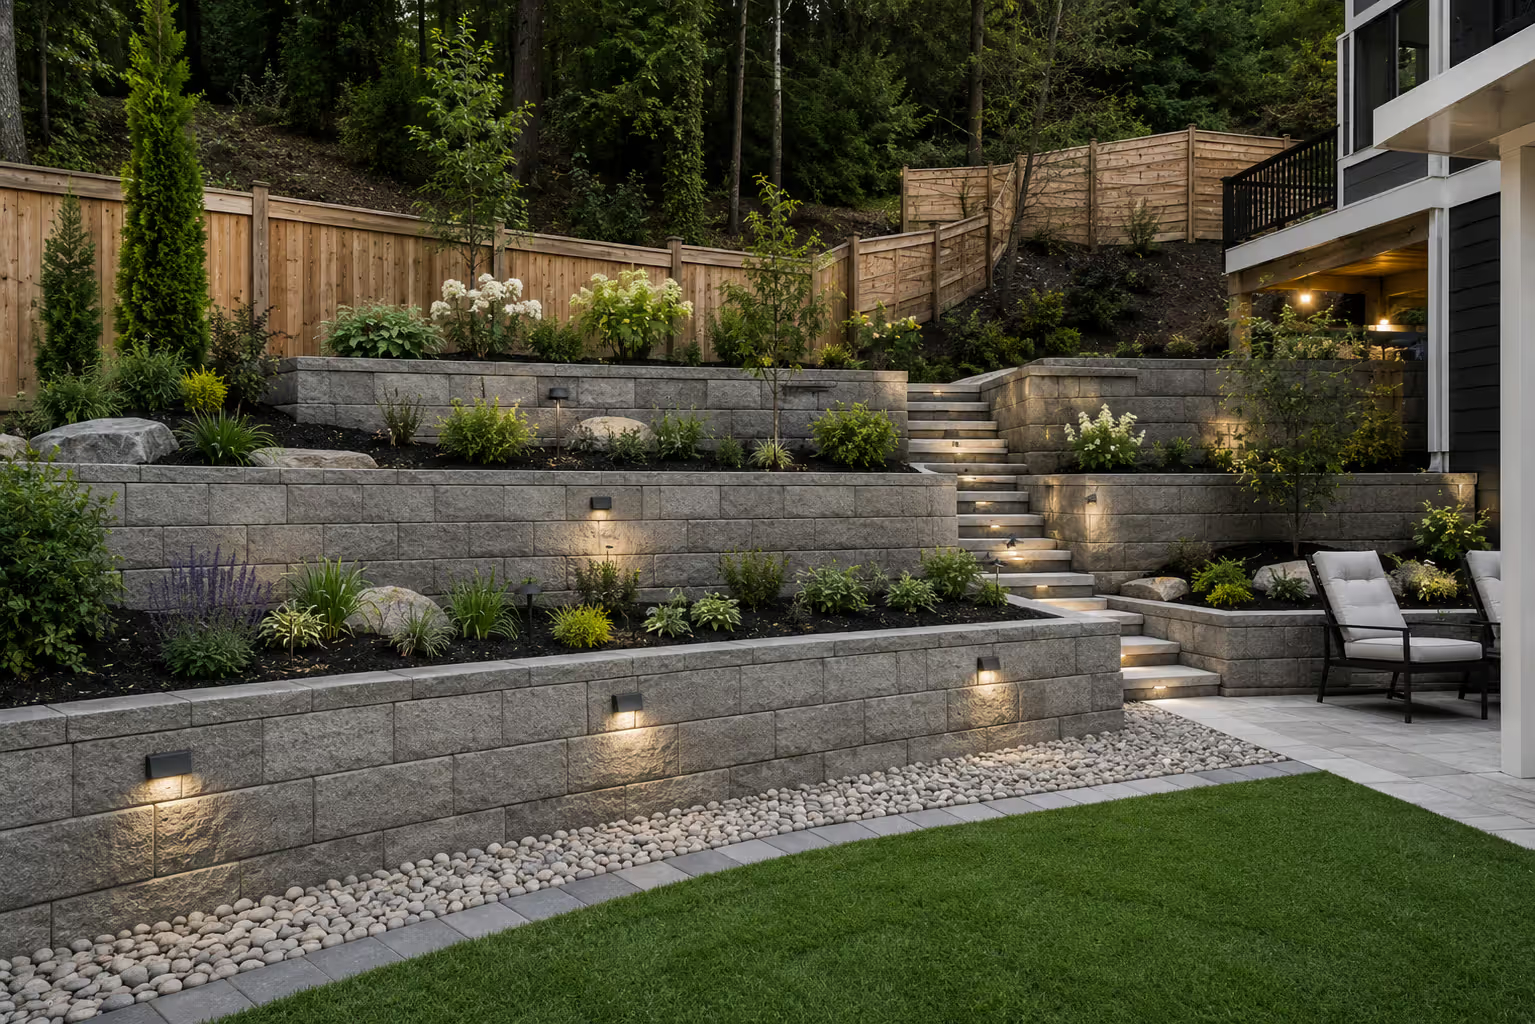
Before-and-after example 2: A Seattle property had a hillside backyard dropping 12 feet over 30 feet. Completely unusable. The solution wasn't leveling—it was terracing. Three retaining wall tiers created level planting beds and a small lawn area on the middle terrace. The transformation turned wasted space into a showpiece garden.
Before-and-after example 3: A Texas yard sloped 6 inches toward the house over just 10 feet. Not dramatic, but enough to cause drainage problems. Simple regrading reversed the slope, and a French drain along the foundation handled excess water. Total cost was under $3,000, and the water issues disappeared.
Author: Sienna Calder;
Source: cribbslandscaping.com
Grading vs. Terracing: Which Solution Fits Your Slope
You've got two main approaches here. Full regrading means reshaping the entire yard to create a gentler, more manageable slope. Terracing means building retaining walls to create level sections at different heights.
The right choice depends on how steep your slope is.
Gentle slopes—under 10%—are perfect candidates for regrading. You can reshape them without massive amounts of soil movement or expensive walls. Moderate slopes from 10% to 25% can go either way depending on your budget and goals. Steep slopes over 25%? Terracing usually makes more sense.
Your soil type matters. Clay soil compacts well and holds grades nicely. Sandy soil tends to shift and erode, making retaining walls a safer bet for anything beyond a gentle slope.
Budget plays a role too. Regrading costs less for mild slopes but gets expensive fast when you need to move large volumes of soil. Terracing requires materials—retaining wall blocks, drainage systems, backfill—but can actually cost less on very steep lots because you're working with the existing grade.
When Full Yard Regrading Makes Sense
Regrading works best when you're dealing with slopes under 15% and you want a mostly flat, open yard.
This approach involves stripping the existing sod, moving soil to create the desired grade, compacting it properly, and replanting. You're essentially sculpting the entire yard surface.
The big advantage? You end up with a smooth, continuous lawn or garden area. No walls to maintain. No terraced levels to navigate. Just a gentle slope that drains properly and gives you usable space.
Common scenarios where regrading wins:
Yards that slope toward the house (you need to reverse that grade)
Properties with uneven, bumpy terrain that needs smoothing
New construction sites where the builder left poor grading
Situations where you want a large, flat lawn area
The process requires heavy equipment for anything beyond a small patch. A skid steer or small bulldozer can move soil efficiently. Soil compaction is critical—if you don't compact properly, the yard will settle unevenly over the next year, creating new low spots.
Author: Sienna Calder;
Source: cribbslandscaping.com
When Terracing and Retaining Walls Work Better
Steep slopes need terracing. Period.
Once you're looking at a 25% slope or steeper, trying to regrade the entire thing becomes impractical. You'd need to remove massive amounts of soil from the high end or bring in truckloads to fill the low end. The costs spiral quickly.
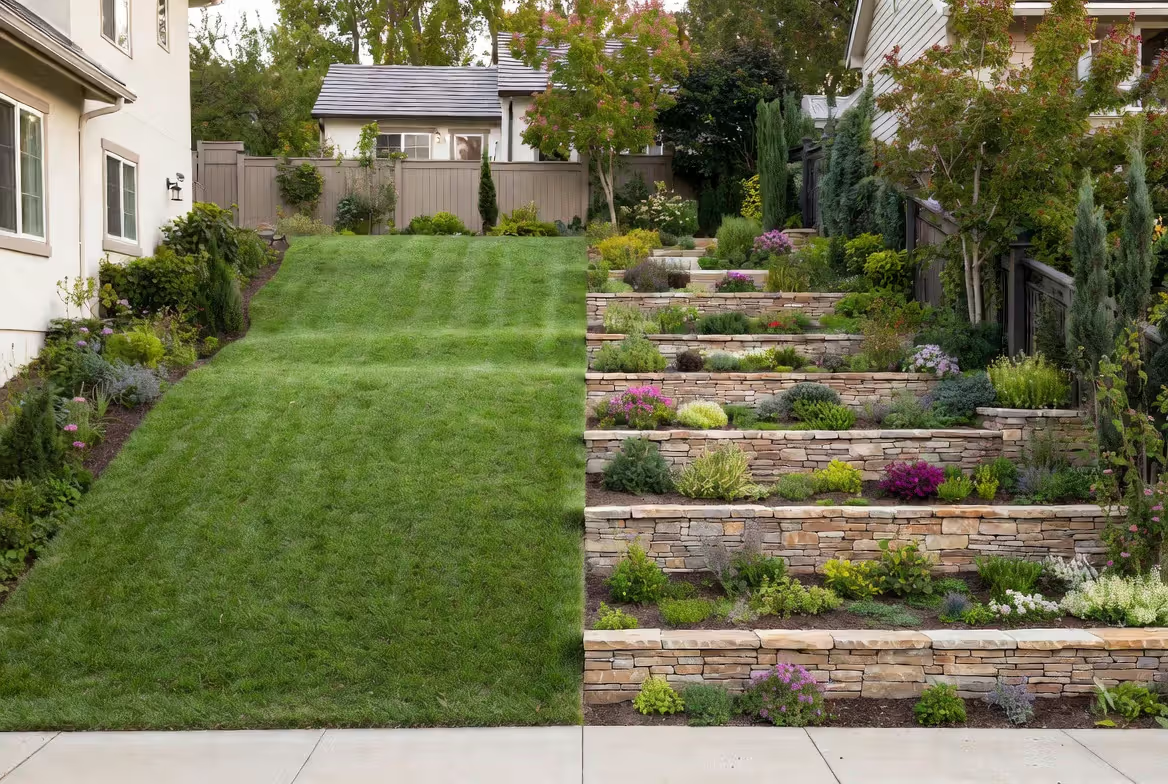
Terracing creates multiple level areas by building retaining walls at different heights. Each terrace becomes its own usable space—a garden bed, a small lawn, a patio area.
This approach works with the natural topography instead of fighting it. You're not trying to flatten a hill. You're carving functional spaces into it.
Terracing also gives you design opportunities that flat yards can't match. Different levels create visual interest. You can have a vegetable garden on one terrace, a seating area on another, and ornamental plantings on a third.
The downside? Retaining walls require proper engineering, especially for walls over 3 feet tall. Drainage behind the walls is critical—trapped water creates pressure that can topple even well-built walls. And you'll have stairs or paths connecting the different levels, which means ongoing maintenance.
The Yard Regrading Process Step-by-Step
Regrading isn't something you eyeball and wing. It requires planning, the right equipment, and attention to detail.
Step 1: Assessment and design. You need to know your current slope and determine your target grade. A 2% slope away from the house is the minimum for proper drainage—that's a 2-foot drop over 100 feet, or about 1/4 inch per foot. Steeper is fine, up to about 5%, but beyond that you're creating runoff problems.
Mark your high and low points. Identify where water needs to go—you can't just push it toward your neighbor's property.
Step 2: Permits and utility location. Most municipalities require permits for significant grading work, especially if you're changing drainage patterns or moving more than a certain volume of soil. Call 811 to have utilities marked before any digging starts. Hitting a gas line or electrical cable turns your project into a nightmare.
Step 3: Strip existing vegetation. Remove sod, plants, and debris from the work area. You can rent a sod cutter for this or use a skid steer with a blade. Save the good topsoil—you'll want it later.
Step 4: Rough grading. This is where you move soil to create the basic shape. Cut from high areas, fill in low spots. A skid steer or compact excavator makes this manageable for most residential yards. Larger projects might need a bulldozer.
Work in lifts if you're adding fill—don't dump 2 feet of soil all at once. Add 6-8 inches, compact it, then add more.
Step 5: Compaction. This step separates amateur jobs from professional ones. Loose soil will settle over time, creating depressions and drainage problems. Use a plate compactor or roller to compress the soil. For large areas, you might need a vibratory roller.
Compact every 6-8 inch lift as you go. Don't wait until the end.
Step 6: Fine grading. Once the rough shape is right and compacted, do a final pass to smooth the surface. A landscape rake attached to a skid steer works well, or you can hand-rake smaller areas.
Check your grade with a long level or laser level. Water should flow away from structures and toward designated drainage areas.
Step 7: Topsoil and seeding. Spread 2-4 inches of quality topsoil over the graded area. This gives grass and plants a good growing medium. Seed, sod, or plant according to your plan.
Water regularly until vegetation is established. This also helps settle the soil and reveals any low spots you might have missed.
DIY vs. professional considerations: Small areas under 500 square feet with gentle slopes can be DIY projects if you're comfortable renting equipment. Anything involving significant soil movement, slopes near structures, or drainage issues should involve a professional. The cost of fixing a botched grading job usually exceeds what you'd have paid to hire someone in the first place.
Retaining Walls and Terraced Garden Solutions
Retaining walls transform steep, unusable slopes into tiered outdoor rooms.
The key is understanding that these walls aren't just decorative—they're structural elements holding back tons of soil. Build them wrong and they'll fail, sometimes catastrophically.
Material options: Concrete blocks are the most common choice for residential walls. Interlocking systems like Belgard or Allan Block are DIY-friendly for walls under 3 feet. They don't require mortar, and the interlocking design provides stability.
Natural stone looks beautiful but requires more skill to build. Dry-stacked stone walls work for low terraces. Mortared stone is more stable but needs proper footings and drainage.
Timber walls using landscape timbers or railroad ties are cheaper but don't last as long. Expect 10-15 years before rot becomes an issue in most climates.
Poured concrete is the most permanent option but also the most expensive. Usually reserved for tall walls or situations where maximum strength is needed.
Placement and design: Each terrace should be wide enough to be functional. A 4-foot-deep terrace is barely usable. Aim for at least 6-8 feet of depth for planting beds, 10-12 feet if you want a small lawn or patio area.
Wall height affects cost and complexity exponentially. A 2-foot wall is straightforward. A 4-foot wall requires more engineering. Anything over 4 feet typically needs professional design and permits.
Stagger your walls—don't stack them directly on top of each other. Offset each tier by at least the height of the wall below it. This distributes the load and looks more natural.
Drainage is everything: Water trapped behind a retaining wall creates hydrostatic pressure that can push the wall out. Every retaining wall needs drainage.
Install perforated drain pipe along the base of the wall, behind the blocks. Surround it with gravel to allow water to flow freely. The pipe should daylight (exit to open air) at the end of the wall or connect to your yard's drainage system.
Backfill behind the wall with gravel for the first 12 inches. This creates a drainage zone. Then you can add soil on top for planting.
Author: Sienna Calder;
Source: cribbslandscaping.com
Planting ideas for terraced levels: Lower terraces work well for vegetables and herbs—easy to access and tend. Middle terraces are perfect for ornamental perennials and shrubs. Upper terraces can handle groundcovers and plants that need less maintenance since they're harder to reach.
Cascading plants that spill over the wall edges soften the hard lines and create a more integrated look. Creeping thyme, sedum, and trailing rosemary all work well.
Fixing Yards That Slope Toward the House
This is the problem that keeps homeowners up at night. And it should—water flowing toward your foundation causes serious damage.
The fix requires reversing the grade so water flows away from the house. Building codes typically require a minimum 5% slope away from the foundation for the first 10 feet. That's a 6-inch drop over 10 feet.
The regrading approach: Strip soil from the area near the foundation and reshape the grade. You're creating a crown—the high point right at the foundation—that sheds water in all directions.
This often means raising the grade near the house and sloping it down toward the yard. But be careful—you don't want to pile soil above your foundation line or against siding. Maintain at least 6 inches of clearance between soil and any wood materials.
Sometimes you need to lower the entire yard rather than raise the area near the house. This works if you have the clearance and the yard isn't already at the minimum elevation.
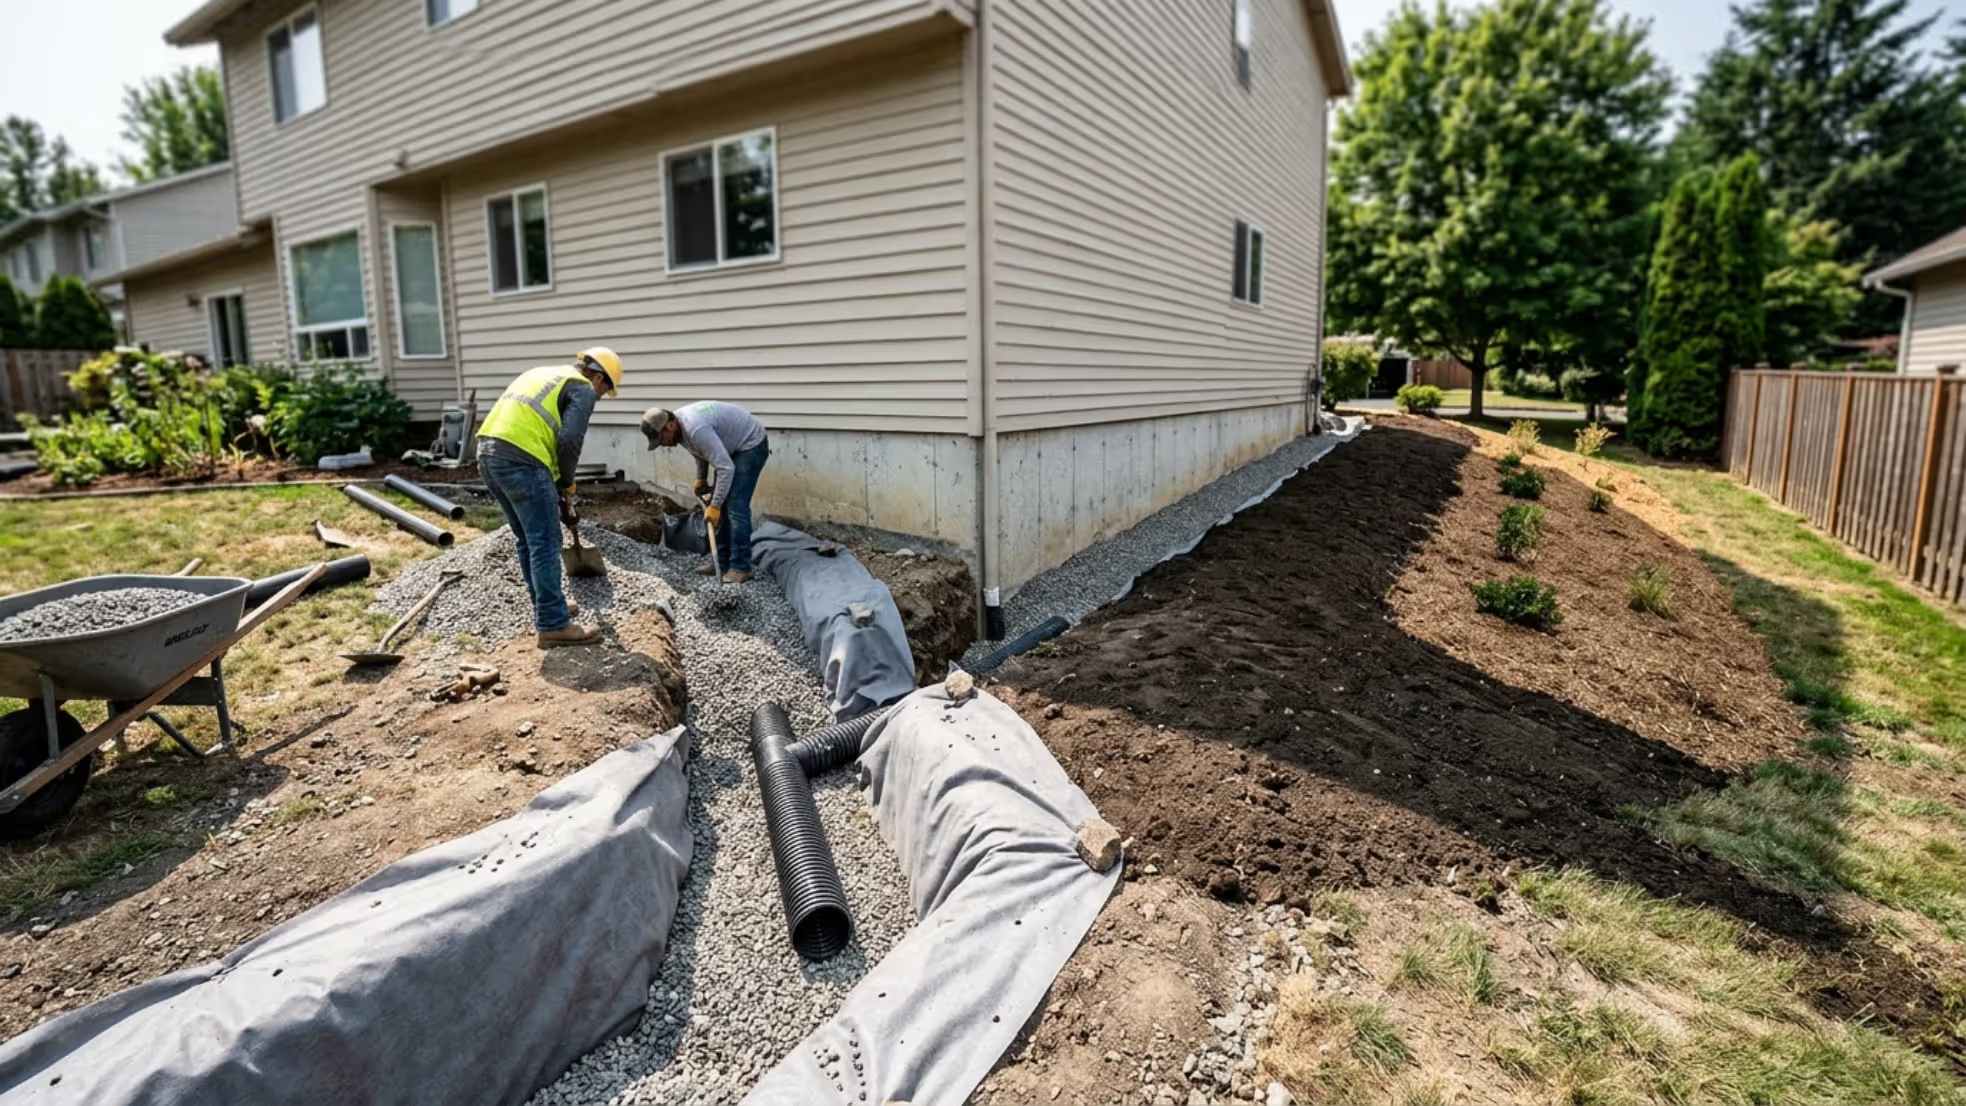
French drains: When regrading alone isn't enough—or when you've got limited space—a French drain system intercepts and redirects water.
A French drain is basically a gravel-filled trench with a perforated pipe at the bottom. You dig a trench along the foundation or at the low point where water collects. The trench slopes toward a discharge point—a dry well, storm drain, or daylight area.
Line the trench with landscape fabric, add a few inches of gravel, lay the perforated pipe (holes facing down), cover with more gravel, and wrap the fabric over the top. Then backfill with soil.
Water seeps through the gravel into the pipe and flows to the discharge point. It's invisible once installed and handles water that surface grading alone can't manage.
Swales: A swale is a shallow, vegetated channel that directs water. Think of it as a gentle ditch that blends into the landscape.
Swales work well for properties where you need to move water across the yard to a better drainage point. They're less obtrusive than French drains and can handle larger volumes of water during heavy rains.
The key is maintaining a consistent grade—typically 1-2%—so water flows steadily without pooling or eroding the channel.
Code considerations: Most building codes are strict about foundation drainage. Your local jurisdiction might require specific slopes, drainage systems, or permits for any work that affects water flow near structures.
Check before you start. A code violation can force you to tear out completed work and start over.
Author: Sienna Calder;
Source: cribbslandscaping.com
Cost Factors and Timeline Expectations
Let's talk numbers. Costs vary widely based on your location, yard size, and slope severity.
Small yard regrading (under 1,000 sq ft): Expect $1,500-$3,500 for professional work on a gentle slope. This includes basic reshaping, compaction, and seeding. DIY costs might be $300-$800 if you rent equipment and do the labor yourself.
Medium yard regrading (1,000-3,000 sq ft): Professional costs range from $3,500-$8,000. You're moving more soil and the project takes longer. Equipment rental for DIY runs $500-$1,200 plus materials.
Large yard regrading (3,000+ sq ft): Budget $8,000-$15,000+ for professional work. At this scale, DIY becomes impractical unless you have significant experience with heavy equipment.
Retaining walls: Concrete block walls cost $15-$40 per square foot installed, depending on wall height and site access. A 30-foot-long wall that's 3 feet tall runs $1,350-$3,600. Natural stone costs more—$25-$75 per square foot. Timber walls are cheaper at $10-$25 per square foot but don't last as long.
French drains: Professional installation costs $20-$50 per linear foot. A 50-foot French drain around your foundation runs $1,000-$2,500. DIY costs drop to $5-$15 per linear foot for materials.
Factors that increase costs:
Poor soil conditions requiring extra compaction or imported fill
Difficult site access (no room for equipment to maneuver)
Existing landscaping that needs removal and replacement
Steep slopes requiring more cut-and-fill work
Drainage systems beyond basic grading
Permits and engineering requirements
Timeline expectations: A typical residential regrading project takes 3-7 days for the actual work. Add time for planning, permits, and waiting for utility locates.
Settling takes longer. Newly graded areas need 6-12 months to fully settle, even with proper compaction. You might see minor low spots develop that need touch-up grading.
Vegetation establishment varies by season and method. Seeded lawns take 2-3 weeks to germinate and several months to fill in. Sod gives instant results but costs more.
DIY limits: You can handle small, simple projects—fixing a minor drainage issue, creating a gentle slope in a small area, building a low retaining wall. But know when to call in professionals.
Hire a contractor if you're dealing with slopes near your foundation, significant elevation changes, poor soil conditions, or walls over 3 feet tall. The pattern I see most often is homeowners starting a grading project themselves, getting in over their heads, and then paying more to have a pro fix the mess than they would have paid for professional work from the start.
Cost and Complexity Comparison
Solution
Best For Slope
Cost Range
DIY-Friendly
Drainage Benefit
Maintenance Level
Full Regrading
Under 10%
$1,500-$15,000
Yes (small areas)
High – reshapes entire drainage pattern
Low – just lawn care
Terracing with Retaining Walls
15-40%
$3,000-$25,000+
Partial (walls under 3 ft)
Medium – each terrace drains separately
Medium – wall inspection, plantings
French Drain Installation
Any slope
$1,000-$5,000
Yes
Very High – intercepts subsurface water
Very Low – occasional flushing
Raised Garden Beds
5-15%
$500-$3,000
Yes
Medium – creates level planting areas
Medium – bed maintenance
The most common mistake homeowners make is trying to create a perfectly flat yard on a steep slope. Working with the natural grade through terracing or strategic grading often delivers better drainage and a more sustainable landscape.
— Chen Michael
FAQ: Sloped Yard Leveling Questions Answered
How much does it cost to level a sloped backyard?
Costs range from $1,500 to $15,000+ depending on yard size and slope severity. A small yard under 1,000 square feet with a gentle slope might cost $1,500-$3,500 for professional grading. Larger yards or steep slopes requiring terracing and retaining walls can easily exceed $10,000. DIY projects cost significantly less—typically $300-$1,200 for equipment rental and materials—but require skill and time. Get quotes from three local contractors to understand pricing in your area.
Can I level my yard myself or do I need a contractor?
You can tackle small projects yourself if you're comfortable with equipment rental and physical work. Areas under 500 square feet with gentle slopes are manageable DIY projects. Rent a skid steer, plate compactor, and landscape rake. But hire a professional for slopes near your foundation, projects requiring significant soil movement, walls over 3 feet tall, or situations involving drainage problems. The risk of creating worse problems—like directing water toward your house—isn't worth the savings.
How do you fix a yard that slopes toward your house?
Reverse the grade so it slopes away from your foundation at a minimum 2% grade (1/4 inch per foot). This usually means removing soil near the foundation and reshaping the yard to create a crown at the house. Install a French drain along the foundation if regrading alone won't solve the problem. The drain intercepts water and redirects it to a safe discharge point. For severe slopes, you might need both regrading and a drainage system. Don't delay this fix—water against your foundation causes expensive damage.
What is the best way to landscape a sloped yard?
The best approach depends on slope steepness. For gentle slopes under 10%, reshape the grade to make it more manageable and plant groundcovers to prevent erosion. For moderate slopes of 10-25%, consider terracing with low retaining walls to create usable level areas. Steep slopes over 25% need substantial terracing with engineered retaining walls. Plant deep-rooted shrubs and groundcovers to stabilize soil between terraces. The simpler option usually wins here—work with your slope rather than fighting it.
How long does yard grading take to settle?
Newly graded yards need 6-12 months to fully settle, even with proper compaction. You'll likely see some minor settling in the first few months after heavy rains. This is normal. Do a touch-up grading the following spring to address any low spots that developed. Proper compaction during the initial grading minimizes settling but won't eliminate it entirely. Avoid heavy structures or hardscaping on newly graded areas for at least six months.
Do I need a permit to regrade my yard?
Most municipalities require permits for significant grading work, especially if you're changing drainage patterns or moving more than 50 cubic yards of soil. Requirements vary by location. Call your local building department before starting work. Permit costs typically range from $100-$500. You'll need to submit a grading plan showing existing and proposed elevations, drainage patterns, and erosion control measures. Skipping permits can result in fines and forced removal of completed work.
A sloped yard doesn't have to be a problem. With the right approach—whether that's regrading, terracing, or strategic drainage—you can transform unusable space into functional outdoor living areas.
Start by understanding your slope and drainage patterns. Decide whether you need full regrading or if terracing makes more sense. Get professional help for complex projects, especially anything involving water flowing toward your house.
The investment pays off. You'll have usable outdoor space, better drainage, and property that's safer and more valuable. Those before-and-after transformations you see online? They're real. And they're possible for your yard too.
Don't let a slope keep you from enjoying your property. The solutions exist. You just need to pick the right one for your situation.
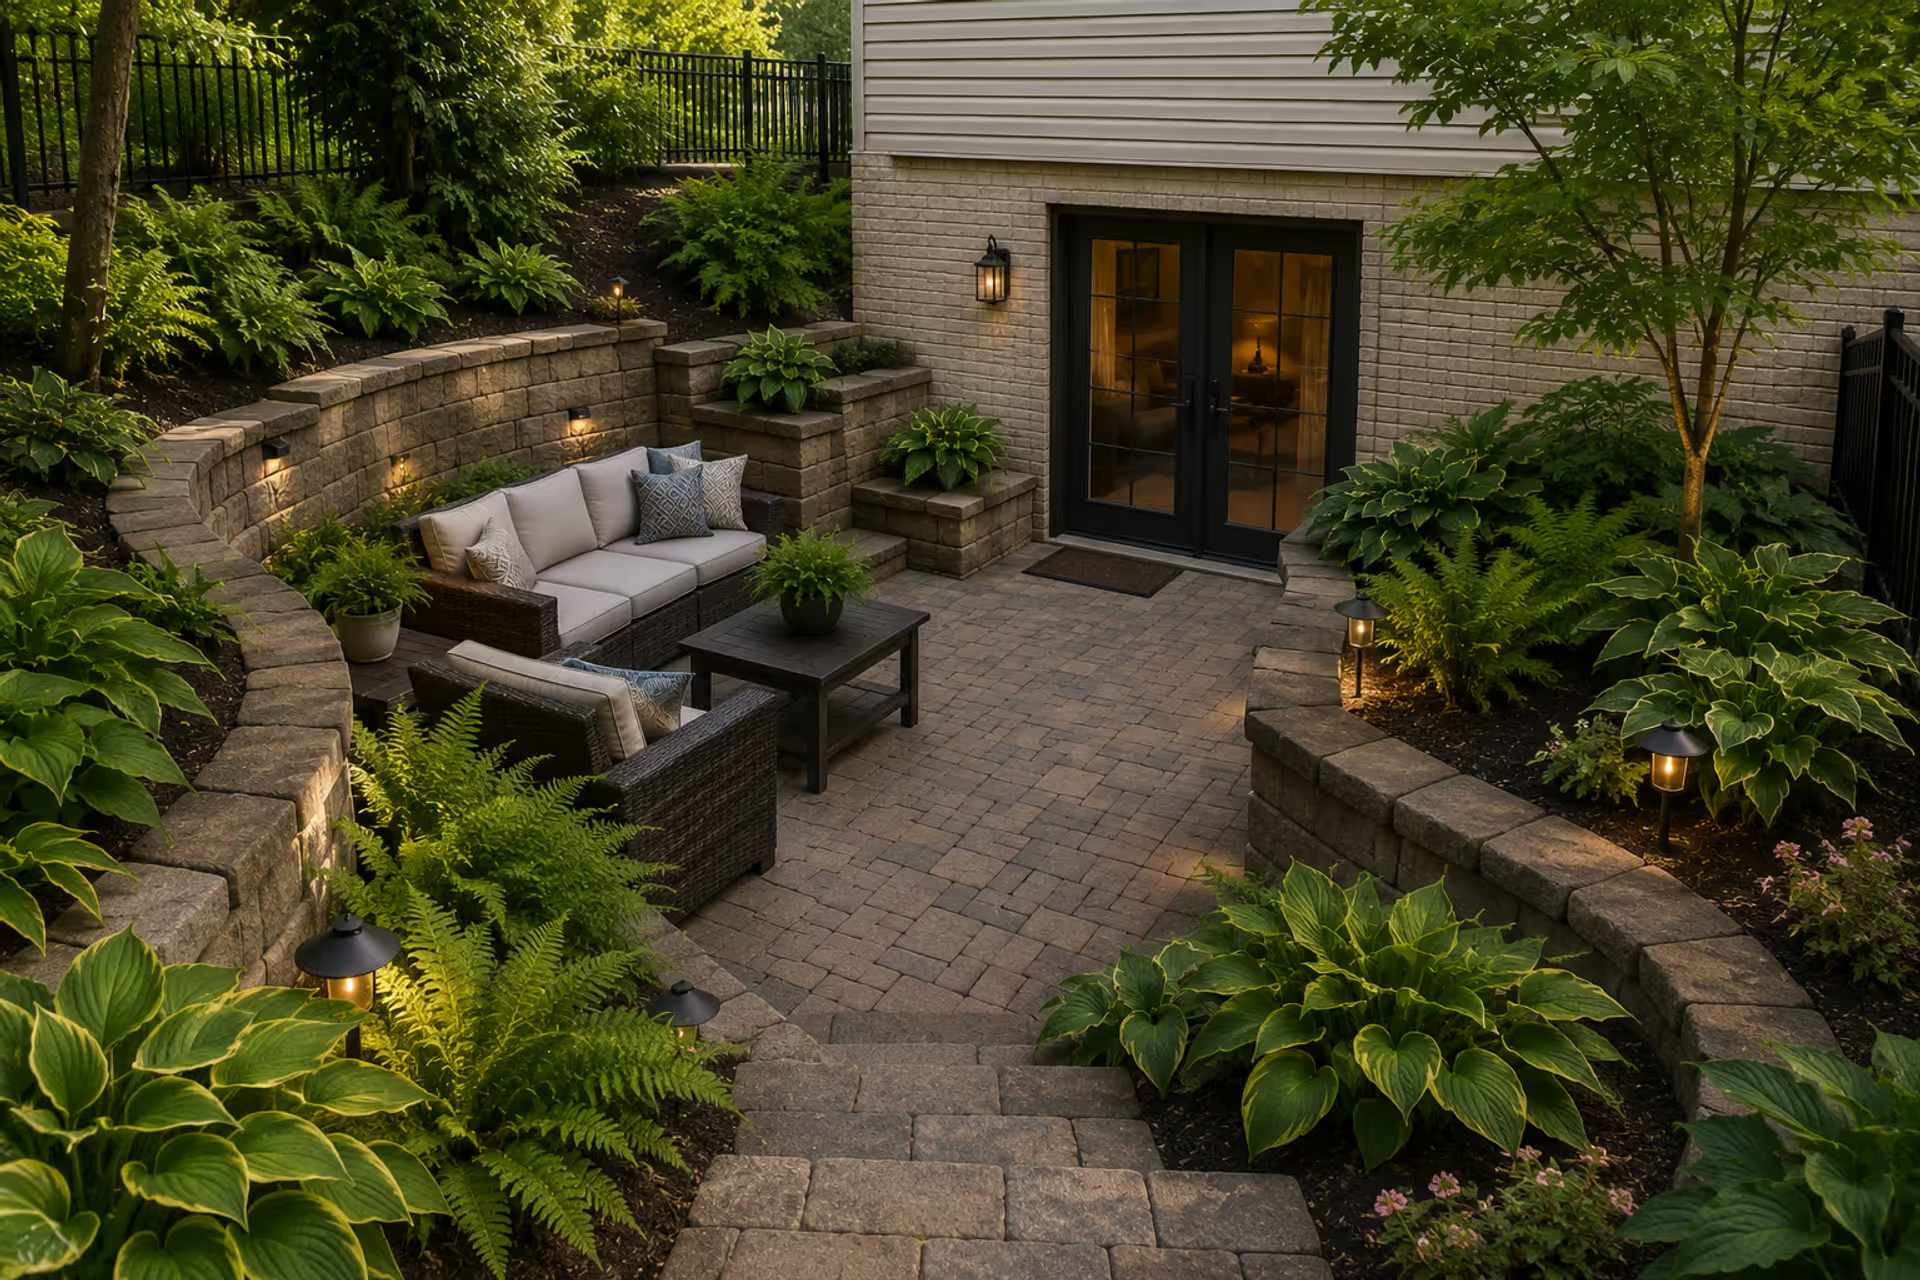
Discover practical exterior walkout basement ideas including patio layouts, landscaping solutions, and drainage strategies. Learn how to turn your below-grade outdoor space into a functional, attractive area with expert tips on materials, plantings, and design.
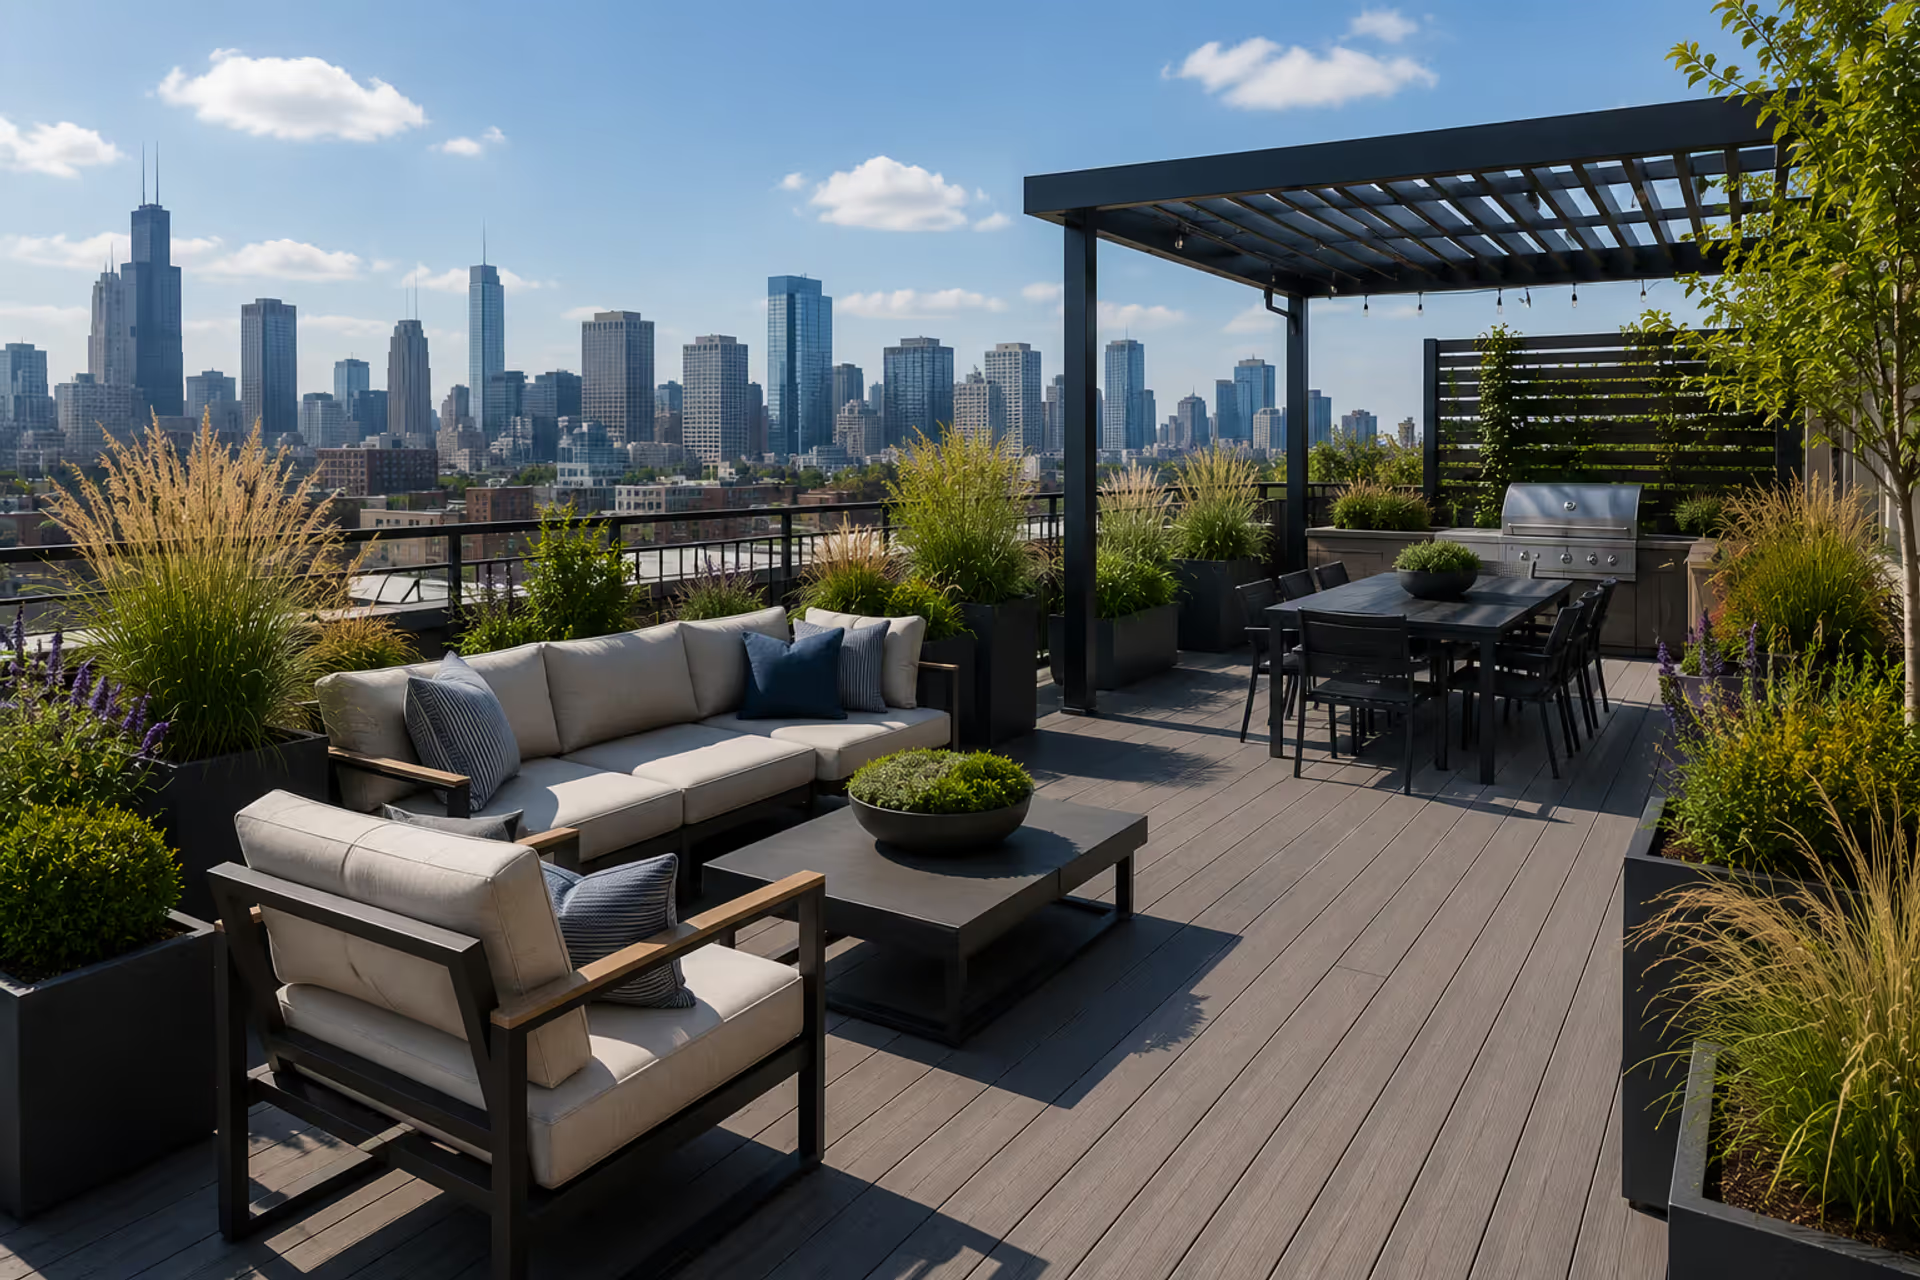
Transform your rooftop into a functional outdoor living space. Learn about structural requirements, weight limits, flooring options, wind-resistant furniture, container gardening, and design layouts for rooftops of all sizes.
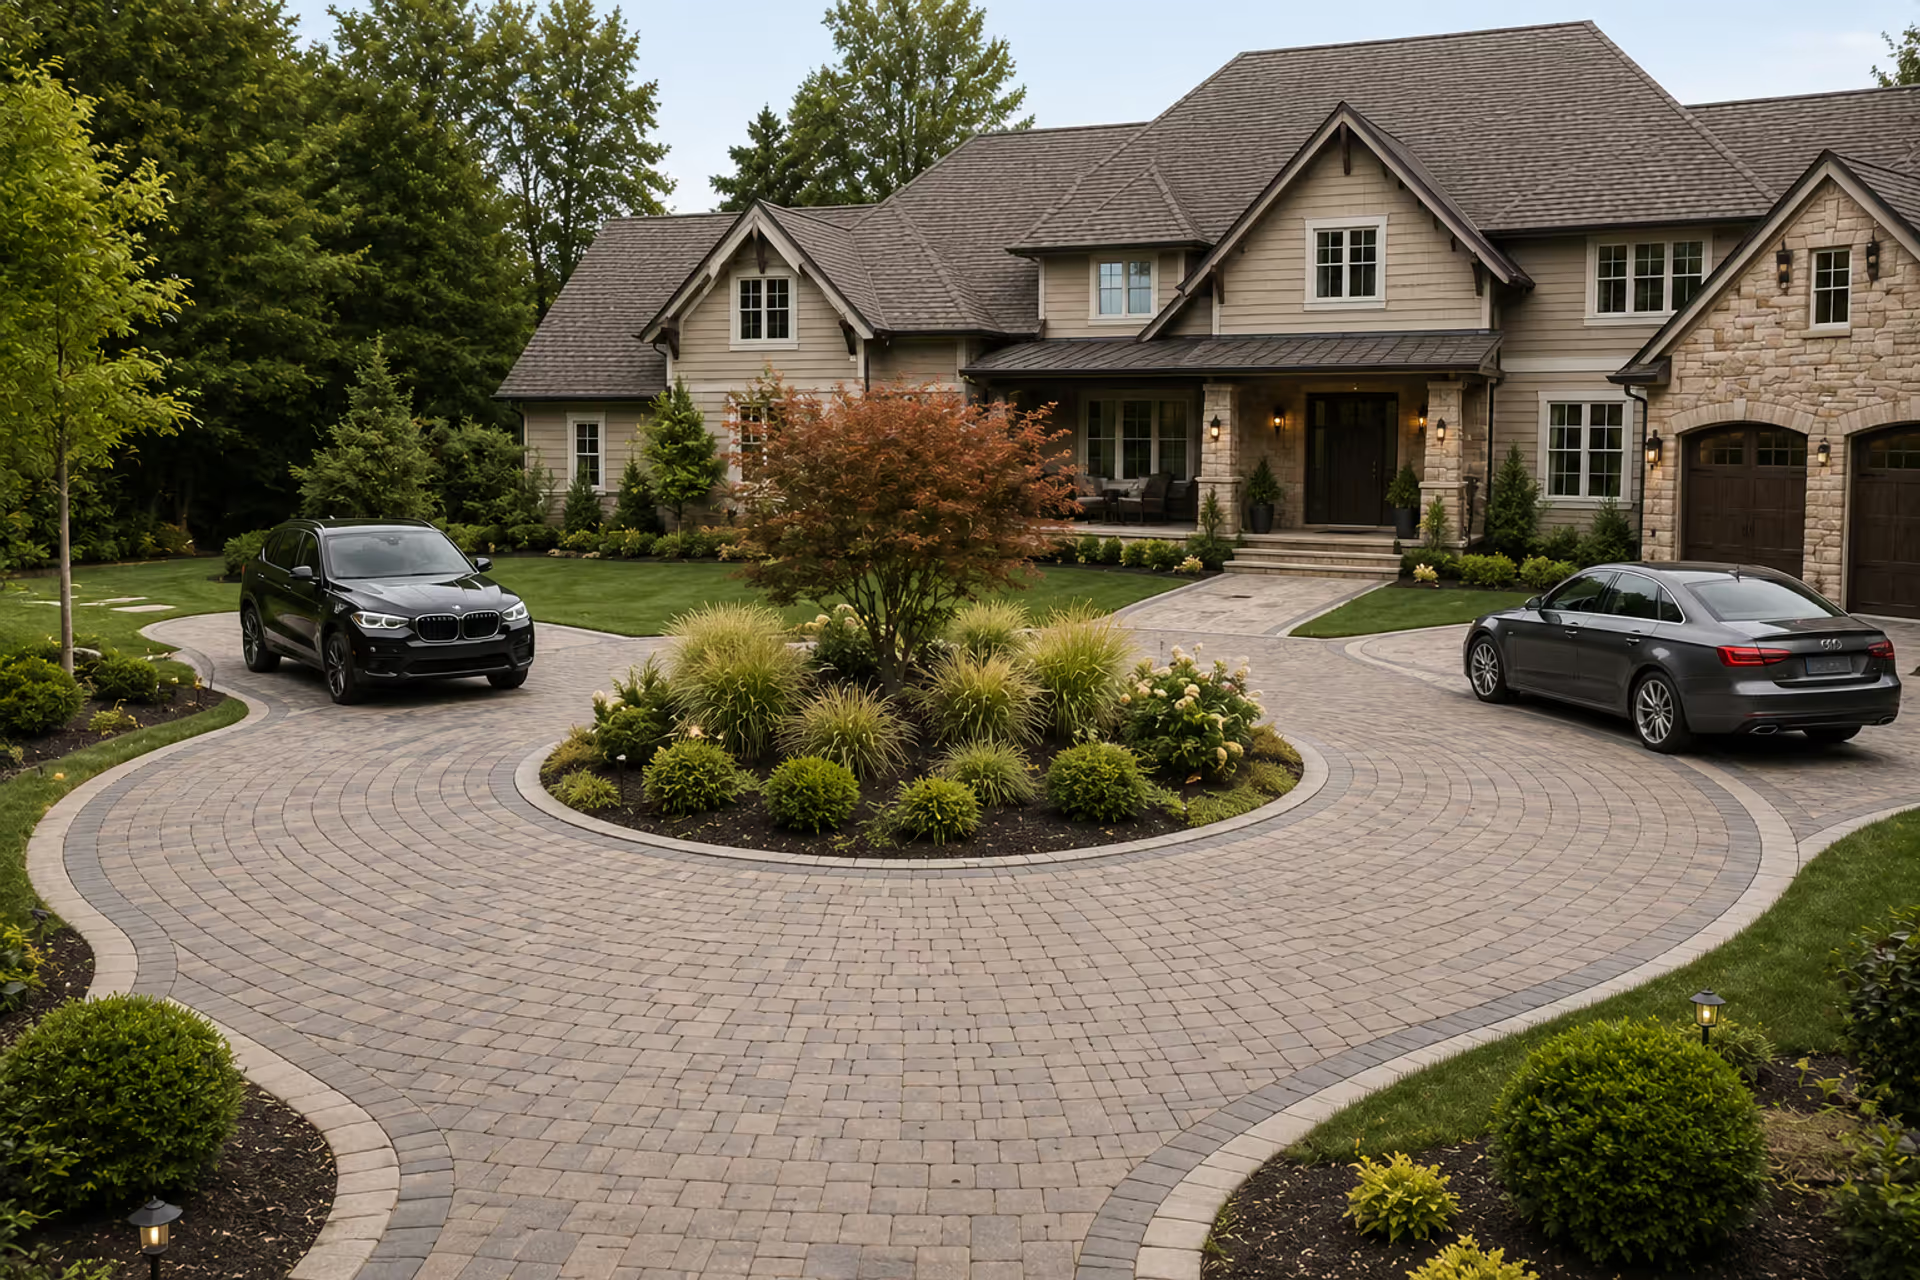
Discover how to fit a functional half circle driveway into a compact front yard. This guide covers layout planning, material selection, landscaping strategies, common mistakes to avoid, and realistic cost estimates for creating an attractive semicircular driveway that improves traffic flow and curb appeal.
Discover practical stock tank pool deck ideas for small backyards. Learn how to build DIY decking, choose materials, add landscaping, and create privacy screens around your galvanized tank pool with expert installation tips and budget-friendly designs.
The content on this website is provided for general informational and educational purposes only. It is intended to explain concepts related to landscape design, outdoor spaces, plants, irrigation, hardscape and softscape, and sustainable landscaping.
All information on this website, including articles, guides, and examples, is presented for general educational purposes. Outcomes may vary depending on local climate, soil, plant selection, and project implementation.
This website does not provide professional design, construction, or horticultural advice, and the information presented should not be used as a substitute for consultation with qualified landscape architects, contractors, or horticulturists.
The website and its authors are not responsible for any errors or omissions, or for any outcomes resulting from decisions made based on the information provided on this website.