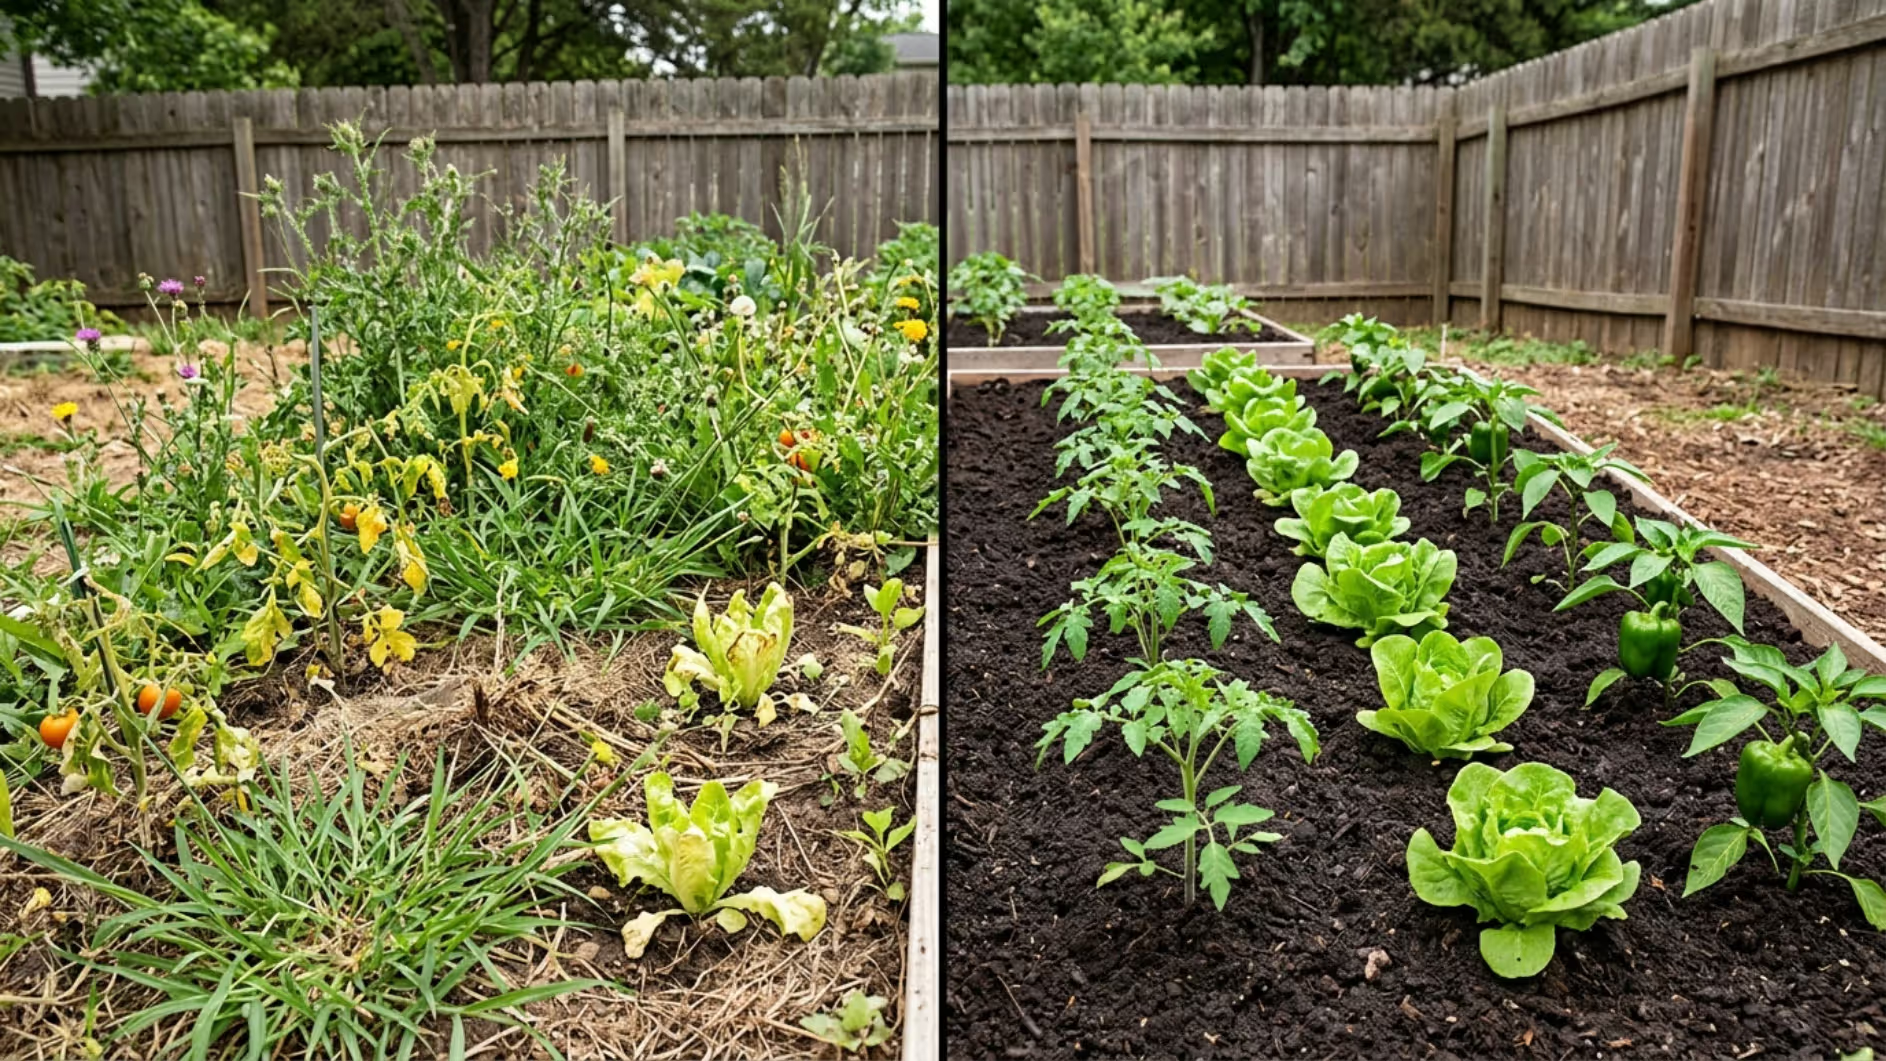
Gardeners facing persistent weeds, soil diseases, or nematode problems don't always need chemical solutions. Soil solarization harnesses summer heat to sterilize garden beds using nothing more than clear plastic sheeting and patience. This technique works surprisingly well in hot climates, though it demands precise timing and setup. When done right, you'll eliminate most soil-borne pests and pathogens before fall planting season arrives.
What Is Soil Solarization and How Does It Work
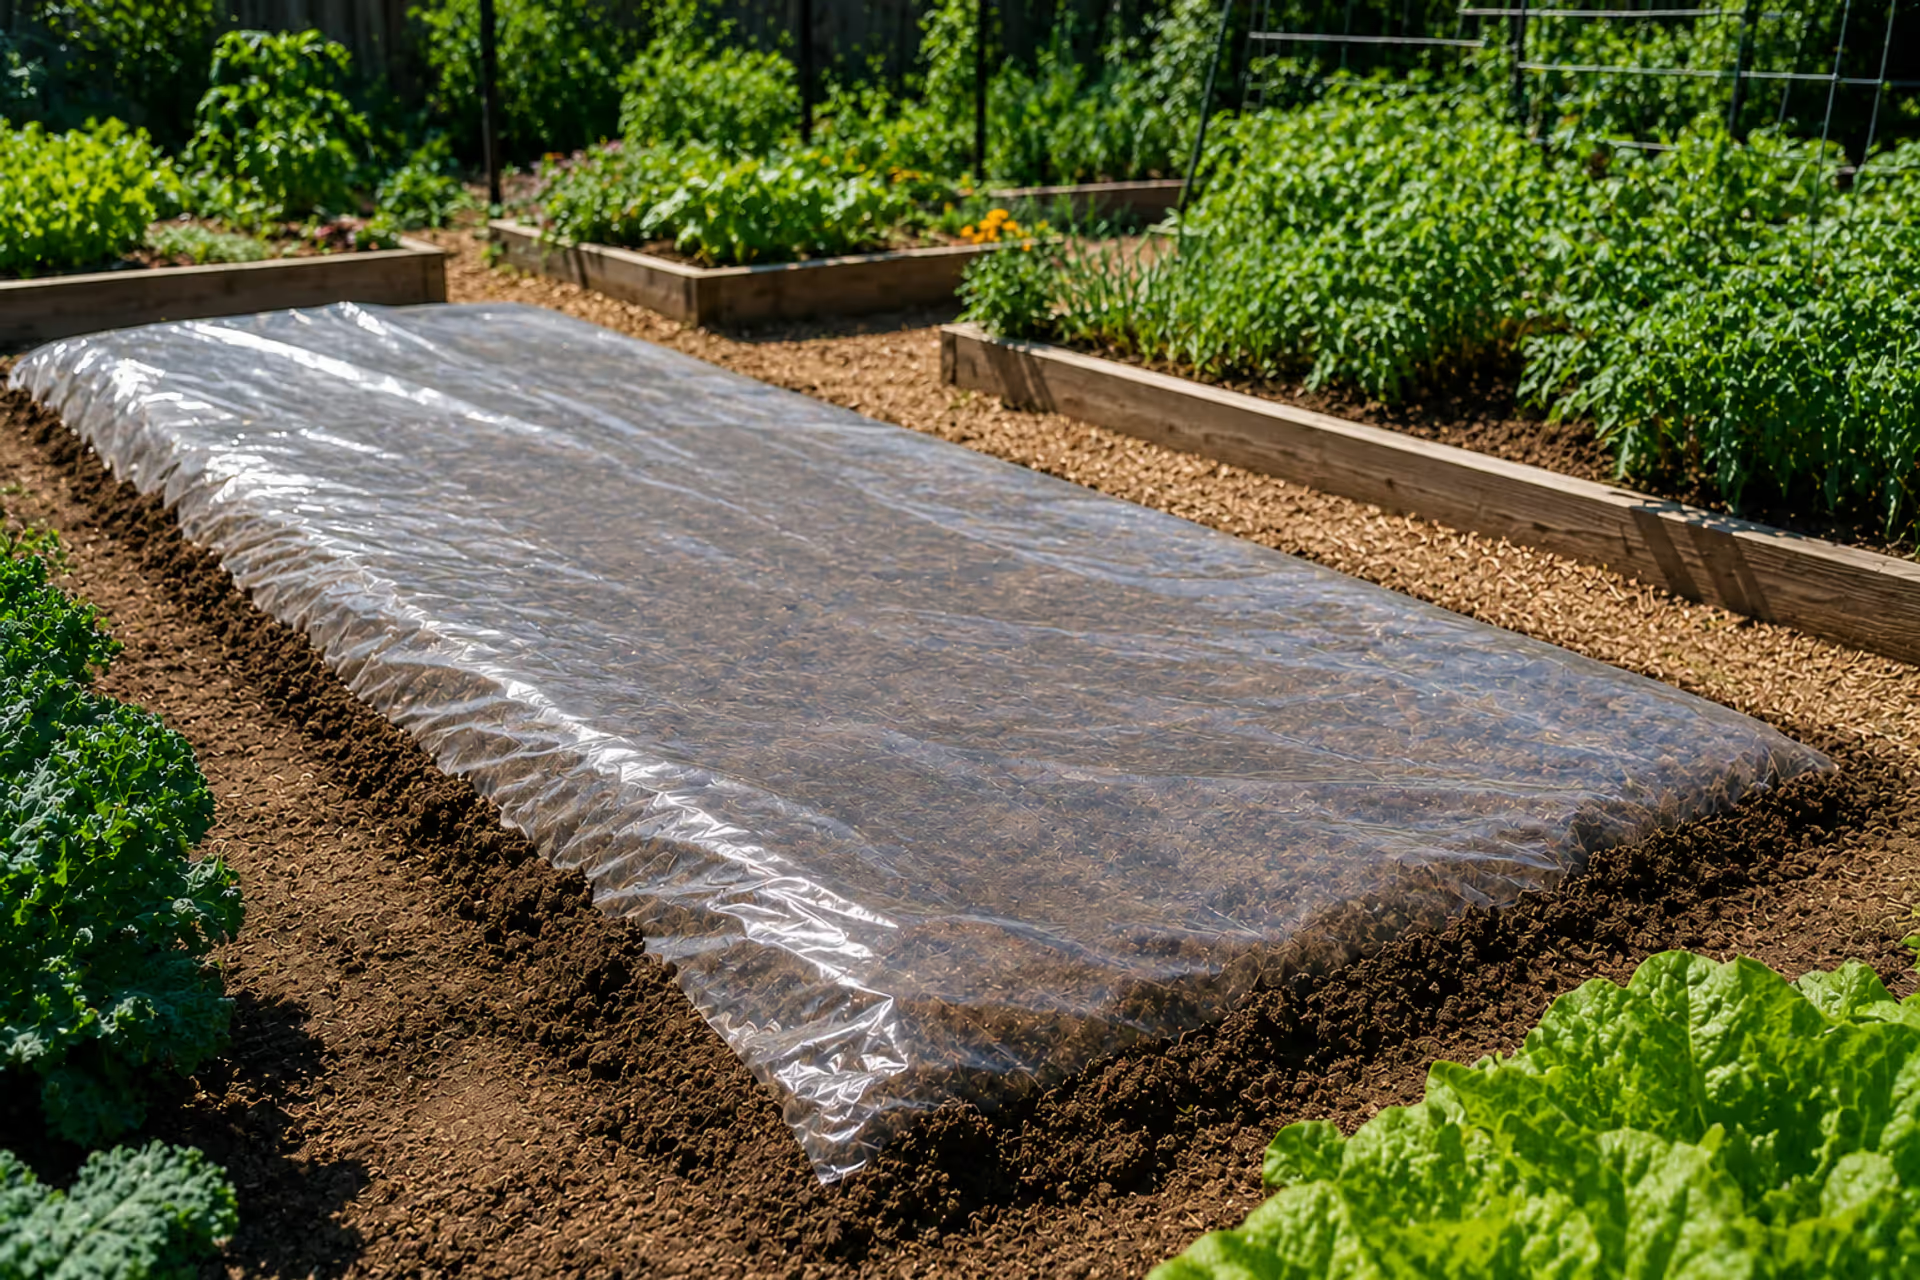
Soil solarization is a passive solar heating method that raises soil temperatures high enough to kill weeds, pathogens, and pests. You cover moist soil with transparent plastic during the hottest weeks of summer, trapping solar radiation underneath. The greenhouse effect heats the top 6 inches of soil to temperatures between 110°F and 140°F.
These temperatures prove lethal to most organisms. Weed seeds lose viability. Fungal pathogens die off. Nematode populations collapse.
The science behind solar soil treatment centers on thermal death points. Most weed seeds can't survive temperatures above 122°F for more than 30 minutes. Fungal pathogens like Verticillium and Fusarium die at sustained temperatures above 115°F. Nematodes succumb even faster, typically within hours at 120°F.
But temperature alone doesn't tell the whole story. Duration matters just as much. Soil held at 110°F for four weeks achieves better solarization soil sterilization than soil spiking to 130°F for just a few days. Consistent heat over weeks breaks down the protective structures many organisms use to survive stress.
The pattern I see most often is gardeners expecting instant results. Solarization works through accumulated heat exposure, not quick temperature spikes. Think of it as slow-cooking rather than flash-frying your soil problems.
Clear plastic works better than black because it allows more solar radiation to penetrate while still trapping heat. Black plastic heats up itself but transfers less energy into the soil below. That difference of 8-10°F can mean the difference between success and wasted effort.
Soil solarization can reduce populations of soilborne pathogens, nematodes, and weed seeds by 90 to 98 percent when soil temperatures reach 110°F or higher for four to six weeks during peak summer months.
— Stapleton James
When to Solarize Garden Beds for Best Results
Timing determines whether summer soil solarization succeeds or fails. You need the hottest, sunniest weeks of the year—typically late June through August in most US regions. Starting too early or too late means insufficient heat accumulation.
The soil must stay covered for 4-6 weeks minimum. Eight weeks delivers better results in areas with moderate summer heat. Shorter durations leave deeper soil layers untreated and allow some hardy pathogens to survive.
Climate plays the deciding role. Hot, arid regions with intense summer sun get excellent results. Cool coastal areas or northern states with mild summers often can't generate enough sustained heat for effective solarization.
Author: Liam Ashcroft;
Source: cribbslandscaping.com
Best Months for Solarization by US Climate Zone
USDA Zones 9-10 (Deep South, Southwest desert): Late May through early September works. You've got flexibility here. Soil temperatures easily exceed 120°F during these months.
USDA Zones 7-8 (Mid-Atlantic, Southern Plains, Central California): Mid-June through mid-August provides the best window. Start earlier and you'll miss peak heat. Start later and fall arrives before the process completes.
USDA Zones 5-6 (Northern states, mountain regions): Late June through early August offers your only realistic chance. Even then, results vary. Cloudy summers or cool spells can sabotage the process.
USDA Zones 3-4: Solarization rarely works effectively. Summer heat doesn't last long enough or reach high enough temperatures. Consider alternative methods instead.
Cloud cover reduces effectiveness significantly. Three consecutive cloudy days can drop soil temperatures 15-20°F, essentially pausing the sterilization process. Preparing garden beds with solarization requires checking long-range weather forecasts and choosing a period with predicted clear skies.
Materials and Preparation for Solarizing Soil
The right materials make or break your plastic mulch solarization efforts. You can't substitute or improvise on certain items without compromising results.
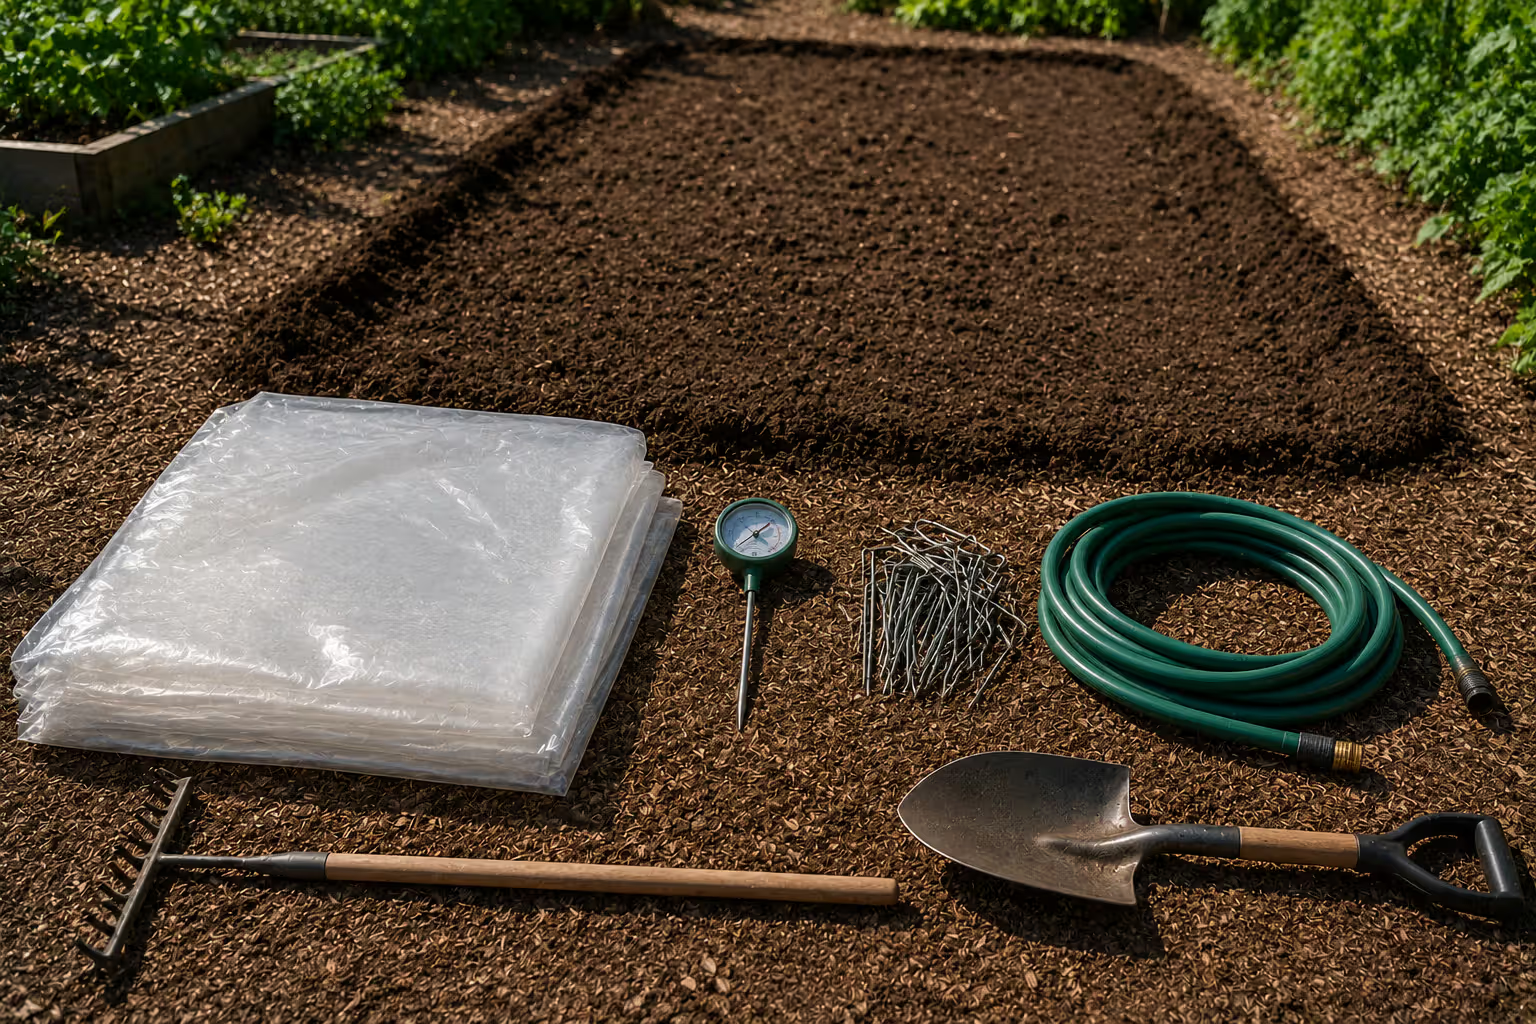
Plastic sheeting specifications:
Thickness: 1-2 mil clear polyethylene
Type: UV-resistant greenhouse plastic or construction-grade clear sheeting
Coverage: 2-3 feet wider than your bed on all sides
Thinner plastic (1 mil) transmits more solar radiation but tears easily. Thicker plastic (2 mil) lasts longer and survives wind better. Don't use regular painter's plastic—it degrades too quickly under intense sun.
Black plastic doesn't work for solarization despite common assumptions. It blocks too much radiation from reaching the soil. Save black plastic for mulching after solarization completes.
Additional materials needed:
Soil thermometer (probe-style, reading to at least 150°F)
Landscape staples or soil anchors
Boards or rocks for edges
Garden hose with spray nozzle
Soil moisture proves critical before you lay plastic. Moist soil conducts heat far better than dry soil. Water penetrates to 12 inches depth, then wait 24 hours before covering. The soil should feel damp but not waterlogged when you squeeze a handful.
Bed preparation steps for how to solarize soil properly:
Remove all plant debris, large rocks, and existing weeds
Till or turn the soil to 8-10 inches depth
Rake the surface completely smooth—bumps create air pockets that insulate rather than heat
Water thoroughly until moisture reaches 12 inches deep
Let excess surface water drain for 24 hours
Smooth contact between plastic and soil matters more than most gardeners realize. Every air gap reduces heat transfer. Spend extra time raking the bed level and removing clods.
Author: Liam Ashcroft;
Source: cribbslandscaping.com
Step-by-Step Solarization Process
Start early in the morning on a calm day. Wind makes plastic handling frustrating and can tear sheets before you secure them.
Step 1: Final soil check Probe the soil with your finger or a trowel. It should feel evenly moist 6-8 inches down. If dry spots exist, water those areas and wait another day.
Step 2: Lay the plastic Unroll the sheeting across the bed. Work with a partner if possible—one person on each side prevents the plastic from touching the ground prematurely and picking up dirt. Center it so you have equal overhang on all sides.
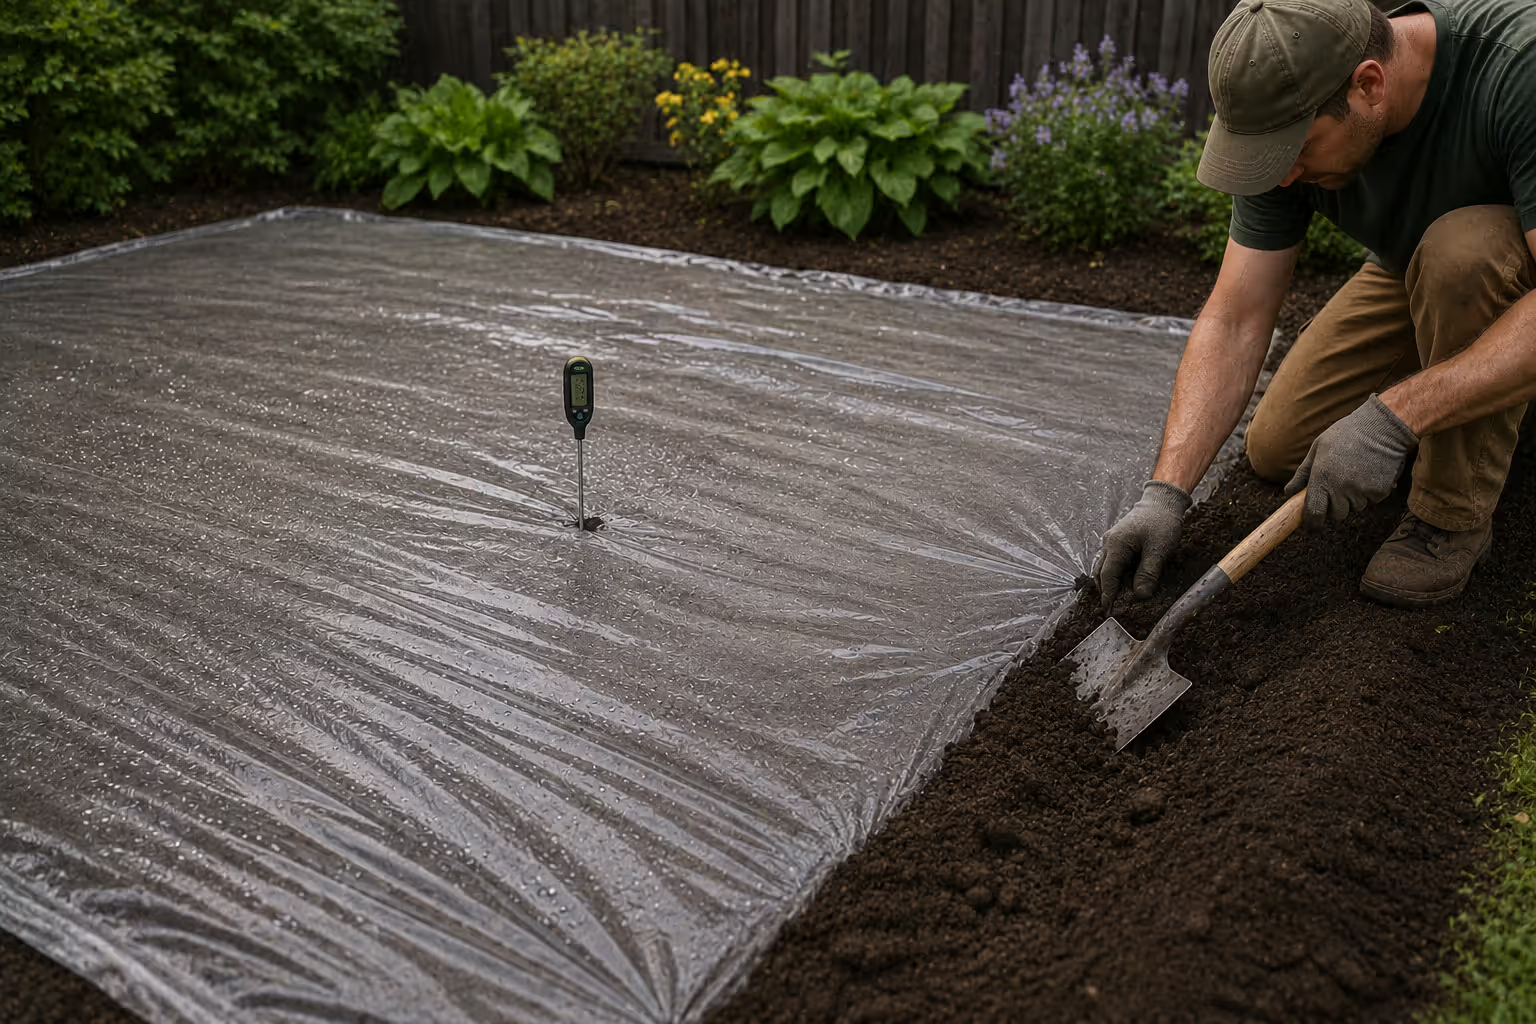
Step 3: Secure the edges Bury all edges under 4-6 inches of soil. This creates an airtight seal that traps heat and prevents wind from getting underneath. Don't use just rocks or boards on top—they allow heat to escape. Bury the edges completely.
Start at one corner, pull the plastic taut (but not stretched), and bury that edge. Move to the opposite corner, pull again, then bury. Repeat for the remaining two sides. This sequence prevents wrinkles and air pockets.
Step 4: Add extra anchoring Place landscape staples every 3-4 feet along buried edges for insurance against wind. In windy areas, add boards or rocks on top of the buried edges for double security.
Step 5: Insert thermometer Cut a small X in the plastic near the bed's center. Insert a soil thermometer probe 4 inches deep. Seal around the probe with duct tape to maintain the heat seal.
Step 6: Monitor weekly Check soil temperature every 5-7 days. Record the readings. You're looking for sustained temperatures above 110°F. If readings consistently fall below 110°F, you may need to extend the solarization period or accept that conditions aren't ideal.
Avoid walking on the plastic. Foot traffic creates depressions where water can pool, cooling those spots and blocking solar radiation.
Step 7: Remove plastic After 4-8 weeks, remove the plastic on a calm day. Don't leave it in place "just a bit longer"—extended coverage can create anaerobic conditions that harm soil structure. Pull up the edges, fold the plastic, and either dispose of it or save it for next year if it's still intact.
The soil underneath will look different. It may appear lighter in color and have a distinct smell—not unpleasant, just different from normal soil. This is normal.
Author: Liam Ashcroft;
Source: cribbslandscaping.com
What Soil Solarization Kills and Its Limitations
Solarization weed control delivers impressive results against annual weed seeds in the top 2-3 inches of soil. You'll see 90-98% reduction in common weeds like pigweed, purslane, and crabgrass. Perennial weeds with deep root systems like bindweed or nutsedge often survive because their roots extend below the heated zone.
Here's the effectiveness breakdown by pest type:
Pest Type
Effectiveness Level
Depth Reached
Temperature/Time Required
Annual weed seeds
90-98% reduction
0-3 inches
110°F for 4 weeks
Perennial weed roots
40-60% reduction
0-4 inches
120°F for 6 weeks
Fungal pathogens (Verticillium, Fusarium)
85-95% reduction
0-6 inches
115°F for 4 weeks
Root-knot nematodes
90-99% reduction
0-8 inches
110°F for 3 weeks
Bacterial pathogens
70-85% reduction
0-4 inches
125°F for 4 weeks
Killing soil pathogens naturally through solarization works best against fungal diseases. Verticillium wilt, Fusarium wilt, and Phytophthora root rot all respond well to heat treatment. Bacterial pathogens prove more heat-resistant and may require higher temperatures or longer durations.
Nematodes die readily during solarization. Root-knot nematodes, which plague tomatoes and many vegetables, can't survive sustained heat above 110°F. This makes solarization particularly valuable in Southern gardens where nematodes cause significant crop losses.
What survives:
Deeply buried weed seeds (below 4 inches)
Some bacterial spores
Beneficial mycorrhizal fungi (unfortunately)
Deep-rooted perennial weeds
Soil structure and organic matter (mostly preserved)
The loss of beneficial organisms represents solarization's main drawback. Heat kills indiscriminately. Beneficial fungi, bacteria, and soil organisms die alongside the pests. However, beneficial organisms recolonize faster than pathogens after treatment ends, especially if you add compost or other organic matter.
Solarization effectiveness drops sharply with depth. The top 2 inches heat most intensely. By 6 inches down, temperatures may be 15-20°F cooler. Below 8 inches, heat penetration becomes minimal. This depth limitation means deeply buried weed seeds or deep-rooted diseases may survive.
Author: Liam Ashcroft;
Source: cribbslandscaping.com
Common Mistakes That Reduce Solarization Effectiveness
Using the wrong plastic ranks as the most common error. Colored, opaque, or UV-degraded plastic blocks solar radiation. I've seen gardeners use whatever plastic they had on hand—tarps, drop cloths, even garbage bags—and wonder why results disappointed.
Insufficient duration sabotages many attempts. Four weeks feels like a long time to keep a bed out of production. Gardeners get impatient and remove plastic after two or three weeks. Those few extra weeks make the difference between partial and near-complete sterilization.
Starting too late in summer means heat intensity drops before the process completes. Beginning in August in Zone 7 leaves you fighting declining temperatures and shorter days. You won't accumulate enough heat hours.
Poor soil contact creates cool spots where pests survive. Clods, rocks, or uneven surfaces lift the plastic, creating insulating air gaps. These spots may run 20-30°F cooler than areas with tight plastic contact. Pests in those cool spots survive and repopulate the bed after you remove the plastic.
Dry soil conducts heat poorly. Gardeners who skip the pre-watering step or water insufficiently end up with soil that never reaches lethal temperatures despite intense surface heat. Moisture acts as a heat conductor—without it, the plastic just cooks itself while the soil below stays relatively cool.
Wrong season attempts waste time and materials. Spring solarization in most climates can't generate sufficient heat. Fall solarization faces the same problem as temperatures decline. Some gardeners try winter solarization in mild climates, which accomplishes nothing except killing time.
Reusing badly degraded plastic reduces effectiveness. UV exposure breaks down plastic over time, making it cloudy or brittle. Cloudy plastic blocks more radiation than clear plastic. If your plastic looks hazy or has visible degradation, buy new sheeting.
Alternatives and Complementary Soil Treatment Methods
Soil steaming offers faster results than solar soil treatment but requires specialized equipment. Commercial steam generators inject 160-180°F steam into soil, killing pests in hours rather than weeks. The equipment costs thousands of dollars, making it practical only for commercial growers or serious market gardeners.
Anaerobic soil disinfestation (ASD) works in climates too cool for effective solarization. You incorporate fresh organic matter (like wheat bran), saturate the soil, then cover it with plastic. Decomposing organic matter consumes oxygen, creating anaerobic conditions that kill many pathogens. ASD requires 3-4 weeks but works even in mild temperatures.
Crop rotation prevents problems rather than curing them. Rotating plant families breaks disease and pest cycles naturally. It won't eliminate existing infestations but reduces future problems significantly.
Soil amendments rebuild beneficial organisms after solarization soil sterilization. Adding compost, aged manure, or worm castings reintroduces beneficial microbes. Wait 2-3 weeks after solarization, then incorporate organic matter before planting.
Biosolarization combines solarization with organic amendments. You till in fresh manure or other nitrogen-rich material before laying plastic. Decomposition generates additional heat and creates biofumigation effects. This technique can boost effectiveness by 10-15% but requires careful timing.
The simpler option usually wins here. For most home gardeners, standard solarization provides sufficient pest control without added complexity. Save biosolarization or ASD for situations where standard solarization failed or proved impractical.
FAQ: Soil Solarization Questions Answered
How long does soil solarization take to work?
Minimum duration is 4 weeks in hot climates with intense sun. Six to eight weeks delivers better results and more complete sterilization. The soil needs sustained temperatures above 110°F throughout this period. Starting your count from when temperatures first reach 110°F rather than from when you lay the plastic gives more accurate timing. Cool spells or cloudy weather extend the required duration.
Can I solarize soil in spring or fall?
Spring and fall solarization rarely work in most US climates. These seasons lack sufficient heat intensity and day length to raise soil temperatures high enough for long enough. You might see soil temperatures briefly spike on sunny days, but sustained heat over weeks is what actually kills pests. The only exceptions are USDA Zones 9-10 where late spring (May) can provide adequate heat. Even there, summer remains more reliable.
Does solarization kill beneficial soil organisms?
Yes, solarization kills beneficial organisms along with harmful ones. Heat doesn't discriminate. Mycorrhizal fungi, beneficial bacteria, and soil microorganisms die during the process. However, beneficial organisms recolonize much faster than pathogens after treatment. Adding compost or other organic amendments after solarization speeds recovery. Within 4-6 weeks of planting, beneficial populations typically return to healthy levels while pathogen populations remain suppressed.
What type of plastic works best for soil solarization?
Clear polyethylene plastic, 1-2 mil thick, works best. Look for UV-resistant greenhouse plastic or construction-grade clear sheeting. Clear plastic allows maximum solar radiation to penetrate while trapping heat underneath. Black plastic heats itself but transfers less energy into the soil, resulting in 8-10°F lower soil temperatures. Avoid painter's plastic or cheap drop cloths—they degrade too quickly under intense sun and may tear before solarization completes.
Is solarization effective in northern states?
Solarization effectiveness drops significantly in USDA Zones 5 and cooler. These regions lack the sustained summer heat needed for reliable results. You might achieve partial sterilization in exceptionally hot summers, but you can't count on it. Cool spells, cloudy weather, and shorter heat seasons all work against success. Gardeners in northern states get better results from alternatives like crop rotation, organic amendments, or covering beds with compost to suppress diseases naturally.
Can I plant immediately after removing the plastic?
Yes, you can plant within days of removing plastic. The soil needs no waiting period. Some gardeners prefer waiting 3-5 days to let the soil "breathe" and allow surface temperatures to normalize, but this isn't necessary. If you plan to add compost or other amendments, incorporate them first, water lightly, then plant 2-3 days later. Avoid deep tilling after solarization—this brings untreated soil from below up to the surface, reintroducing weed seeds and potentially pathogens.
Solarization gives you a chemical-free option for resetting problem garden beds before fall planting. It won't work everywhere or solve every soil issue, but in hot summer climates it delivers reliable pest and pathogen control. The technique demands attention to detail—proper plastic, adequate moisture, correct timing, and patience to leave beds covered for the full duration.
Success comes down to accumulated heat over weeks, not peak temperatures on the hottest day. Monitor soil temperatures, choose your timing carefully, and resist the urge to remove plastic early. When you do it right, you'll plant into clean soil with dramatically reduced weed and disease pressure. That head start carries through the entire growing season.
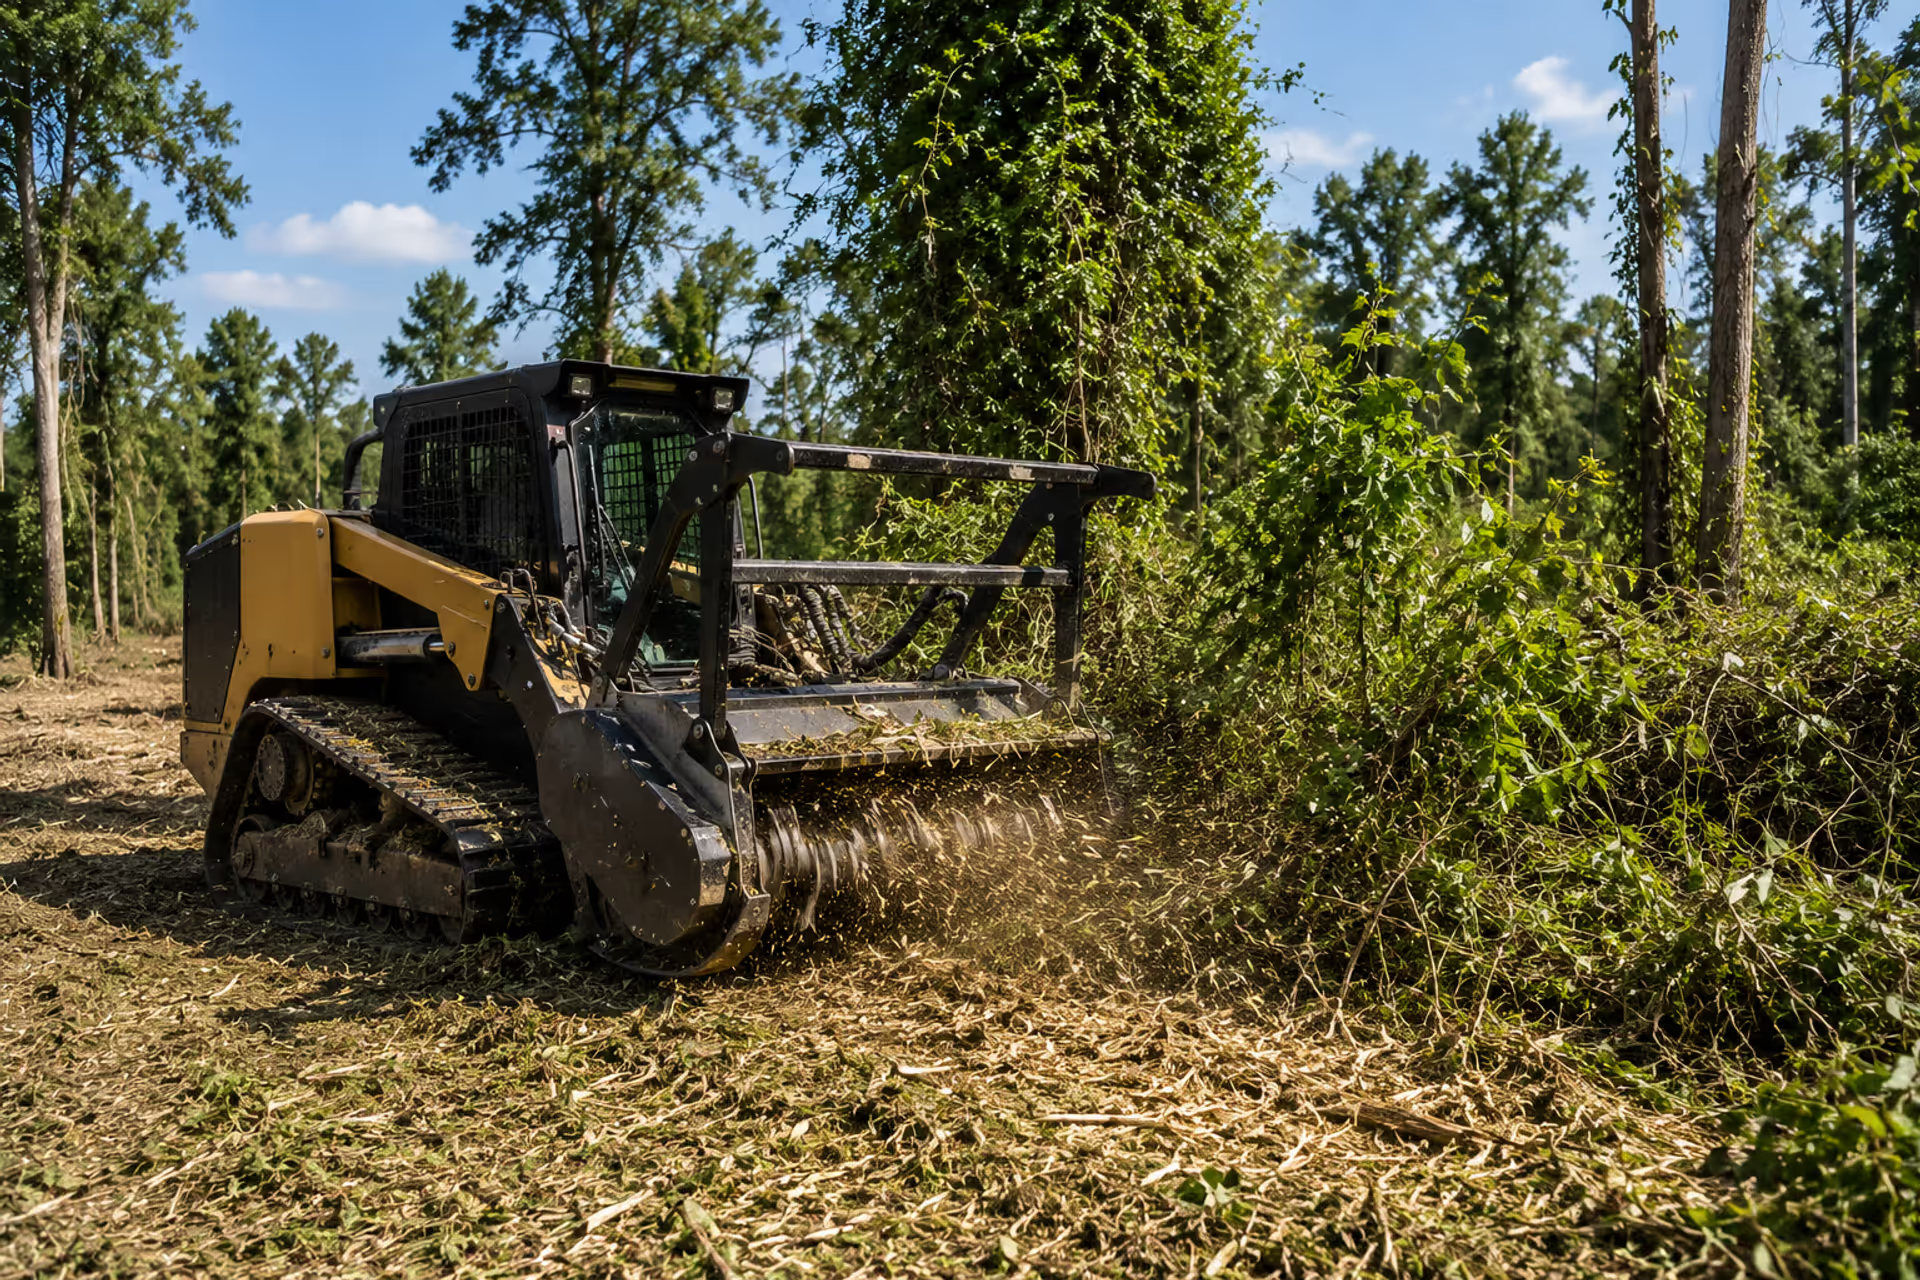
Forestry mulching grinds vegetation into nutrient-rich mulch on site, clearing land without debris removal or soil damage. Learn how the process works, compare costs to traditional clearing methods, and discover when mulching is the best choice for your property.
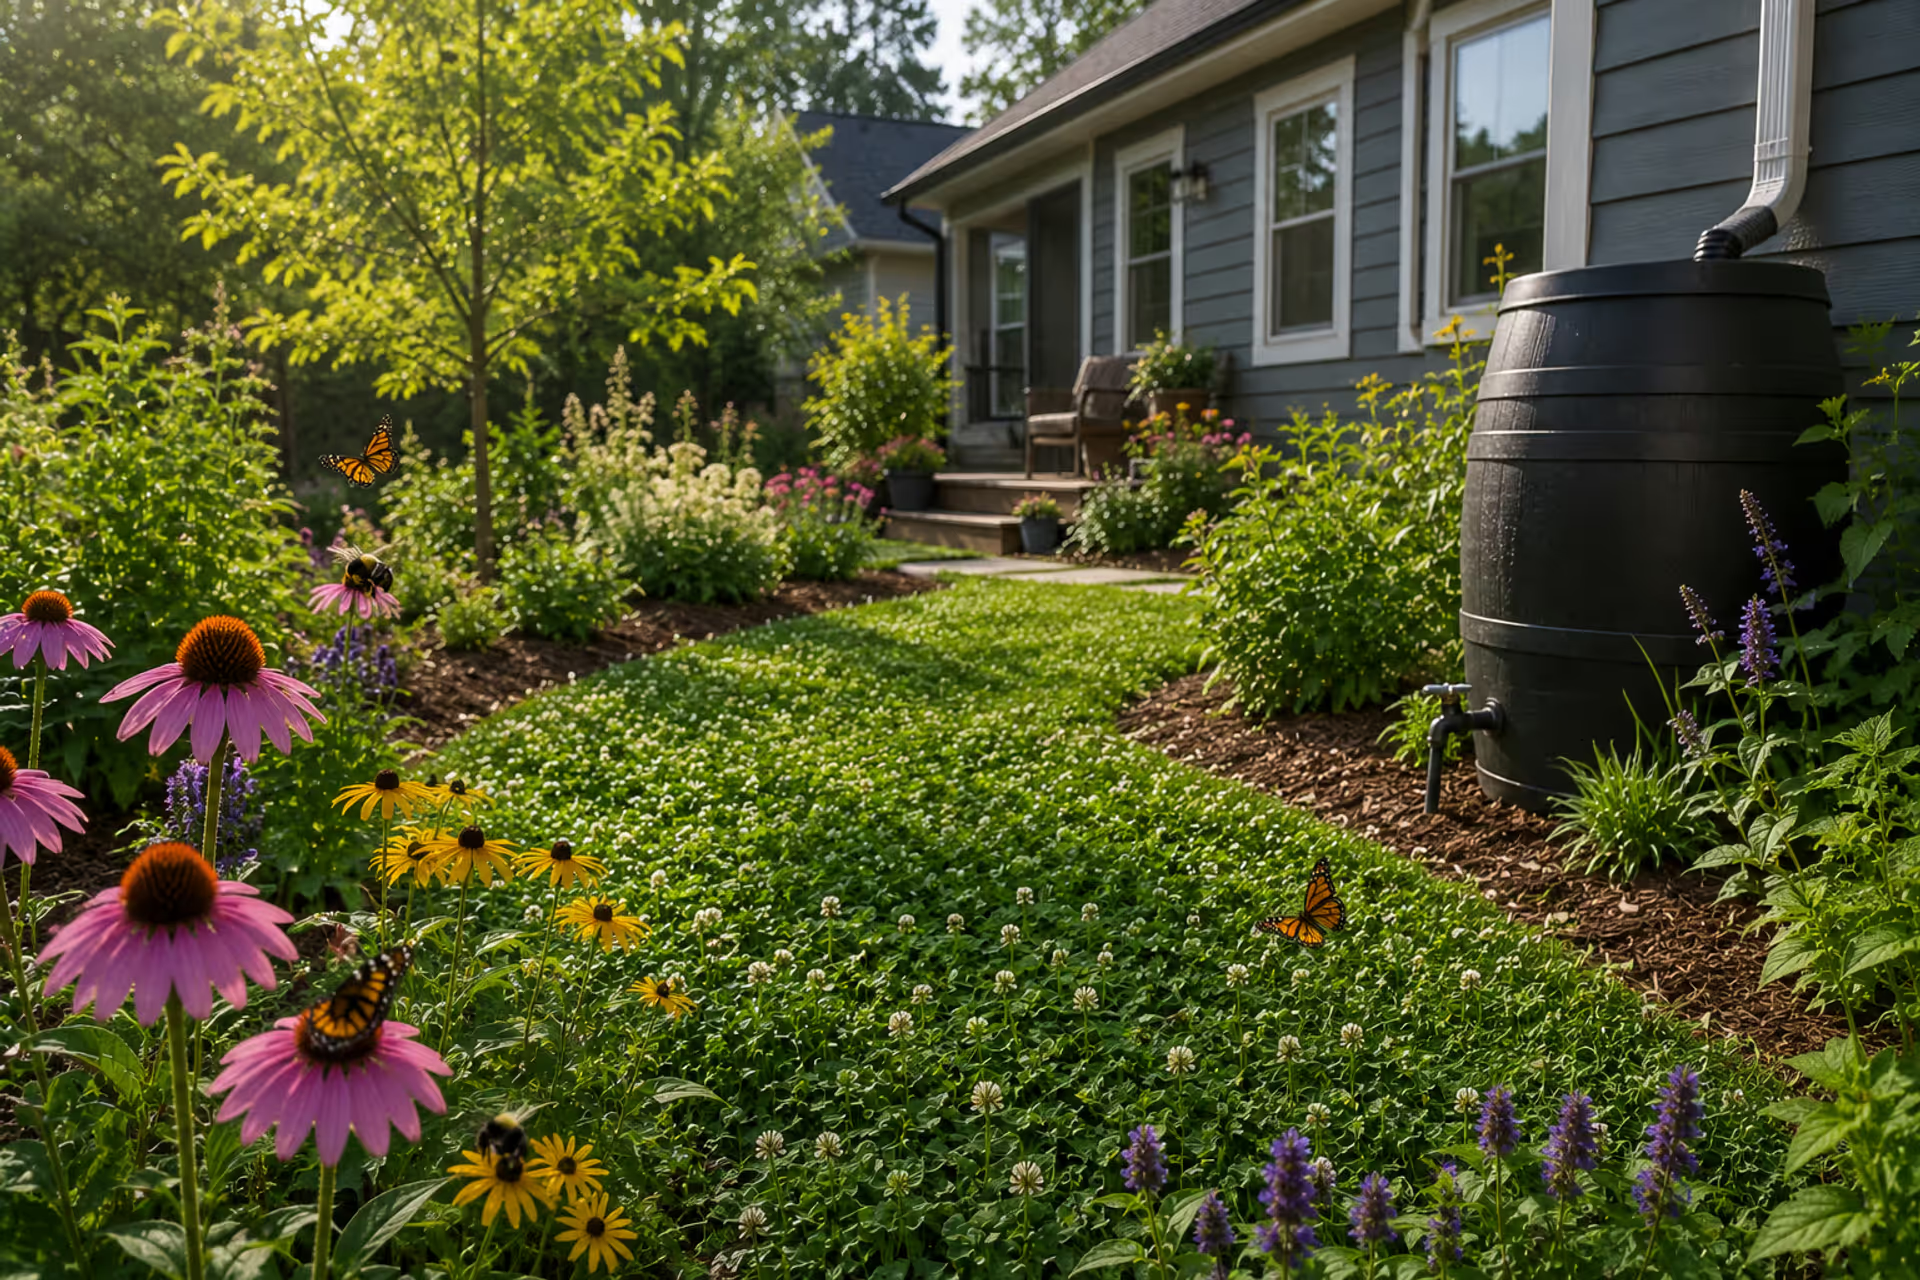
Transform your yard into an eco-friendly landscape that works with nature instead of against it. Discover native plants, water-saving techniques, organic care methods, and wildlife habitat features that reduce environmental impact while cutting maintenance costs by up to 60%.
Every garden needs water, but delivery method matters. Compare drip irrigation, sprinklers, soaker hoses, and automated systems. Learn which watering system fits your garden, how to install it efficiently, and avoid common mistakes that waste water and harm plants.
Zeroscape and xeriscape sound similar but represent very different approaches to water-wise landscaping. Learn the key differences in water usage, maintenance, costs, and aesthetics to decide which method works best for your climate, budget, and lifestyle.
The content on this website is provided for general informational and educational purposes only. It is intended to explain concepts related to landscape design, outdoor spaces, plants, irrigation, hardscape and softscape, and sustainable landscaping.
All information on this website, including articles, guides, and examples, is presented for general educational purposes. Outcomes may vary depending on local climate, soil, plant selection, and project implementation.
This website does not provide professional design, construction, or horticultural advice, and the information presented should not be used as a substitute for consultation with qualified landscape architects, contractors, or horticulturists.
The website and its authors are not responsible for any errors or omissions, or for any outcomes resulting from decisions made based on the information provided on this website.