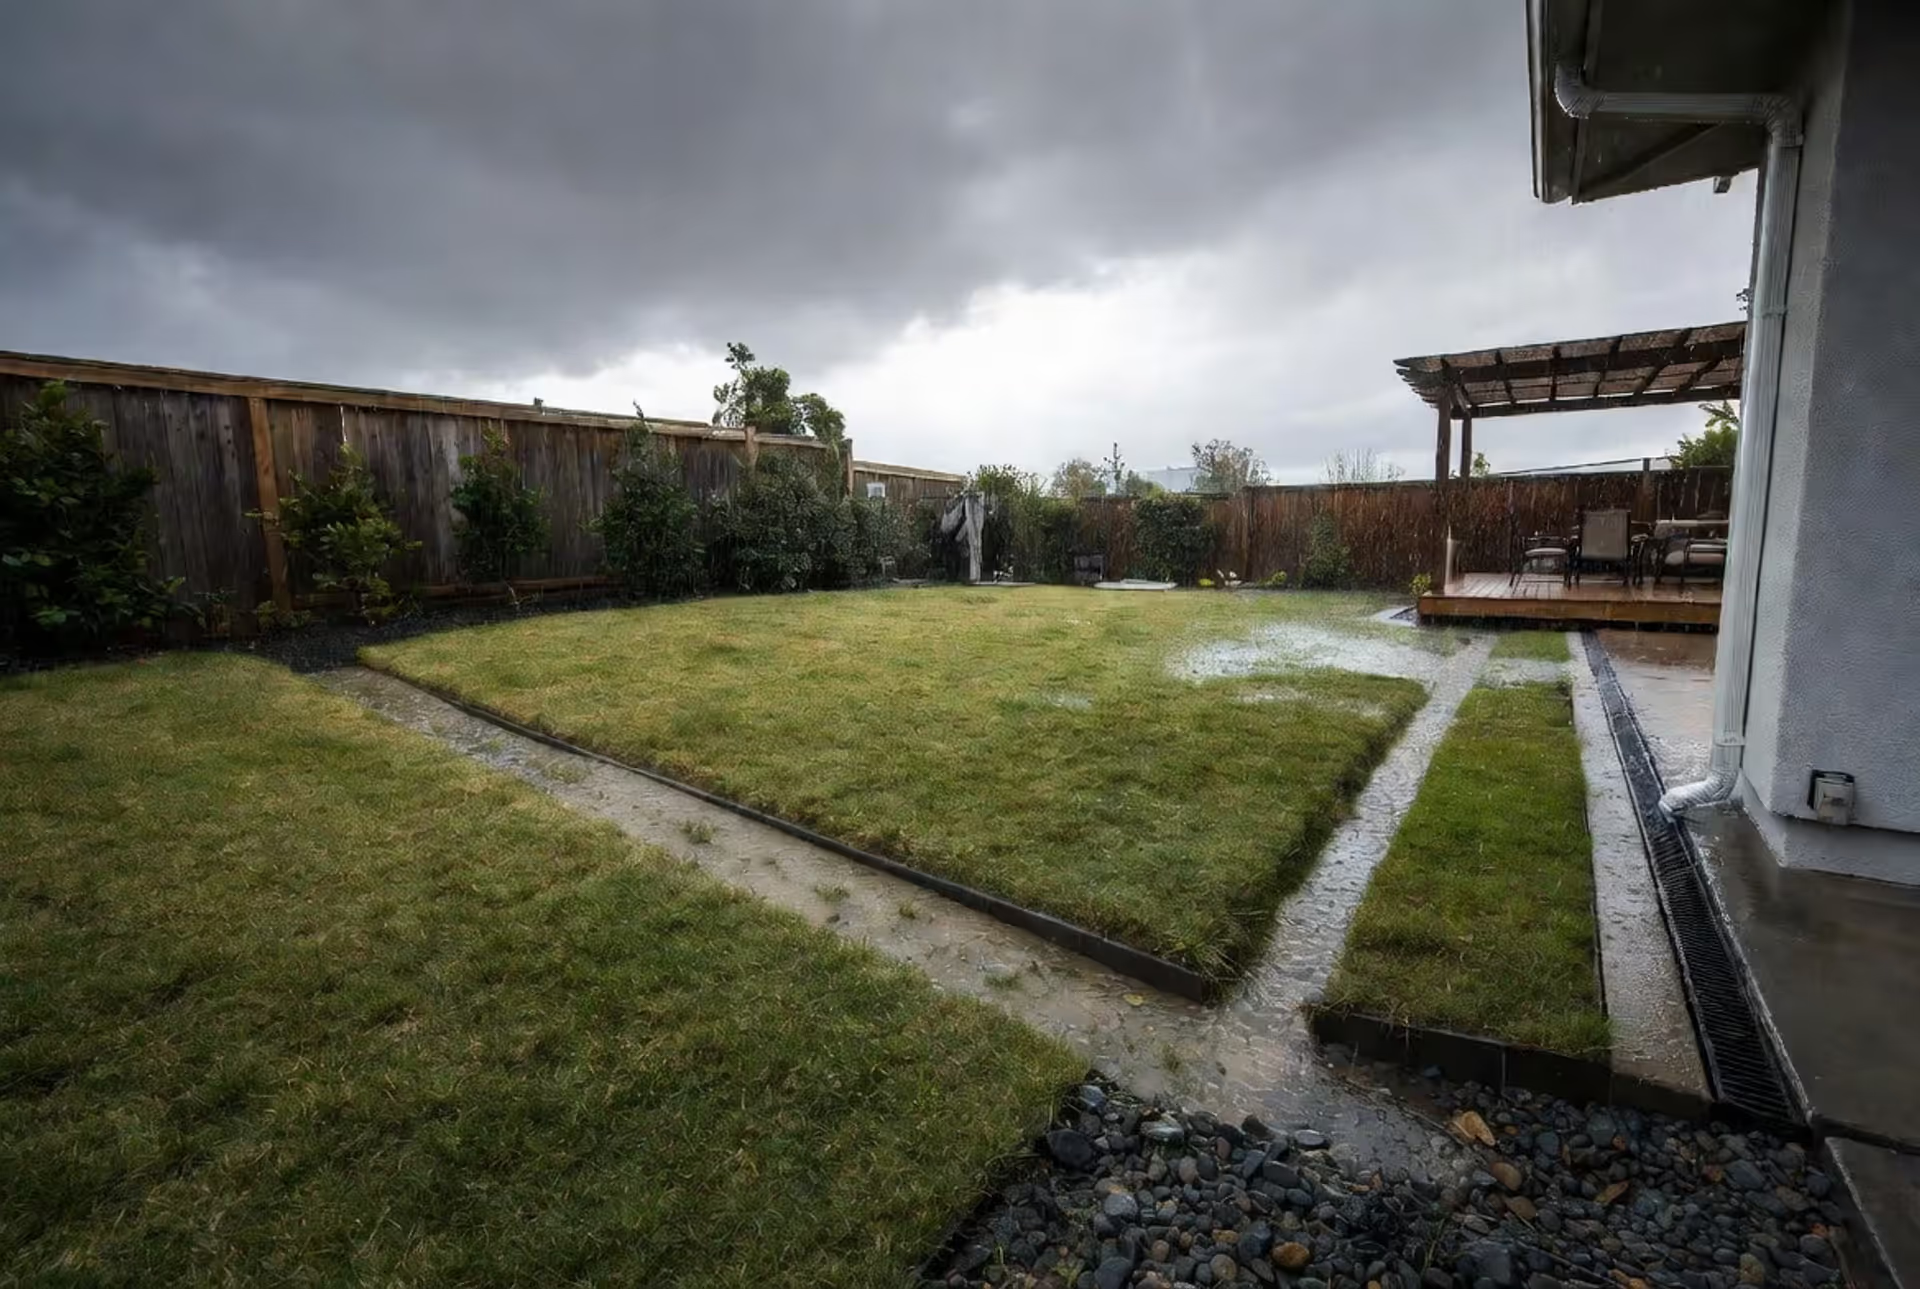
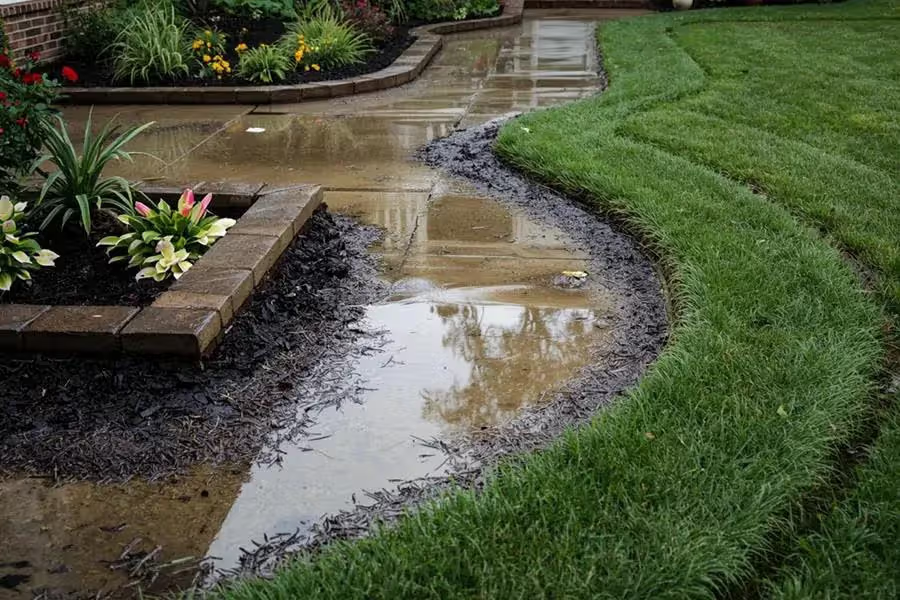
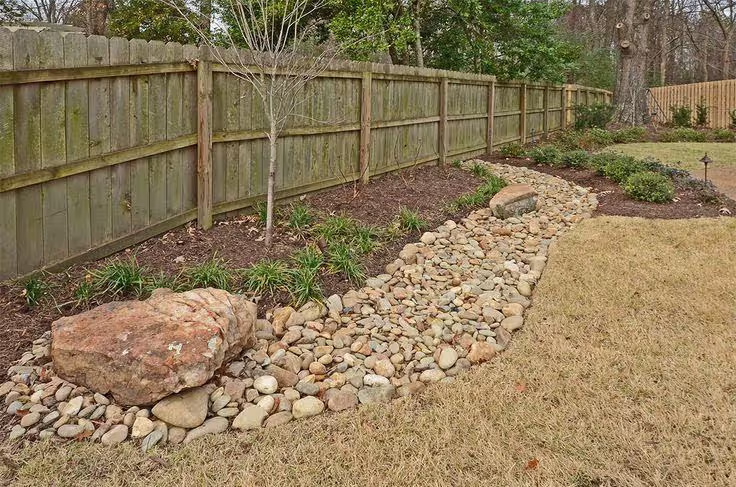
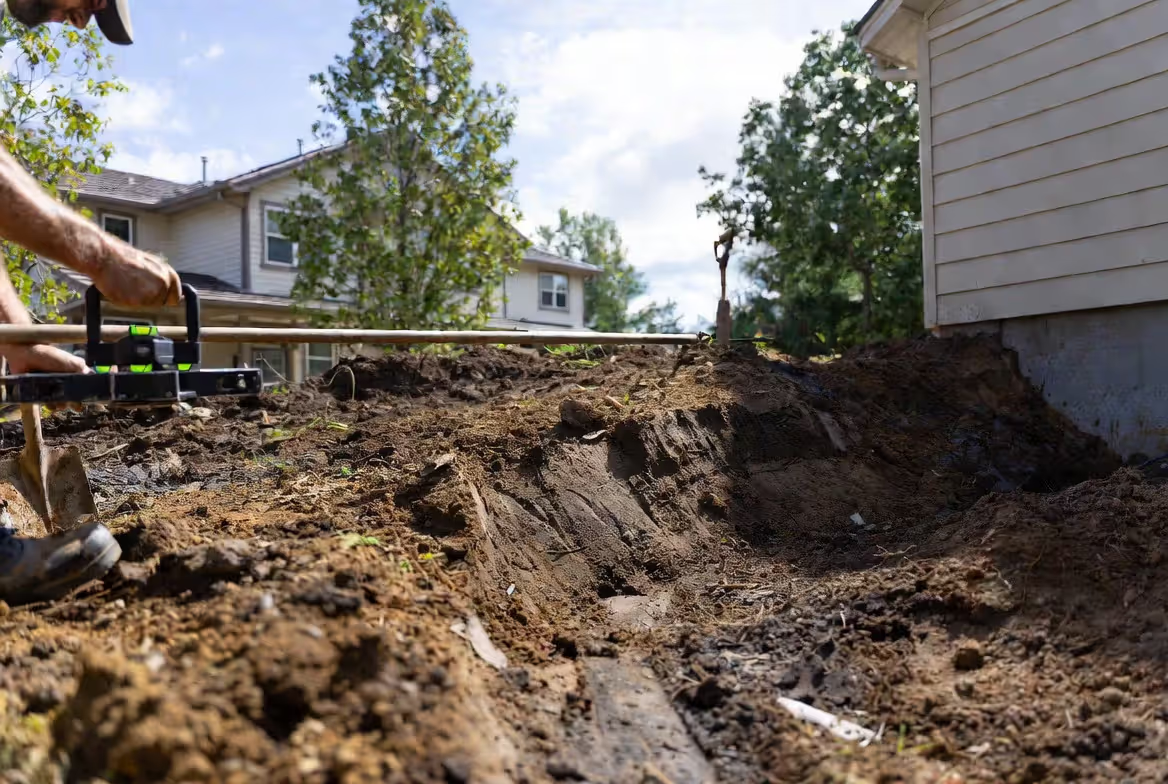
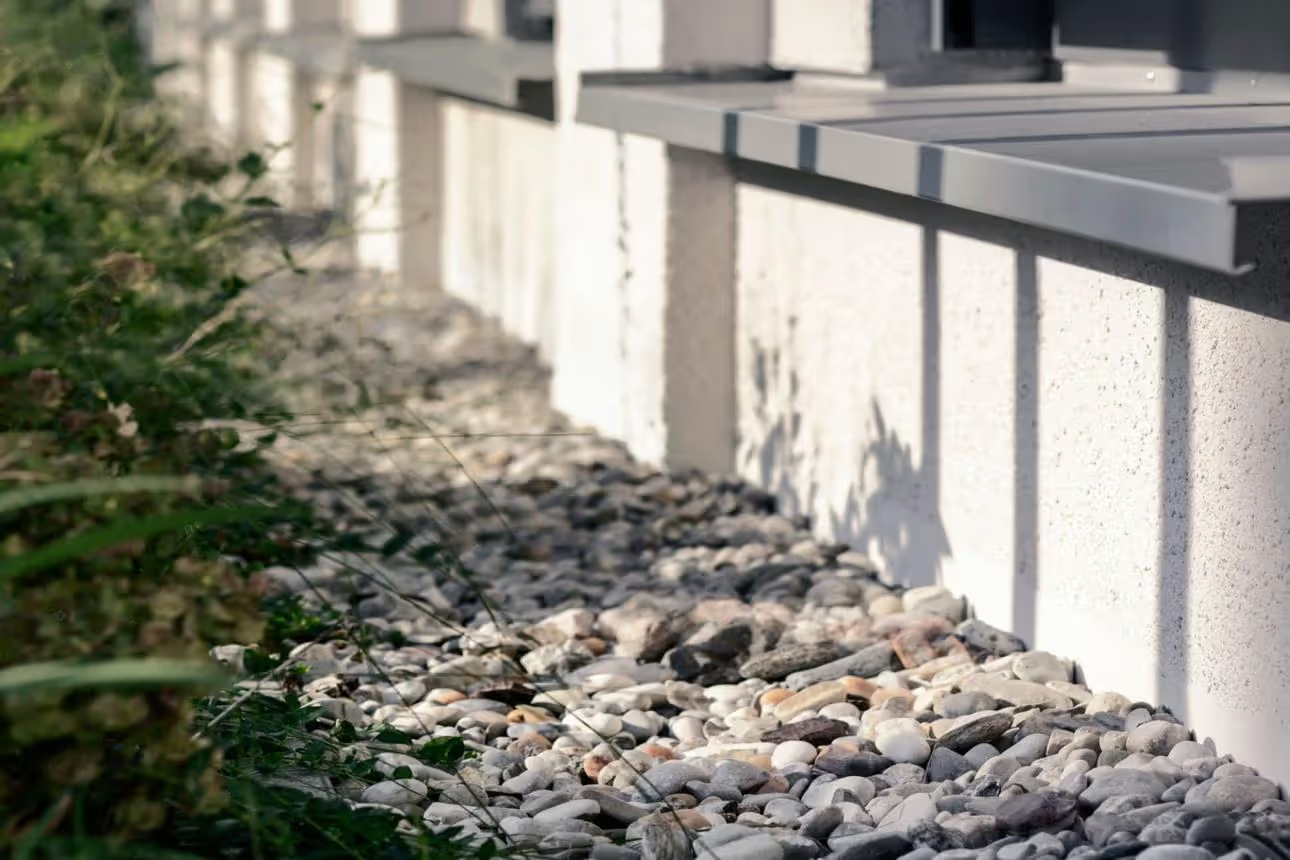
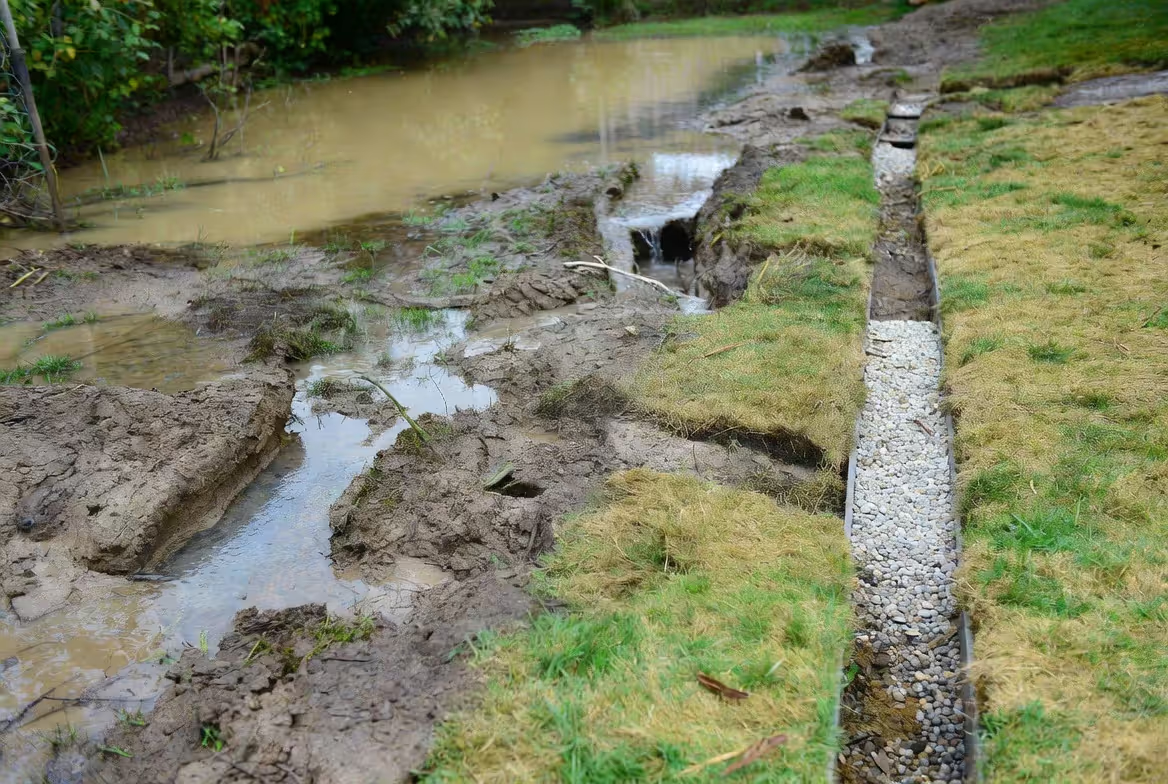
Standing water in your yard after a rainstorm isn't just an eyesore. It's a warning sign. Poor drainage destroys foundations, kills plants, breeds mosquitoes, and turns your outdoor space into a swamp. The good news? Most drainage problems can be fixed with proper planning and the right system. You don't need to be a civil engineer to understand how water moves across your property. But you do need a plan before you start digging.
Why Proper Yard Drainage Matters
Water always finds a path. The question is whether it's the path you want.
Without effective yard drainage solutions, water pools where it shouldn't. Around your foundation. In your basement. Across your patio. The consequences stack up fast: cracked foundations, eroded soil, dead grass, flooded crawl spaces, and landscape features that wash away with every heavy rain.
Landscape water runoff causes more home damage than most people realize. The American Society of Home Inspectors estimates that 95% of basement water problems are caused by improper exterior drainage. That's nearly all of them.
Proper drainage systems protect your investment. They redirect water away from structures, prevent soil erosion, keep plant roots from drowning, and eliminate standing water that attracts pests. A well-designed system also increases property value and makes your yard usable year-round instead of just during dry months.
The pattern I see most often is homeowners waiting until damage occurs before addressing drainage. By then, you're paying for repairs plus the drainage solution you should have installed earlier.
How to Assess Your Yard's Drainage Needs
Before you install anything, you need to understand where water goes now and where you want it to go.
Yard drainage planning starts with observation. Walk your property during and after rainfall. Where does water collect? How long does it take to disappear? Which areas stay soggy for days? These patterns tell you everything.
Author: Olivia Maren;
Source: cribbslandscaping.com
Signs Your Yard Has Drainage Issues
Some problems announce themselves. Others hide until they've caused serious damage.
Standing water that remains 24 hours after rain is the clearest indicator. But other signs matter too: water stains on your foundation, soil erosion channels, basement moisture, dying plants in certain areas, and muddy patches that never dry out.
Check your gutters and downspouts. If they dump water right next to your foundation, you've found part of the problem. Look for low spots where water naturally collects. Notice where your neighbors' water flows—it might be heading straight into your yard.
Soggy soil near your home's foundation is the most serious red flag. This water seeks entry points and eventually finds them.
Mapping Water Runoff Patterns
Grab a notebook and sketch your property. Mark high points, low points, slopes, and existing drainage features.
During the next moderate rain, go outside. Watch where water flows. Mark these paths on your sketch. Note which areas drain quickly and which hold water. Take photos if it helps.
Use a line level or smartphone level app to check slopes. Water needs at least a 2% grade (2 feet of drop per 100 feet) to flow properly. Anything flatter creates pooling problems.
Pay attention to landscape water runoff from hardscaping. Driveways, patios, and walkways shed enormous amounts of water. That water has to go somewhere. If your hardscaping slopes toward your house, you've identified a major issue that needs correction.
Types of Landscape Drainage Solutions
Different problems need different fixes. Sometimes you need multiple solutions working together.
The right yard drainage solutions depend on your specific situation: soil type, slope, water volume, and problem location. No single approach works for everything.
Author: Olivia Maren;
Source: cribbslandscaping.com
Surface Drainage Systems
Surface systems handle water before it soaks into the ground. They're usually the simplest and most cost-effective option.
A surface drainage design typically includes swales (shallow ditches), catch basins, and channels that redirect water to appropriate discharge points. These work best for yards with enough slope to encourage natural flow.
Landscape drainage channels—also called channel drains or trench drains—are installed flush with the ground surface. They capture sheet flow from driveways, patios, and other hard surfaces. The grated top allows water in while keeping debris out.
Swales are broader, gentler depressions that move large volumes of water slowly. They can be planted with grass or other vegetation, making them nearly invisible in your landscape. Swales work brilliantly in flat yards where underground systems would struggle.
The simpler option usually wins here. If surface solutions can handle your drainage needs, they're easier to install and maintain than buried systems.
Underground Drainage Systems
When surface solutions aren't enough—or when aesthetics matter—underground systems do the heavy lifting invisibly.
Underground drainage pipes collect water through perforated sections and carry it away through solid sections to discharge points. These systems typically use corrugated plastic pipe (4 inches in diameter for most residential applications) buried 12 to 18 inches deep.
A proper underground system includes filter fabric to prevent soil infiltration, gravel bedding for water collection, and proper slope throughout the pipe run. The discharge point matters enormously—you need somewhere for that water to go that won't cause new problems.
Catch basins connect surface water to underground pipes. They're placed in low spots or at the end of channels to capture runoff and route it into the buried system.
Underground systems cost more upfront but handle larger water volumes and work in situations where surface solutions would be impractical or unsightly.
French Drains vs Swales
These two solutions get confused constantly, but they work quite differently.
A French drain is a gravel-filled trench containing a perforated pipe. Water seeps through the gravel into the pipe and flows to a discharge point. French drains excel at lowering the water table and handling subsurface moisture. They're ideal for soggy areas, around foundations, and where you need to intercept groundwater.
A swale is a shallow surface channel with sloped sides, often planted with grass. Water flows along the surface rather than soaking in. Swales handle large volumes of surface runoff and work well in flatter terrain where you need to move water gradually across longer distances.
The french drain vs swale decision depends on your problem type. Subsurface moisture? French drain. Surface runoff from storms? Swale. Sometimes you need both working together.
Here's the comparison that matters:
Feature
French Drain
Swale
Channel Drain
Installation Cost
$20-35 per linear foot
$5-15 per linear foot
$30-60 per linear foot
Best Use Case
Subsurface water, foundation protection
Large surface runoff, flat yards
Hardscape edges, concentrated flow
Maintenance
Low (occasional flushing)
Medium (mowing, reshaping)
Medium (grate cleaning)
Lifespan
20-30 years
Indefinite with maintenance
15-25 years
DIY Difficulty
Moderate
Easy
Moderate to difficult
Landscape Grading and Slope Requirements
Author: Olivia Maren;
Source: cribbslandscaping.com
Gravity does the work. But only if you give it the right angle.
Landscape grading for drainage is the foundation of every successful system. Without proper slope, even the best-designed drainage features will fail. Water doesn't flow uphill, and it barely moves across flat ground.
The minimum slope for effective drainage is 2%. That's a 2-foot drop over 100 feet, or about 2.4 inches over 10 feet. Steeper is usually better—up to a point. Slopes between 2% and 5% work well for most residential applications.
Around your foundation, the first 10 feet of soil should slope away at 5% minimum (6 inches of drop). This critical zone protects your home from water infiltration. Many foundation problems trace back to negative grading where soil slopes toward the house instead of away from it.
Check your existing grades before planning drainage features. A builder's level or laser level makes this easy, but you can get decent results with a long straight board and a standard level.
Sometimes regrading is the only real solution. If your yard slopes toward your house, no amount of drainage piping will fully solve the problem. You need to reestablish proper grades first, then add drainage features to handle what the slope can't manage alone.
Regrading costs vary widely—from a few hundred dollars for minor adjustments to several thousand for major reshaping. But it's often the difference between a drainage system that works and one that struggles.
The biggest mistake I see in residential drainage projects is trying to compensate for poor grading with elaborate pipe systems. You can't engineer your way around fundamental slope problems. Fix the grading first, then add drainage features to support it. That sequence matters more than most homeowners realize.
— Morrison Sarah
How to Design a Drainage System for Your Property
Good landscape drainage design starts with the end in mind. Where will the water go when it leaves your property?
You need a legal discharge point: a street storm drain, a drainage easement, a dry well, or a natural water feature. Directing water onto a neighbor's property isn't just bad manners—it's illegal in most jurisdictions and can make you liable for damage.
Start your yard drainage planning by marking problem areas on a property sketch. Then trace the path water needs to follow from each problem area to your discharge point. This becomes your preliminary design.
Consider these placement strategies:
Intercept water as close to its source as possible. Downspout extensions should carry roof water at least 10 feet from your foundation. If that water crosses problem areas, capture it early and route it around them.
Use gravity whenever possible. Pumps add cost, maintenance, and points of failure. Design systems that flow naturally downhill to their discharge points.
Protect garden beds by routing drainage around them rather than through them. Drainage in garden beds requires special attention—you want soil that drains well but doesn't become a channel for runoff from other areas. Raised beds help by elevating plants above problem drainage zones.
Plan for maintenance access. You'll eventually need to clean catch basins, flush pipes, or clear channels. Design systems you can actually service without excavating half your yard.
Integrate drainage with existing landscape features. A well-designed system should be nearly invisible. Channels can run along fence lines. Catch basins can hide under deck edges. Swales can follow natural contours and support plantings.
Avoid running drainage pipes under heavy traffic areas if possible. If you must cross a driveway, use schedule 40 PVC instead of corrugated pipe and bury it deeper for protection.
Installation Methods and Materials
The right materials matter as much as the design. Cheap out here and you'll redo the work in five years.
For underground drainage pipes, corrugated HDPE (high-density polyethylene) pipe is the residential standard. It's flexible, durable, and affordable. Use 4-inch diameter for most applications. The perforated sections collect water; solid sections transport it to discharge points.
PVC pipe works too and offers smoother interior walls that resist clogs better. It costs more and requires more careful installation since it's rigid. Schedule 40 PVC is strong enough for most residential needs.
Filter fabric (geotextile) is non-negotiable for French drains and underground systems. It wraps the pipe and gravel to prevent soil particles from infiltrating and clogging the system. Use non-woven landscape fabric rated for drainage applications—not the cheap woven stuff that clogs quickly.
Gravel specifications matter more than most people think. Use clean, angular gravel between 0.5 and 0.75 inches in size. Crushed stone works better than rounded river rock because the angular pieces lock together while maintaining void space for water flow. You need at least 3 inches of gravel below the pipe and 3 inches above it.
Landscape drainage channel systems come in plastic, polymer concrete, or metal. Plastic channels cost less and work fine for residential applications. Polymer concrete handles heavier loads and lasts longer. Match the grate style to your application—slot grates for driveways, mesh grates for areas with leaves and debris.
Catch basins come in various sizes. A 12-inch square basin handles most residential needs. Larger basins (18 or 24 inches) work better in areas with heavy water volume. Install them at low points and wherever you need to connect surface flow to underground pipes.
Installation depth for underground systems typically runs 12 to 18 inches. Deeper isn't always better—you want the pipe low enough to collect water but high enough to maintain slope to the discharge point. In cold climates, consider frost depth when planning burial depth.
Proper bedding and backfill technique prevents settling and maintains system function. Compact the trench bottom, add gravel bedding, place the pipe with proper slope, surround it with more gravel, wrap everything in filter fabric, then backfill with soil in 6-inch lifts, compacting each layer.
Author: Olivia Maren;
Source: cribbslandscaping.com
Common Drainage Mistakes to Avoid
Even well-intentioned projects fail when you miss these critical points.
Inadequate slope is the number one killer of landscape drainage systems. A pipe that's too flat won't flow properly. Water sits, sediment settles, and the system clogs. Always maintain at least 1% slope (1 inch per 8 feet) in drainage pipes. More is better.
Skipping filter fabric saves maybe $50 and guarantees future problems. Soil particles migrate into your gravel and pipes, reducing flow capacity until the system fails. Always use proper geotextile fabric.
Improper discharge points create new problems. Dumping water at the base of a slope just moves your drainage issue 20 feet away. Make sure your discharge point truly removes water from the problem area.
Mixing different pipe types in one system causes connection failures. If you start with corrugated pipe, stick with it. Transitions between pipe types are weak points where separations occur.
Undersizing the system for water volume leads to overwhelmed drainage features during heavy rains. Size your system for the worst storms, not average rainfall. A system that handles 95% of storms but fails during the big ones isn't much use.
Ignoring maintenance access means you can't service the system when problems develop. Every underground system needs cleanout access points at pipe direction changes and every 50 feet on long runs.
Author: Olivia Maren;
Source: cribbslandscaping.com
Failing to call 811 before digging can damage underground utilities and create serious safety hazards. Always get utility lines marked before excavation. It's free and it's the law.
Installing drainage without considering seasonal water table changes works great in summer but fails when winter raises groundwater levels. If your area has seasonal water table fluctuations, design for the highest expected level.
Not accounting for your soil type affects system performance dramatically. Clay soils drain slowly and need more aggressive systems. Sandy soils drain quickly but can erode around drainage features. Adjust your design for your specific soil conditions.
FAQ: Landscape Drainage Questions Answered
What is the best type of drainage for a flat yard?
Surface swales work best in flat yards because they move water gradually across low-slope terrain. French drains struggle in flat areas since they rely on slope to function. A combination approach often works well: shallow swales to collect and move water to strategic points, then catch basins connecting to underground pipes that carry water to discharge points. The key is creating enough surface slope (even just 2%) to encourage flow into your collection points.
How much does it cost to install landscape drainage?
Expect to pay $1,800 to $5,500 for a typical residential drainage project in 2026. Simple surface solutions like swales run $5 to $15 per linear foot. French drains cost $20 to $35 per linear foot installed. Channel drains range from $30 to $60 per linear foot. Catch basins add $300 to $600 each. Major regrading projects cost $1,000 to $3,000 depending on the area size. DIY installation cuts costs by 50-70% but requires proper equipment and technique.
Do I need a permit for yard drainage work?
It depends on your location and project scope. Most municipalities don't require permits for basic drainage improvements like French drains or swales that stay on your property. But you typically need permits if you connect to public storm drains, significantly alter property grading, work within setback areas, or discharge water into protected waterways. Always check with your local building department before starting work. Unpermitted work can create liability issues and problems when selling your home.
How deep should underground drainage pipes be buried?
Bury residential drainage pipes 12 to 18 inches deep in most situations. This depth protects pipes from damage while keeping them accessible for future maintenance. In cold climates, consider frost depth—though drainage pipes typically don't freeze since water flows through them rather than sitting static. Pipes under driveways or heavy traffic areas should go deeper (24 inches minimum) and use stronger schedule 40 PVC instead of corrugated pipe. The discharge end can be shallower to maintain proper slope.
Can I install landscape drainage myself or should I hire a professional?
Simple projects like extending downspouts, installing small French drains, or creating swales are definitely DIY-friendly if you're comfortable with physical work and basic tools. More complex projects involving multiple drainage types, significant regrading, or connections to public systems warrant professional help. Hire a pro if your project requires heavy equipment, affects your foundation, needs permits, or involves your property's overall grading. Poor installation often costs more to fix than hiring qualified help initially.
How do I maintain my yard drainage system?
Flush underground pipes annually using a garden hose or pressure washer to clear accumulated sediment. Clean debris from catch basin grates and channels monthly during heavy-use seasons. Inspect visible components after major storms for damage or settling. Keep swales clear of leaves and vegetation that might block flow. Check that downspout extensions remain properly positioned. Every few years, inspect underground components through cleanout ports using a camera or flashlight. Address small problems immediately before they become system failures. Well-maintained drainage systems last decades with minimal intervention.
Water management isn't optional for property owners. It's the difference between a landscape that thrives and one that fights constant damage.
The good news? You now understand how drainage systems work, which solutions fit different situations, and how to avoid the mistakes that cause most failures. Whether you tackle installation yourself or hire professionals, this knowledge helps you make informed decisions and spot problems before they become expensive repairs.
Start with assessment. Walk your property during rain. Map the problems. Then design solutions that work with gravity and your property's natural features rather than against them. Good drainage isn't about fighting water—it's about giving it the path you choose instead of letting it choose its own.
Your yard's drainage challenges are solvable. The question is whether you'll address them proactively or wait until water forces your hand. One approach costs less and protects your investment. The other adds repair bills to your drainage expenses.
Take the first step. Grab that notebook and start mapping your water flow patterns. Everything else follows from understanding where water goes and where you need it to go instead.
Learn professional commercial landscape lighting design principles that transform properties into 24-hour assets. Explore lighting techniques, fixture types, voltage systems, and the layered approach that creates safe, visually compelling outdoor spaces.
Transform your backyard into a lush island paradise with this complete guide to Polynesian garden design. Discover essential tropical plants, hardscape elements, water features, and climate adaptations that create an authentic Pacific island aesthetic right at home.
Japanese gardens aren't just pretty landscapes—they're philosophical statements in stone, water, and green. Each type serves a distinct purpose, from meditation to ceremony. Learn about karesansui zen gardens, stroll gardens, tea gardens, and specialized styles to find the right fit for your space.
Artificial turf transforms backyards with low-maintenance green space year-round. Discover design ideas combining turf with pavers and concrete, layout strategies for any yard size, putting green installation tips, and cost comparisons to create your ideal outdoor space.
The content on this website is provided for general informational and educational purposes only. It is intended to explain concepts related to landscape design, outdoor spaces, plants, irrigation, hardscape and softscape, and sustainable landscaping.
All information on this website, including articles, guides, and examples, is presented for general educational purposes. Outcomes may vary depending on local climate, soil, plant selection, and project implementation.
This website does not provide professional design, construction, or horticultural advice, and the information presented should not be used as a substitute for consultation with qualified landscape architects, contractors, or horticulturists.
The website and its authors are not responsible for any errors or omissions, or for any outcomes resulting from decisions made based on the information provided on this website.