Proper drainage starts with the ground itself. When water pools around your foundation or turns your backyard into a swamp after every rain, you're looking at a grading problem. Most homeowners don't think about the slope of their yard until water damage forces the issue. But understanding how to shape your landscape can save you thousands in foundation repairs and give you a yard that actually works.
Why Landscape Grading Matters for Your Property
Water always finds the path of least resistance. If that path leads toward your house, you're in trouble.
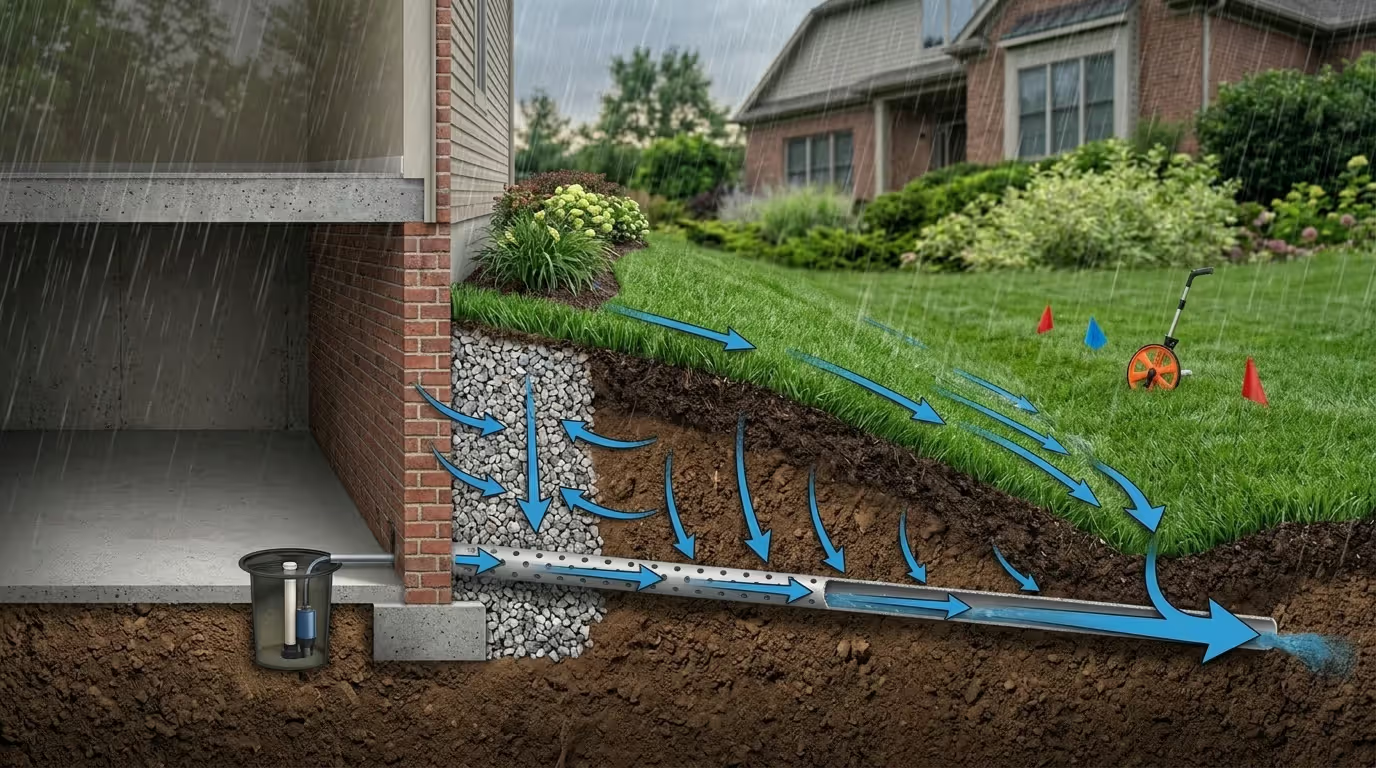
Grading landscape properly directs water away from structures and prevents it from settling where it shouldn't. Foundation soil undergoes constant moisture cycling—swelling during wet periods and shrinking as it dries. This cycle creates stress that leads to cracks, settlement, and eventually structural damage. A proper grade channels water at least 10 feet beyond your foundation before it can cause problems.
Beyond foundation protection, grading controls erosion. Overly aggressive slopes wash away topsoil and carve gullies through your yard. Insufficient slopes let water sit, killing grass and creating muddy dead zones. The right grade balances these extremes.
Property value takes a hit when drainage issues become visible. Buyers notice water stains on foundations, dead patches in lawns, and erosion channels. They also hire inspectors who flag drainage problems as major concerns. Fixing grading issues before selling can return three to four times the investment in final sale price.
Understanding Grading Types and When to Use Each
Not all grading serves the same purpose. The type you need depends on your project phase and end goals.
Rough Grading vs Finish Grading
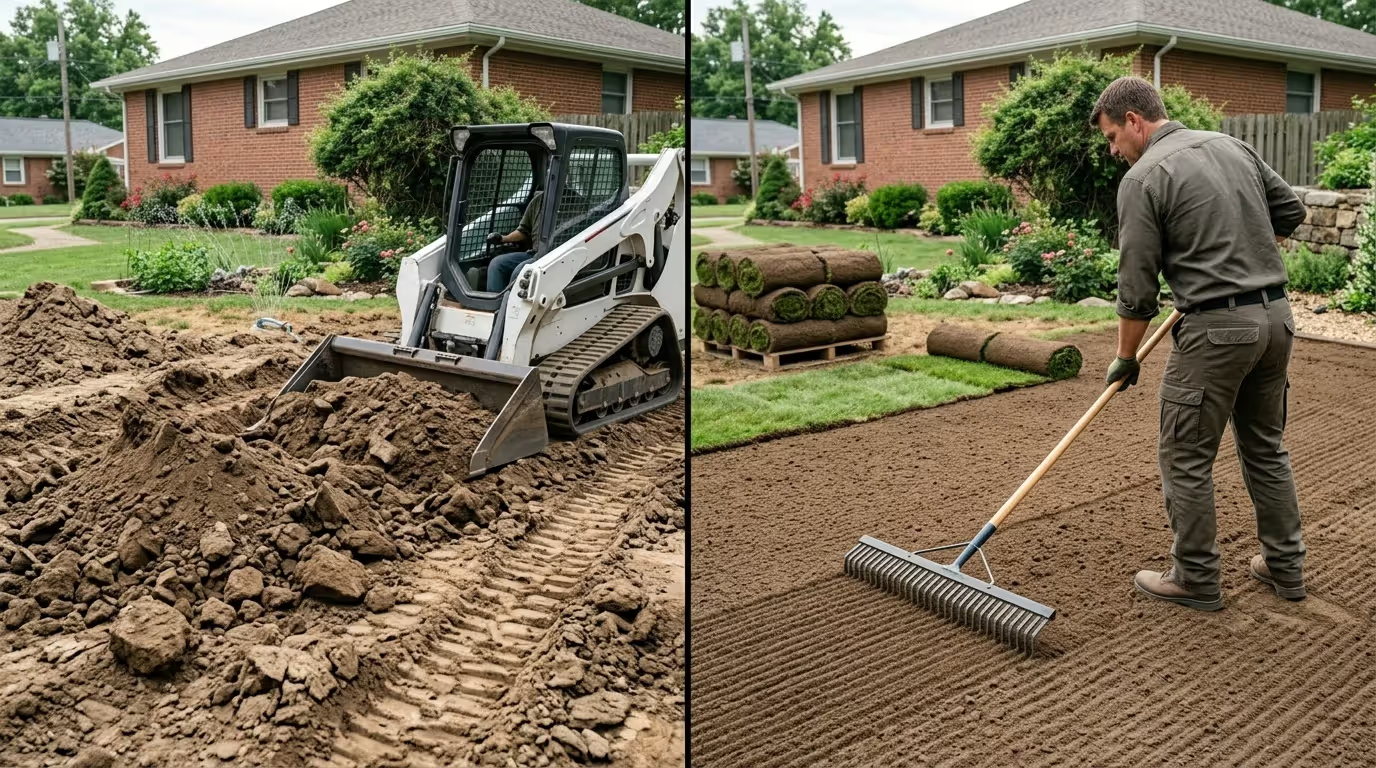
Rough grading shapes the basic contours of your land. It happens during initial construction or major landscape renovation. Heavy equipment moves large volumes of soil to create the general slope and elevation changes. Accuracy here measures in inches, not fractions of inches.
Finish grading comes after. It creates the final surface ready for sod, seed, or planting. This work smooths out rough spots, removes rocks and debris, and establishes precise slopes for drainage. You're working with the top 2-3 inches of soil.
The pattern I see most often is homeowners trying to skip rough grading and fix everything with finish work. That's backward. You can't smooth your way out of a fundamentally wrong slope.
Author: Olivia Maren;
Source: cribbslandscaping.com
Feature
Rough Grading
Finish Grading
Purpose
Sets primary slopes and drainage flow
Prepares final planting surface
Equipment Used
Excavators, bulldozers, heavy tractors
Box scrapers, landscape rakes, manual tools
Typical Cost
$800–$3,000 residential projects
$400–$1,200 average yard
When It's Done
Initial phase before landscaping
Last step before vegetation
Skill Level Required
Licensed operator necessary
Skilled DIYer can manage smaller jobs
Positive Grading Around Your House Foundation
Positive grading means the ground slopes down and away from your foundation on all sides. This isn't optional—it's the single most important drainage feature for any building.
Building codes typically mandate at least a 6-inch elevation drop within the first 10 feet extending from your foundation perimeter. Many jurisdictions specify even more in areas with heavy rainfall or clay soils.
Creating positive grading often means adding soil near the foundation and tapering it down as you move away. But there's a catch: you can't pile soil against siding or cover foundation vents. The soil line should end 6-8 inches below any wood or opening.
Author: Olivia Maren;
Source: cribbslandscaping.com
How to Grade Your Yard Step by Step
Getting the slope right requires planning before you move any dirt.
Start with site assessment. Walk your property after a heavy rain and note where water pools, where it flows, and where it exits. Take photos. These trouble spots tell you where your current grading fails.
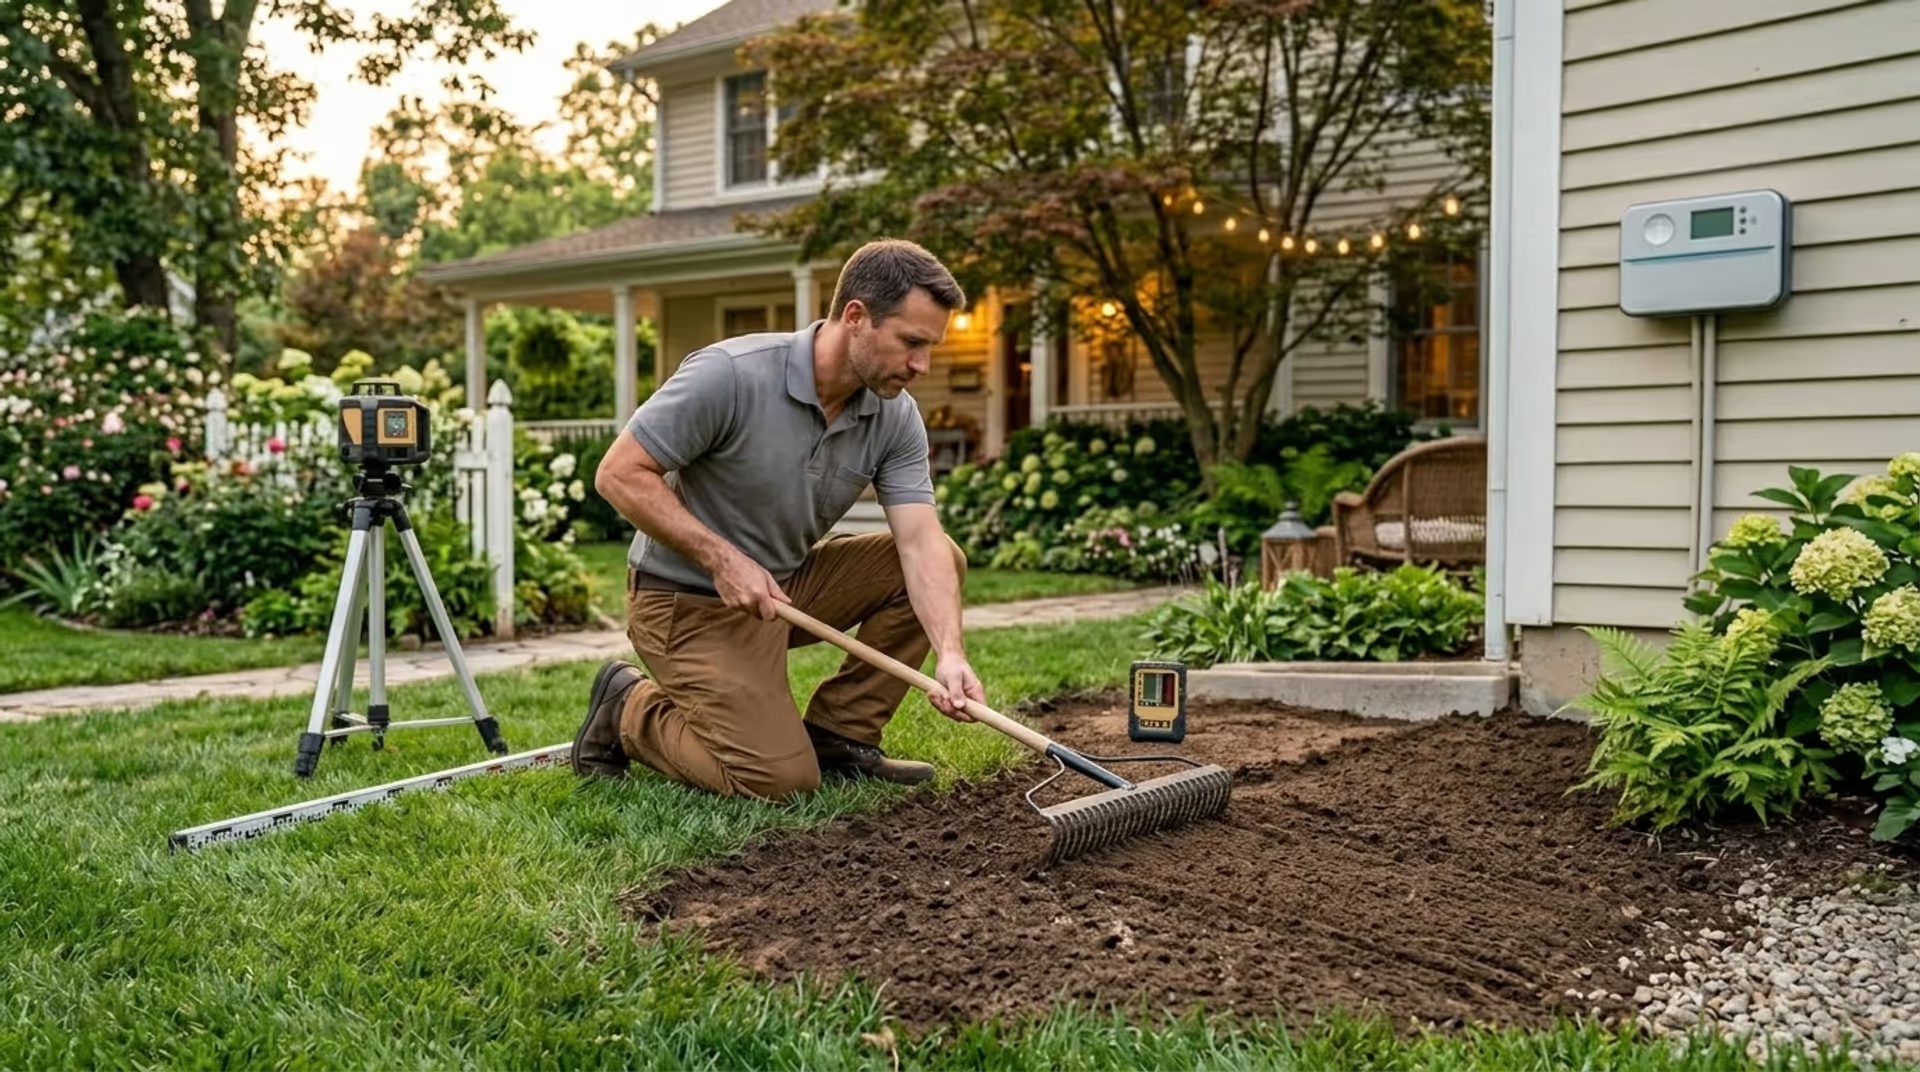
Next, calculate the slope you need. For grading for drainage away from foundation, establish a reference point at your foundation wall and another 10 feet outward. A laser level or string level reveals the current elevation difference. You want at least 6 inches of drop. If you have less, you'll need to add soil near the house or remove it farther out.
Understanding your soil is critical before you begin reshaping it. Strip away sod, rocks, and debris from the work area. When adding fill, scarify the existing surface so new material bonds instead of sliding. Placing dry fill over wet clay creates a slip plane that will fail.
Execute the grading in layers if you're adding more than 4 inches of soil. Spread 2-3 inches, compact it, then add the next layer. This prevents settling that would ruin your slope in six months.
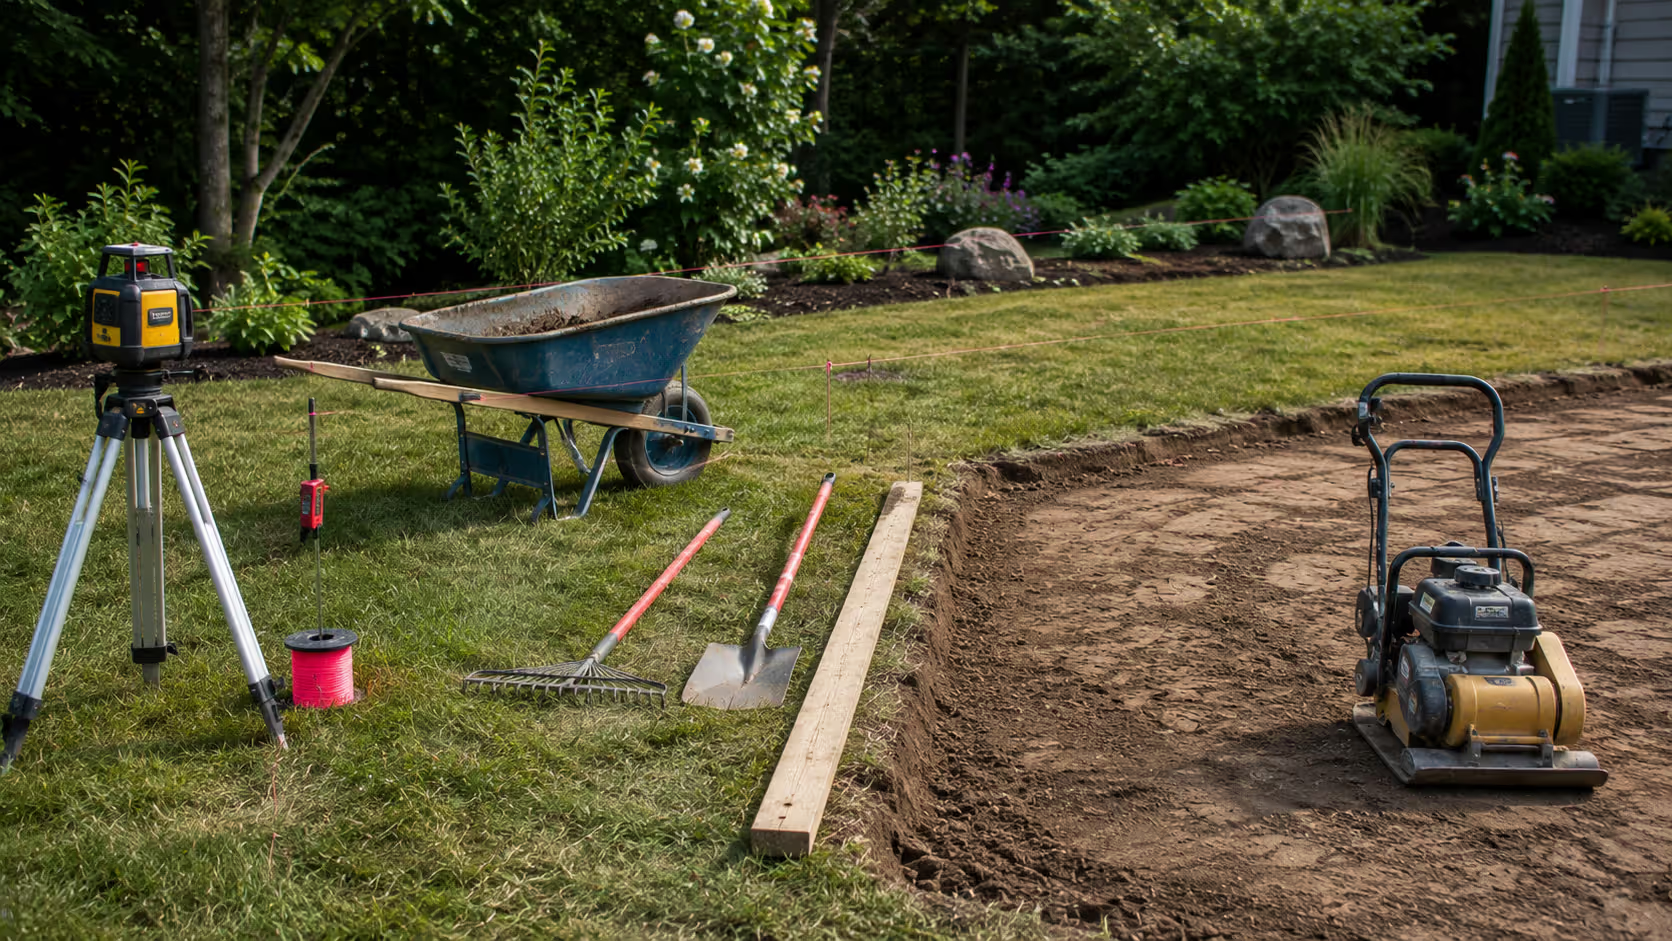
Compaction is where DIY projects often fail. Loose soil settles—sometimes by 20-30%. Rent a plate compactor for areas you'll walk on or plant. Water each layer lightly before compacting to help soil particles bind.
Check your work with a level every few feet as you go. It's easier to fix problems immediately than to redo everything after you've finished.
Ninety percent of foundation problems I investigate trace back to improper grading. Homeowners spend fortunes on waterproofing and drainage systems when the real solution is reshaping the ground surface to move water away naturally.
— Chen Robert
Essential Equipment and Tools for Grading Projects
The right tools make grading possible. The wrong ones make it miserable.
For small jobs under 500 square feet, hand tools work fine. You'll need a sturdy rake, a flat shovel, a wheelbarrow, and a 6-8 foot straight board for checking grade. A line level or 4-foot carpenter's level helps verify slopes. Budget $150-$300 if you're starting from nothing.
Medium-sized projects benefit from a landscape rake attachment for a tractor or a walk-behind power rake. These spread and level soil much faster than hand raking. Rental costs run $75-$150 per day.
Large areas demand real landscape grading equipment. A compact tractor with a box blade handles most residential grading. For major earthwork, you're looking at skid steers or small excavators. Renting makes sense unless you have ongoing property maintenance needs. A skid steer with operator costs $400-$800 per day in most markets.
The simpler option usually wins here. Don't rent a $500 machine to grade a 200-square-foot area you could do with a rake in an afternoon.
Author: Olivia Maren;
Source: cribbslandscaping.com
Grading Techniques for Different Landscaping Goals
Different situations call for different approaches to land grading for landscaping.
Grading a Backyard Slope
Existing slopes create challenges and opportunities. A gentle slope away from your house is ideal—you just need to maintain it. Aggressive inclines demand terracing or retaining structures to control erosion.
For grading backyard slope that's too steep, you have two options. You can cut into the slope to create level areas, or you can build up the low side with retaining walls. Cutting works better for gentle adjustments. Retaining walls handle dramatic changes but add significant cost.
Slopes between 2% and 5% (roughly 2-5 feet of drop per 100 feet) work well for lawns and most landscaping. Steeper than 10% and you'll struggle to maintain grass. Consider groundcovers or hardscaping instead.
Grading Soil for Planting Areas
Garden beds and planting areas need different grading than lawns. You want slight mounding or raised beds that drain well but don't dry out too fast.
When grading soil for planting, create a gentle crown that's 2-4 inches higher in the center than the edges. This prevents water from pooling around plant roots while keeping moisture available. Flat beds work in sandy soil that drains naturally. Clay soils need that crown or they'll stay waterlogged.
Incorporating compost into the upper 6-8 inches of planting areas after grading enhances water movement through clay while helping sandy soils retain moisture.
Creating Drainage Swales and Channels
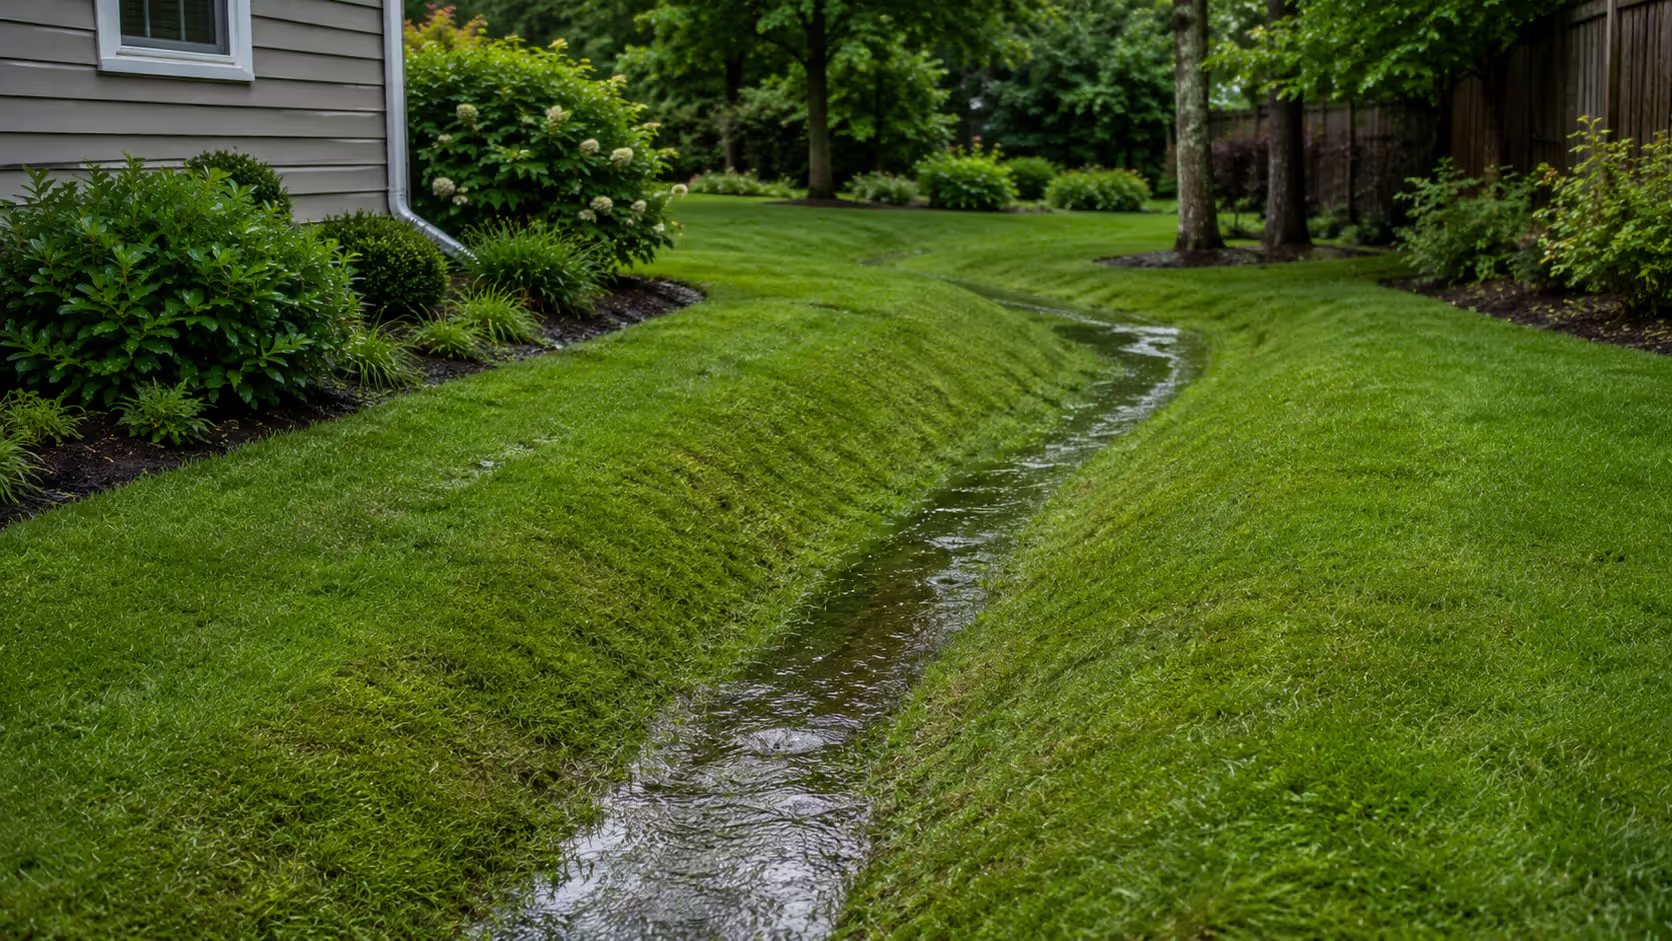
Sometimes you need to move water across your property, not just away from the foundation. Swales are shallow, vegetated channels that direct flow.
A typical swale is 12-18 inches deep with gently sloped sides (3:1 or flatter). The bottom should slope at least 1-2% to keep water moving. Plant grass or other vegetation to prevent erosion.
Position swales to intercept water from uphill areas and direct it to appropriate drainage points—street gutters, storm drains, or low areas away from structures. Never direct your drainage onto a neighbor's property without permission and proper planning.
Author: Olivia Maren;
Source: cribbslandscaping.com
Common Grading Mistakes and How to Avoid Them
Even experienced landscapers make grading errors. Here's what to watch for.
Improper slope calculations cause most failures. People eyeball it or assume "close enough" works. It doesn't. A 2% slope looks nearly flat but makes the difference between good drainage and standing water. Use actual measurements and a level.
Overlooking local drainage regulations gets expensive. Most municipalities have requirements for residential grading, especially near property lines. Some require permits for grading that changes elevation by more than a certain amount. Check before you start moving dirt.
Compaction issues show up months later when your carefully graded lawn develops low spots. New soil must be compacted in layers, not all at once. And you can't compact when soil is too wet or too dry—it needs to be slightly moist.
Timing errors waste money. Don't grade right before heavy rains that will wash away your work. Don't seed immediately after grading if the weather won't support germination. Grade in spring or fall when soil moisture is moderate and you have time for settling before you need the finished surface.
When to Hire a Professional vs DIY Grading
Author: Olivia Maren;
Source: cribbslandscaping.com
Some projects invite DIY. Others demand professional help.
Handle it yourself if you're adjusting grade over a small area (under 1,000 square feet), the slope change is minor (less than 6 inches), and you don't need heavy equipment. Fixing drainage around a patio or creating a small planting bed fits this category.
Call a professional when the project involves more than 50 cubic yards of soil, requires retaining walls over 2 feet high, or affects your foundation or property lines. Also hire out if you need permits or if your local soil is particularly difficult—heavy clay or lots of rocks.
Equipment needs often decide the question. If the right tool is a $400-per-day rental and you've never operated one, you'll spend more fixing mistakes than hiring someone who knows what they're doing.
Cost comparison depends heavily on your situation. DIY grading might cost $200-$500 in materials and rentals for a typical yard. Hiring professionals typically ranges from $1,500-$5,000 for similar scope. But professionals include expertise, insurance, and guarantees. When professionals make errors, they correct them at no charge. When you make errors, you pay to fix them yourself or hire someone anyway.
FAQ: Landscape Grading Questions Answered
What is the ideal slope for grading away from a house foundation?
Building codes typically require a minimum 6-inch vertical drop measured over the first 10 horizontal feet extending from your foundation. This creates a 5% grade. Regions experiencing heavy rainfall or dealing with expansive clay soils may specify 8-12 inches of fall instead. This initial slope should extend at least 10 feet from your foundation walls, though extending it further provides better protection. Beyond that initial drop zone, you can transition to gentler slopes across the remainder of your property.
How much does professional landscape grading cost?
Expect to pay between $1,500 and $5,000 for professional grading on a standard residential property, with costs varying based on lot size, existing conditions, and the volume of soil requiring relocation. Basic regrading of existing lawns might run $800-$2,000. Complex projects involving substantial earthwork, retaining structures, or integrated drainage systems can reach $5,000-$15,000 or higher. Contractors typically bill hourly ($75-$150) or per cubic yard of material moved ($12-$25). Collecting three competitive bids helps establish fair market pricing in your region.
Can I grade my yard myself or do I need a contractor?
Small grading projects are manageable for DIY when you're working within 1,000 square feet, making slope adjustments of 6 inches or less, and using basic equipment. Projects requiring substantial soil relocation, heavy machinery operation, work adjacent to foundations or property boundaries, or permit applications should involve professionals. Your physical capabilities matter too—grading demands hours of shoveling, raking, and soil movement. When uncertain, pay for professional consultation and assessment first, then decide whether to proceed independently.
How do rough and finish grading differ from each other?
Rough grading establishes your landscape's fundamental contours and primary slopes using heavy machinery like excavators or bulldozers. It relocates substantial soil volumes and creates basic drainage patterns. Measurements focus on inch-level accuracy. Finish grading follows afterward, creating the final smooth surface suitable for planting. It employs lighter equipment and hand tools to refine the upper 2-3 inches of soil, eliminating rocks and debris while establishing precise slopes. Consider rough grading like building a house frame and finish grading like applying drywall and paint.
How long does graded soil need to settle before planting?
Freshly graded soil requires at least 2-4 weeks of settling before planting, though waiting 6-8 weeks proves better for areas receiving significant fill material. Settlement duration depends on soil composition, compaction quality, and weather patterns. Clay settles more than sand. Well-compacted soil settles less than loose fill. Rainfall accelerates the settling process. For lawn installation, wait through the settling period, then add topsoil to level any depressions before seeding or laying sod. Garden beds typically experience additional settling throughout the first year, requiring periodic mulch or soil additions.
Do I need a permit for grading my yard?
Permit requirements differ by jurisdiction, but many municipalities mandate permits when relocating more than 50-100 cubic yards of material, modifying grade near property boundaries, changing drainage patterns affecting neighboring properties, or working within specified distances from your foundation. Some localities require permits for any grading altering elevation by more than 1-2 feet. Permits typically cost $100-$500 and require submitting grading plans for review. Contact your municipal building department before beginning work. Unpermitted grading can trigger fines and mandatory restoration to original conditions.
Getting the slope right solves problems that have plagued your property for years. Water goes where you want it. Your foundation stays dry. The lawn grows evenly instead of dying in soggy patches.
But grading isn't permanent without maintenance. Soil settles over time, especially in the first year. Erosion changes slopes gradually. Tree roots and burrowing animals create new drainage problems.
Walk your property after heavy rains at least twice a year. Look for new pooling, erosion channels, or water flowing toward your foundation. Catch these issues early with a few hours of touch-up work rather than waiting until you need to regrade everything.
The investment in proper grading pays returns for decades. Foundation repairs cost $4,000-$15,000 on average. Basement waterproofing runs $3,000-$8,000. Erosion damage to landscaping adds up quickly. Spending $2,000-$5,000 now to grade correctly prevents all of that.
Your yard should work for you, not against you. Proper grading makes that happen.
Discover how irrigation specialists design efficient watering systems, when professional help makes sense, and what to expect from installation. Includes system comparison, cost factors, and expert hiring tips for homeowners.
Discover creative concrete patio designs from stamped and textured finishes to polished surfaces and geometric layouts. Learn which concrete finish works best for your climate, budget, and style with detailed comparisons of durability, maintenance, and costs.
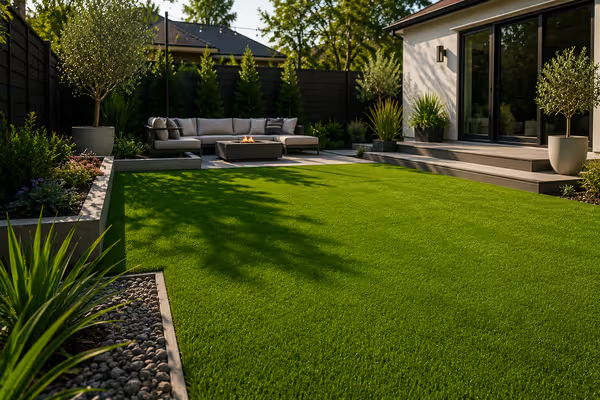
Discover how to select the best artificial grass for backyard spaces with our comprehensive guide. Learn what makes turf high-quality, compare leading products, and find the perfect match for your climate, pets, and usage. Expert insights on durability, drainage, realistic appearance, and common mistakes to avoid.
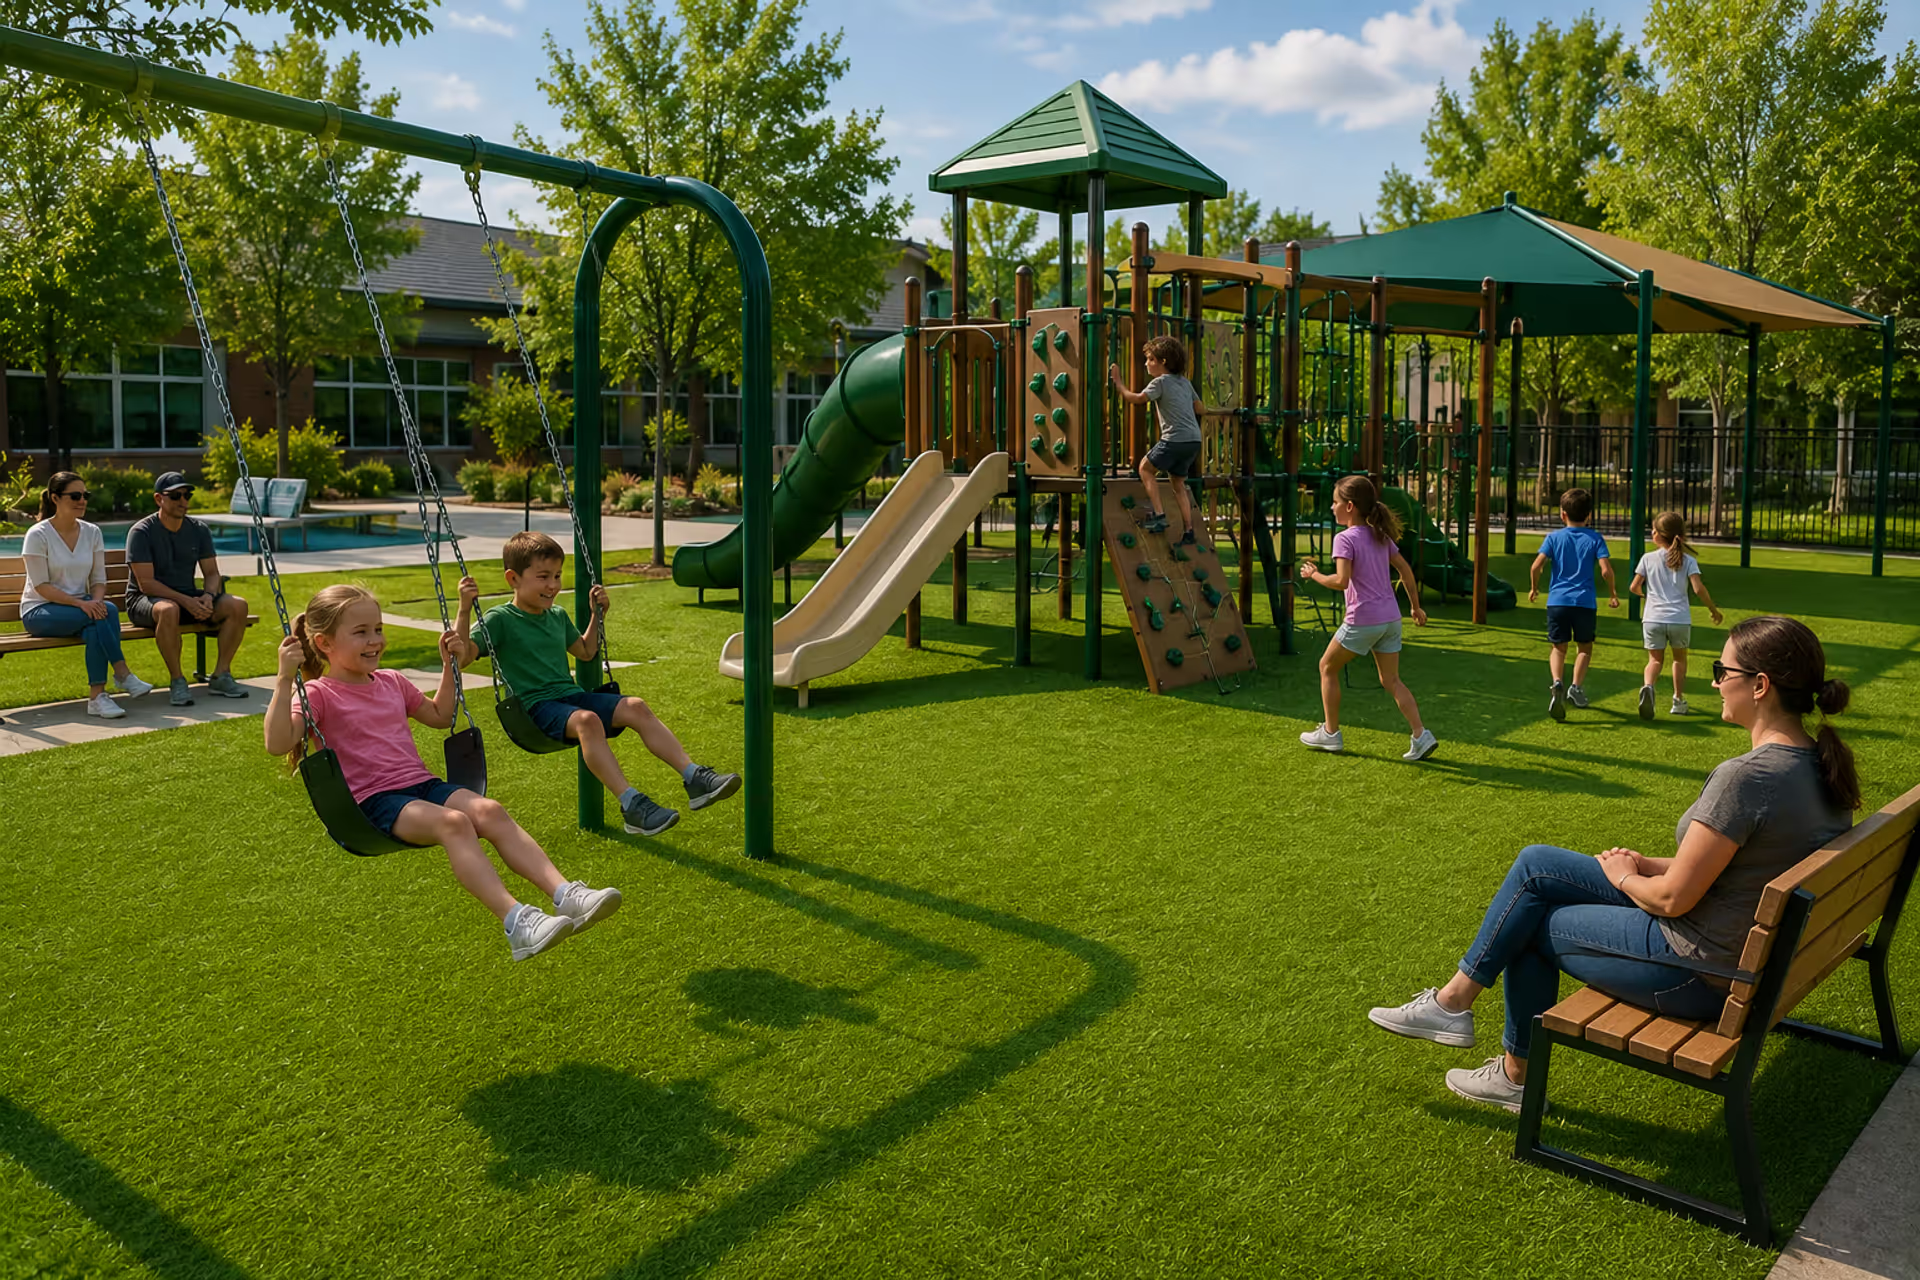
Learn how to select synthetic playground turf that meets safety standards and budget requirements. This guide covers fall height ratings, infill materials, shock pad systems, installation needs, maintenance schedules, and total cost analysis for schools and facilities.
The content on this website is provided for general informational and educational purposes only. It is intended to explain concepts related to landscape design, outdoor spaces, plants, irrigation, hardscape and softscape, and sustainable landscaping.
All information on this website, including articles, guides, and examples, is presented for general educational purposes. Outcomes may vary depending on local climate, soil, plant selection, and project implementation.
This website does not provide professional design, construction, or horticultural advice, and the information presented should not be used as a substitute for consultation with qualified landscape architects, contractors, or horticulturists.
The website and its authors are not responsible for any errors or omissions, or for any outcomes resulting from decisions made based on the information provided on this website.