You know those rolling hills you see in landscaped yards—the ones with shrubs cascading down the sides? Most people assume they're just decorative. They're wrong. Those mounds (landscape professionals call them berms) solve real problems: soggy corners that won't drain, neighbors who can see directly into your bathroom window, flat-as-a-pancake lots that bore you to tears. I've built dozens of these over the years, and the difference between ones that work and ones that become maintenance nightmares comes down to following some non-negotiable rules. Let's dig into how you actually construct one that'll still look good in five years.
What Is a Dirt Berm and Why Use One?
A berm is basically a hill you build on purpose—a raised ridge of packed soil that slopes gradually on every side. Unlike retaining walls with their vertical faces, berms curve and blend. When they're done properly, they look like nature put them there.
Water control drives most berm projects I see. Maybe you've got that one corner where puddles sit for three days after rain. Or storm runoff cuts channels through your flower beds every spring. A strategically placed berm intercepts that flow and sends it elsewhere—away from your foundation, around your garden beds, toward a spot where standing water doesn't wreck your weekend plans. You're not blocking water (that creates worse problems), just giving it a new path.
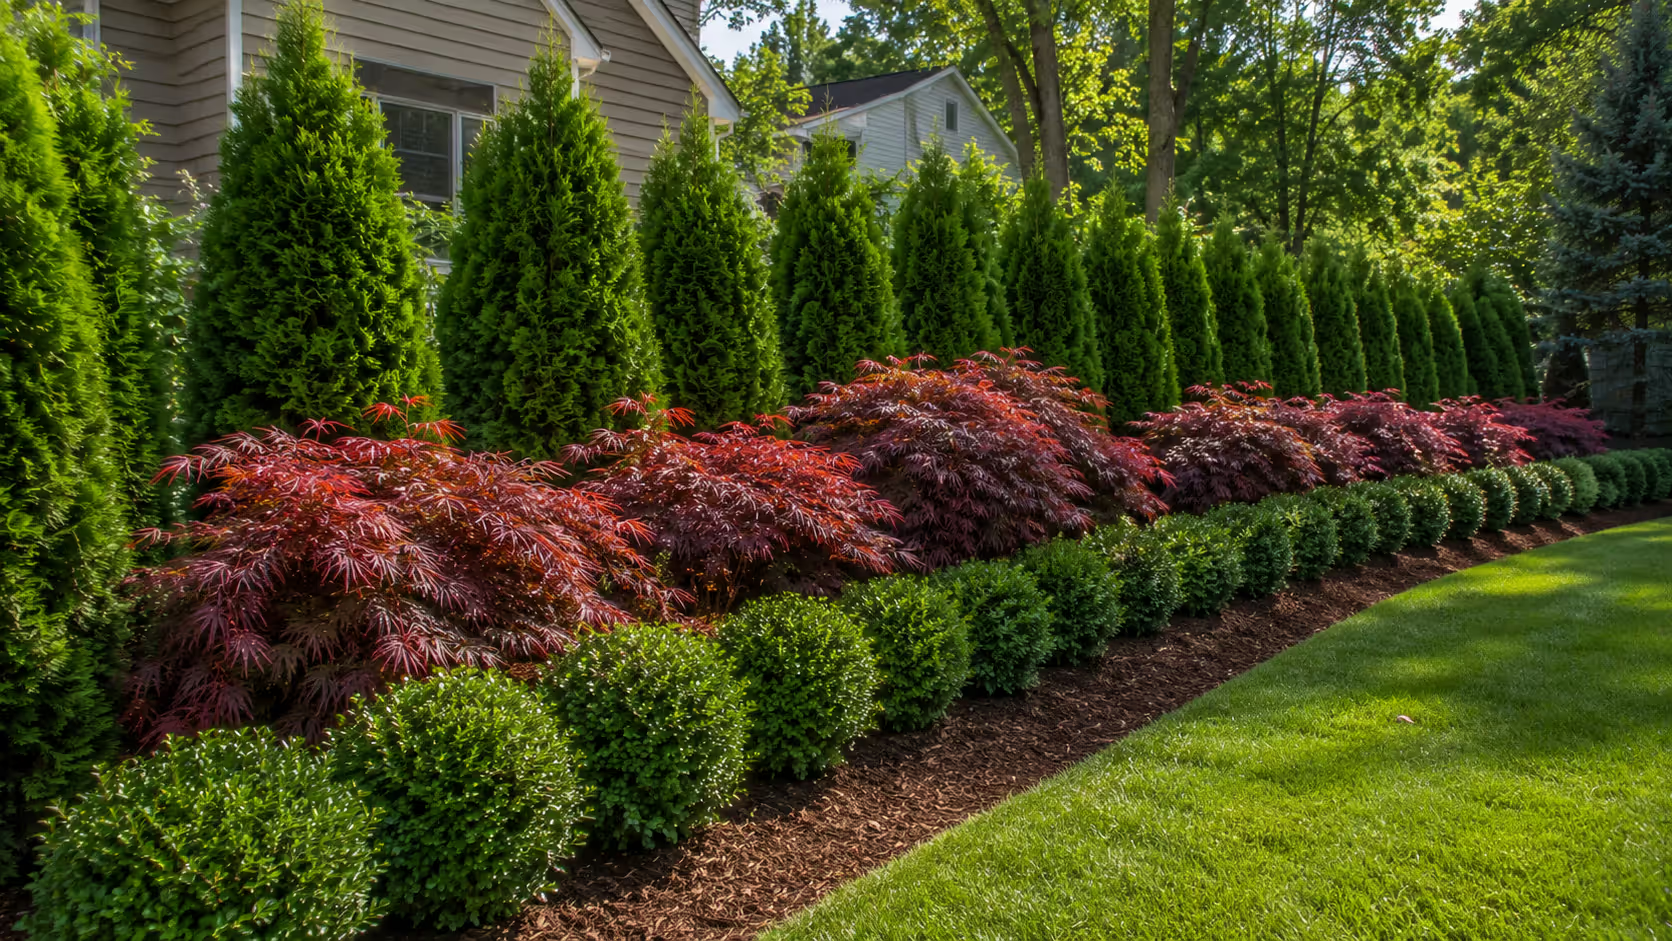
Privacy screening gets a massive boost when you add height before planting. Build a three-foot berm along your property line, then plant five-foot shrubs on top. Suddenly you've got an eight-foot visual barrier. That's the difference between waving awkwardly at your neighbor every time you step outside and actually having some separation. Works great along busy streets too—lifting your plants higher makes them effective screens.
Breaking up boring topography matters more than people realize. Suburban lots are often dead flat. Your eye sweeps across the whole space in one glance, registers "grass and some bushes," then loses interest. Add one sweeping berm with varied plantings and suddenly there's depth, focal points, reasons to actually look around. The space feels bigger because you can't see everything at once.
Erosion prevention on problem slopes saves constant repair work. Position a berm at the bottom of a slope that keeps washing out, plant it with aggressive root systems, and you've built a permanent sediment trap. Water slows down when it hits the berm. Soil stays where you put it.
Planning Your Berm Location and Size
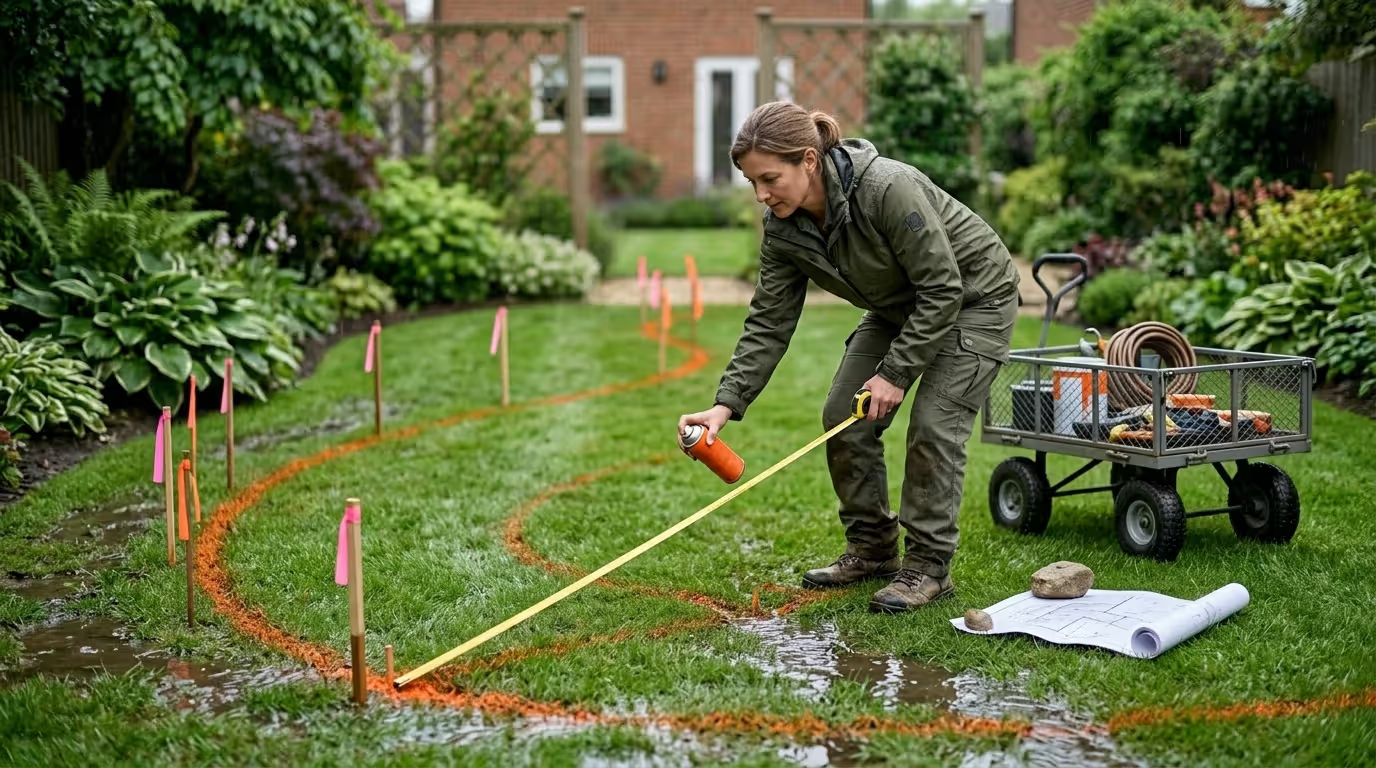
Put on your boots and go outside right after a serious rainstorm. You need to watch how water actually behaves on your property, not guess from a dry lawn on a sunny Tuesday. Which spots turn into temporary ponds? Where does runoff travel? Take photos from multiple angles—your front door, the street, looking out your kitchen window. This observation phase matters more than anything else.
Mark potential locations with spray paint or stakes. Then really look at them. Sure, that spot might solve your drainage issue, but will you be staring at a dirt pile from your favorite chair? Does it block the view you actually enjoy? Function counts, but you'll see this thing every single day.
Your height-to-width ratio determines success or failure. You need four to six feet of width at the base for every foot of height. Want a four-foot berm? Plan on 16 to 24 feet of width at the bottom. Sounds huge, right? It is. But steeper berms become erosion disasters—plants slide downhill, mulch washes into the street, you're constantly fixing problems. Those narrow, tall berms you occasionally see? Mistakes. Every one of them.
Call 811 before moving any dirt. Underground utilities—gas lines, electrical, water, cable—crisscross everywhere. Hitting a line doesn't just ruin your project. It can cost thousands in repairs and legitimately endanger people. Get everything marked first.
Measure your actual available space. Berms need room for gradual transitions into existing grade. Working with a 12-foot-wide area? You're capped at roughly two feet maximum height. Physics doesn't negotiate. Work within your real dimensions.
Author: Olivia Maren;
Source: cribbslandscaping.com
Best Placement for Different Berm Functions
Privacy berms run alongside boundaries—streets, sidewalks, property lines. Just verify you're not violating setback requirements first. Local codes vary wildly on this. The berm's peak becomes prime real estate for screening plants. You'll achieve mature privacy faster since you're starting several feet higher than ground level.
Drainage berms need to sit perpendicular to water flow or curve around areas you're protecting. They redirect, they don't dam. Never construct a berm that traps water with nowhere to go. You'll create a swamp. Always plan the exit route for redirected water—toward a rain garden, an existing swale, a street drain, somewhere it can actually go.
Decorative berms work as focal points. Frame your driveway entrance. Create a backdrop for perennial beds. Add curves to a rectangular lot that feels like a parking lot. Position them where people will see and appreciate them. Building a berm behind your garage where nobody looks wastes time and money.
Step-by-Step Dirt Berm Construction
Author: Olivia Maren;
Source: cribbslandscaping.com
Your soil selection determines whether this project succeeds or becomes an expensive lesson. You can't just pile up whatever was cheapest at the landscape supplier. Here's what different materials actually do:
Standard topsoil ($25-$45 per cubic yard) drains reasonably well and holds its shape. Use it for the top 12-18 inches where plant roots actually live. Don't waste it in the core where roots never reach.
Clay-heavy blends ($20-$35 per cubic yard) barely drain—that's exactly the point for drainage berm cores. This layer acts as a water barrier. Excellent stability, but terrible for planting directly into.
Sandy loam ($30-$50 per cubic yard) drains almost too fast and washes away easily. Only consider it for decorative berms in dry climates where erosion isn't an issue.
Compost-enriched mixes ($35-$60 per cubic yard) drain well with moderate stability. Perfect for the top planting layer, too expensive for the entire berm.
The berms that actually last use multiple layers with different functions. Start with clay-based material for the core if you're controlling drainage. For planted or decorative berms, use inexpensive fill dirt for the interior (saves serious money) and reserve quality topsoil for the top foot to 18 inches.
Here's how you actually build it:
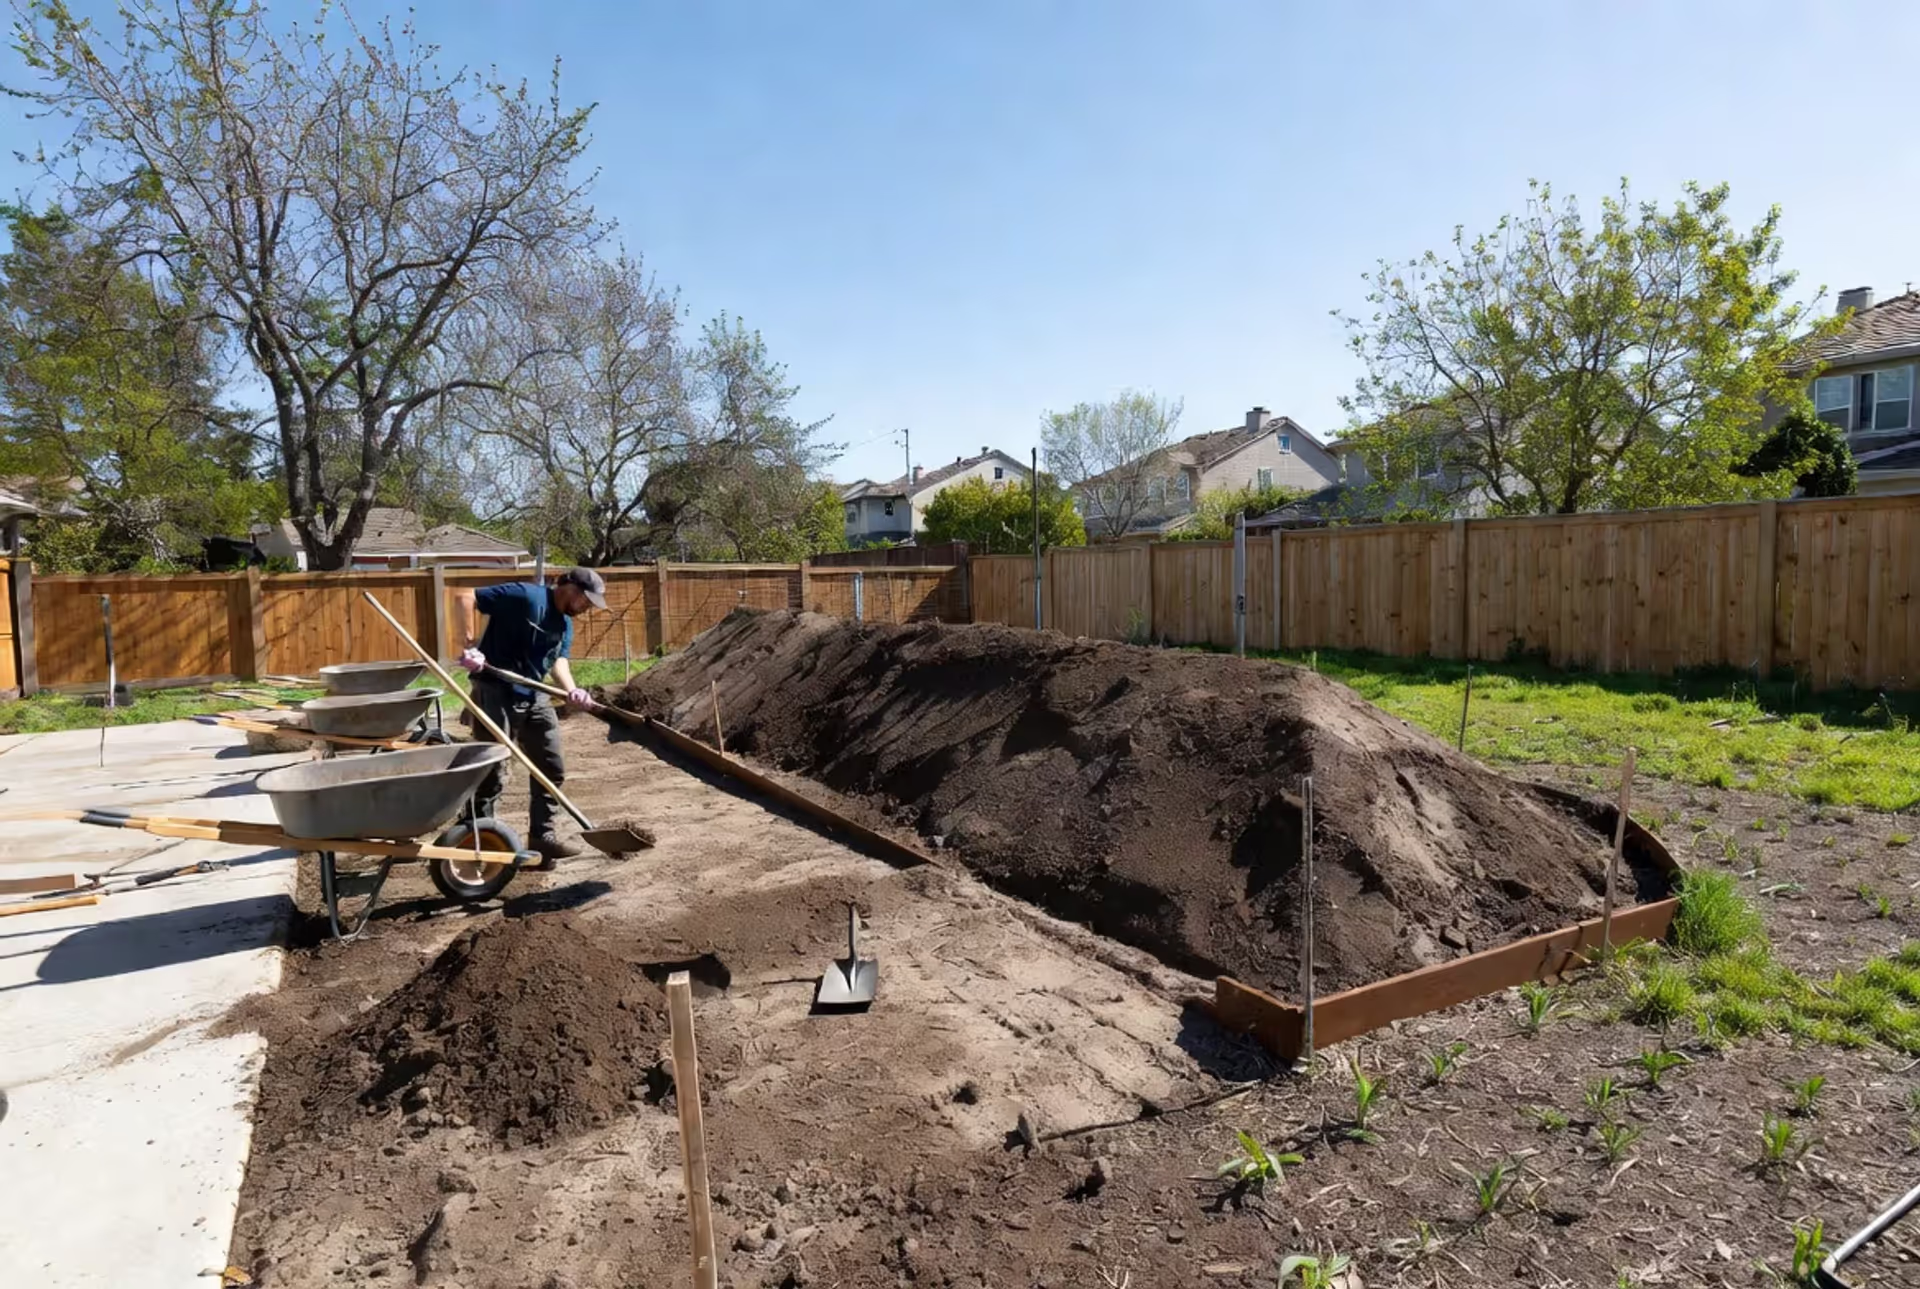
Remove all grass from your entire footprint. Yeah, even the dead patches. Buried sod creates air pockets. Six months later, you've got sinkholes and settling. Scrape everything off down to bare dirt.
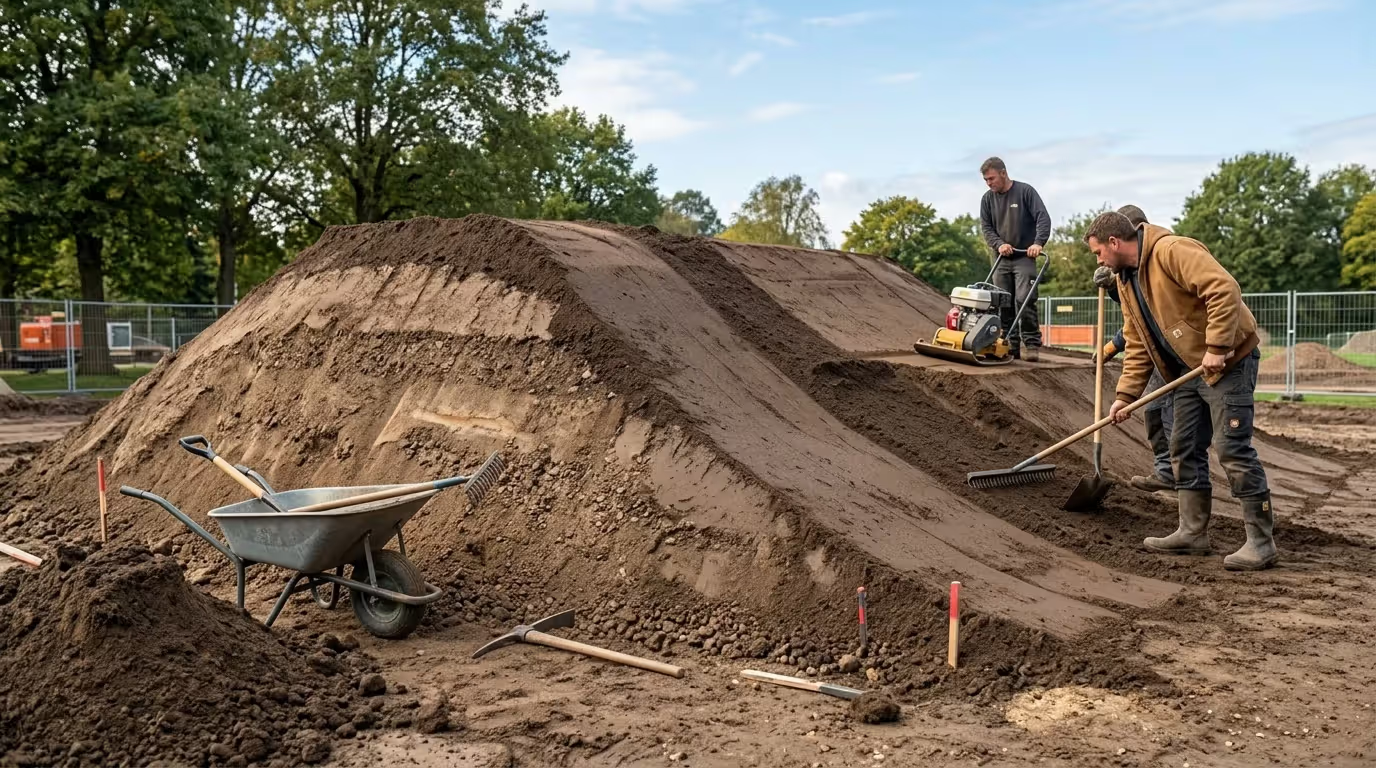
Build in six-inch lifts. Dump and spread your base material six inches deep. Spray lightly with water. Then compact by walking over it repeatedly, or rent a plate compactor for $75-100/day if you're building anything substantial. This step prevents the sad, lumpy settling that happens after the first winter.
Shape as you go. Don't pile everything up then try to shape it. Check your profile after every few loads. You want smooth, flowing curves with no abrupt transitions or flat spots. Use a landscape rake to blend edges into existing grade. The transition should be so gradual you could run a mower right over it without noticing.
Add your planting layer last. Spread quality topsoil evenly across the top third of your berm. This is where roots actually grow, so don't skimp here.
Saturate it, then wait a week. Really soak the finished berm—run a sprinkler for hours. Then wait seven days before planting anything. Low spots will reveal themselves as soil settles. Fill them now, not after you've planted $300 worth of shrubs.
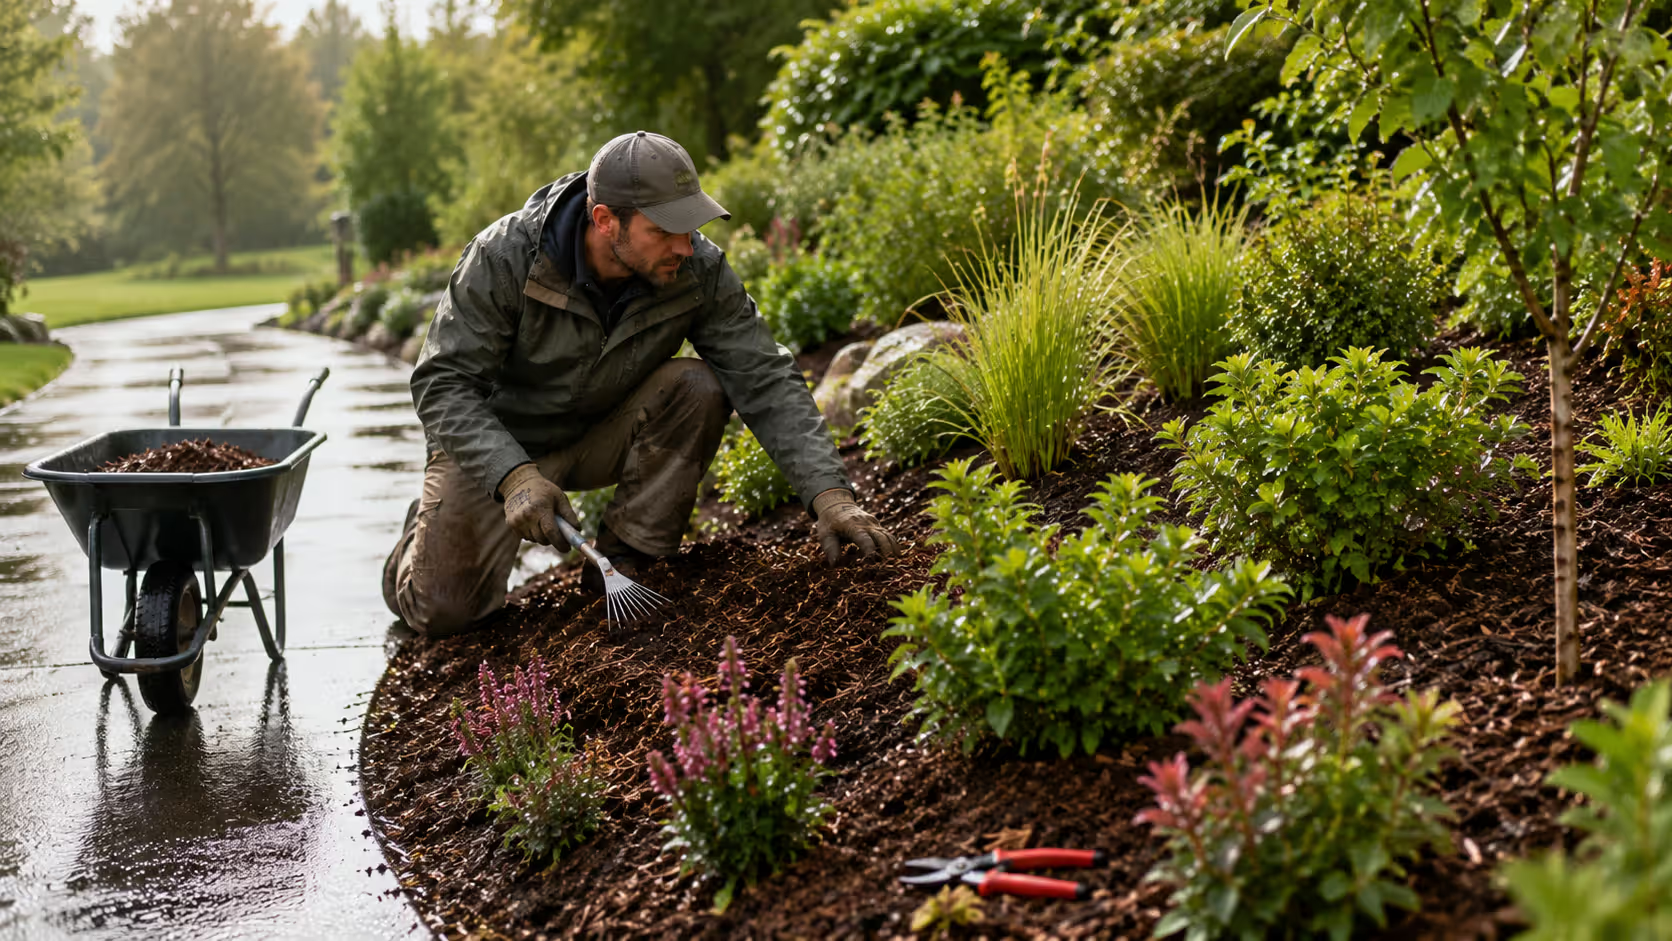
Mulch immediately, no exceptions. Lay down three to four inches of shredded hardwood or pine bark. This protects bare soil from erosion while plants establish. Skip this step and you'll watch your topsoil wash away during the first thunderstorm.
The biggest mistake I see is homeowners compacting berms too much or not at all. You want firm soil that won't slump, but not concrete. If you can't easily push a shovel in after compaction, you've overdone it and roots will struggle. Find the middle ground.
— Chen Patricia
Planting Ideas for Berms
Berms create challenging growing conditions. The peak dries out faster than flat ground because gravity pulls moisture downward. Rain hits the slope and runs off before soaking in. You need plants that can handle these conditions or you'll replant every spring.
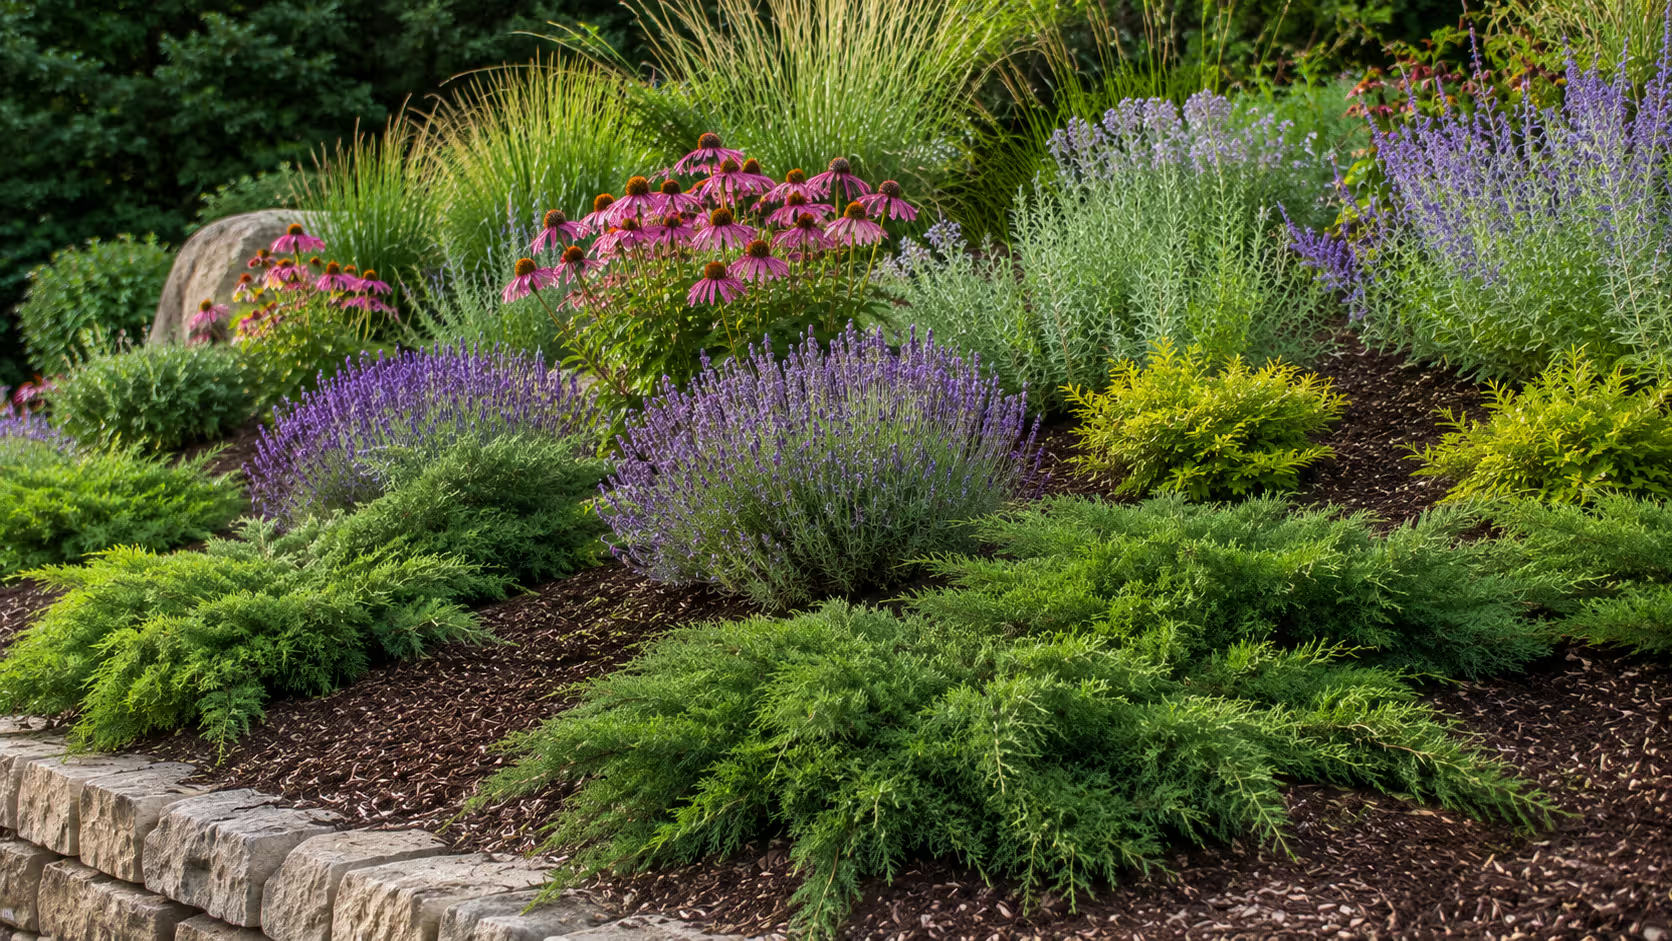
Drought-tolerant species become essential. Once established, they handle berm conditions with minimal watering. Native grasses, sedums, lavender, Russian sage, yarrow—these thrive on slopes. They also complement each other visually, which is a bonus.
Deep root systems hold everything together. Roots act like rebar in concrete—they knit soil into a stable mass. Shallow-rooted annuals look pretty but do nothing for erosion control. Save those for containers.
Groundcovers aren't optional, they're mandatory. Creeping juniper, creeping phlox, vinca, liriope—these spread to cover bare soil quickly. They choke out weeds and protect the surface from rain impact. Space them 12 to 18 inches apart and they'll fill in completely within two growing seasons.
Plant closer together on berms than you would on flat ground. You're fighting gravity and erosion, so you need coverage fast. That might mean spacing plants 20% closer than package directions suggest.
For seasonal color, group perennials in clusters of five or seven, not scattered singles. Seven black-eyed Susans planted together create impact. Seven scattered across 30 feet disappear. Daylilies, coneflowers, salvia, ornamental grasses—these give you color from April through October without replanting annually.
Author: Olivia Maren;
Source: cribbslandscaping.com
Trees and Shrubs That Thrive on Berms
Small trees belong on berms three feet tall or higher. Japanese maple, redbud, serviceberry, crape myrtle—these stay manageable and offer multi-season interest. Plant them off-center in asymmetrical arrangements. Straight lines look artificial.
Evergreen shrubs deliver year-round privacy and structure. Boxwood, holly, dwarf arborvitae, juniper—all handle dry berm conditions. Space them based on mature width, not current size. That cute two-foot shrub at the nursery becomes six feet across in five years.
Deciduous shrubs add texture and seasonal changes. Spirea, potentilla, weigela, ninebark—these are bulletproof choices. They tolerate dry conditions and bounce back from aggressive pruning if they outgrow their space.
Skip shallow-rooted trees like silver maple or willow. Their root systems destabilize berms as they mature. Surface roots will eventually heave the soil.
Water new plantings twice weekly for the first month, then weekly through the first growing season. After that, most berm plants only need supplemental water during extended droughts—usually two weeks or more without rain.
Author: Olivia Maren;
Source: cribbslandscaping.com
Common Berm Design Mistakes to Avoid
Building too steep causes most berm failures. If your berm looks like a pyramid or speed bump, you've built it wrong. You'll spend every spring repairing erosion damage and replanting washed-out sections. Make it wider and flatter. Yes, it consumes more yard space. That's the price of building something that actually functions.
Wrong soil composition shows up months later when plants struggle or the entire berm slumps. Don't use pure sand (erodes instantly), pure clay (drains terribly and cracks), or whatever was on sale that day. Match your soil blend to your berm's purpose.
Poor drainage planning creates disasters. I've watched homeowners build berms to "fix" wet areas that actually trapped water and drowned expensive trees. Remember: water needs an exit path. Always plan where redirected runoff ends up.
Overcrowding plants tempts people who want instant results. But cramming shrubs three feet apart instead of the recommended five feet creates a tangled mess in three years. You'll spend more money transplanting or removing plants than you saved initially.
Ignoring maintenance access means you can't reach the back of your berm to weed, prune, or refresh mulch. Leave pathways or stepping stone access to all planted areas. Your future self will thank you when it's time to trim those overgrown shrubs.
Piling mulch against tree trunks—landscape professionals call this "volcano mulching"—causes rot and invites pests. Pull mulch back six inches from all stems and trunks. This applies everywhere, but I see it constantly on berms where people over-mulch trying to prevent erosion.
Berm Maintenance and Long-Term Care
Author: Olivia Maren;
Source: cribbslandscaping.com
Check for erosion damage after every major storm, especially during the first year. Look for small channels forming on slopes or patches of exposed soil. Fill and reseed immediately—minor problems become major ones fast.
Refresh mulch annually. It decomposes, washes downhill, gets scattered by animals. Maintain a consistent three-inch layer. This single annual task prevents most long-term berm problems.
Watering requirements change as plants mature. New berms need regular irrigation for the first season. Established berms often need nothing except during serious droughts. Install a soaker hose under the mulch if you're watering frequently—it's more efficient than sprinklers and won't cause erosion.
Regular pruning maintains shape and size. Don't let plants outgrow the berm or they'll look awkward and potentially destabilize the structure. Most berm shrubs benefit from annual shaping in late winter before new growth starts.
Seasonal maintenance includes cutting back perennials in late fall (or early spring if you prefer winter texture), dividing overcrowded clumps every three to four years, filling in groundcover areas that thin out.
Weed control stays manageable on berms if you've mulched properly. Hand-pull when weeds are small. Pre-emergent herbicides work well in spring if you're comfortable using them—just follow label directions carefully around desirable plants.
FAQ: Dirt Berm Questions Answered
How much does it cost to build a dirt berm?
Materials typically run $150 to $600 for a typical residential berm, depending on dimensions and soil quality. A 20-foot-long berm standing three feet tall requires approximately six to eight cubic yards of material. Professional labor adds $500 to $2,000 to the total. DIY projects stay on the lower end—you're just covering soil delivery, plants, and mulch. Equipment rentals like plate compactors or skid steers add $100 to $300 if your project requires them.
What type of soil is best for a berm?
A blend of 70% topsoil and 30% compost handles most planted berms well. You get adequate drainage, decent structure, and sufficient organic matter for healthy plants. For drainage berms designed to redirect water, use a clay-heavy mix for the core with topsoil only in the top layer. Stay away from pure sand (erodes too easily) and pure clay (drains poorly and develops cracks). Your local soil supplier can create custom blends—explain your berm's purpose and they'll suggest appropriate mixes.
How steep should a berm be?
Aim for a 4:1 or 5:1 ratio—that means four to five feet of horizontal distance for every foot of vertical rise. This creates roughly a 10 to 12 degree slope. Anything steeper than 3:1 means constant erosion battles. Gentler slopes always perform better if you have the space. Walk up your finished slope—if it feels like climbing a hill, it's too steep.
Do I need a permit to build a berm in my yard?
Requirements vary significantly by location. Most residential berms under four feet tall don't trigger permit requirements, but you must verify local codes. Berms that alter drainage patterns, sit within flood zones, or change grading near property boundaries often need approval. HOAs frequently restrict berms, especially in front yards visible from the street. Contact your building department and HOA before starting—a 10-minute phone call prevents expensive mistakes.
How do I prevent my berm from washing away?
The right slope angle, properly compacted soil layers, immediate mulch application, and fast plant establishment all work together to prevent erosion. Get groundcovers planted within days of finishing construction—don't wait weeks. Consider erosion control fabric or straw blankets on bare slopes if you're building during rainy season. Water gently with sprinklers, never with a strong hose stream that cuts channels. Inspect after storms and repair any damage immediately before it expands.
Can a berm help with standing water problems?
Yes, but only with correct design. A berm redirects flowing water—it doesn't absorb standing water. You must channel water away from problem areas toward a rain garden, drainage swale, or street drain. Building a berm that surrounds a wet area just creates a pond. Map your drainage patterns carefully and ensure water has an exit route. Sometimes a swale handles standing water issues better than a berm.
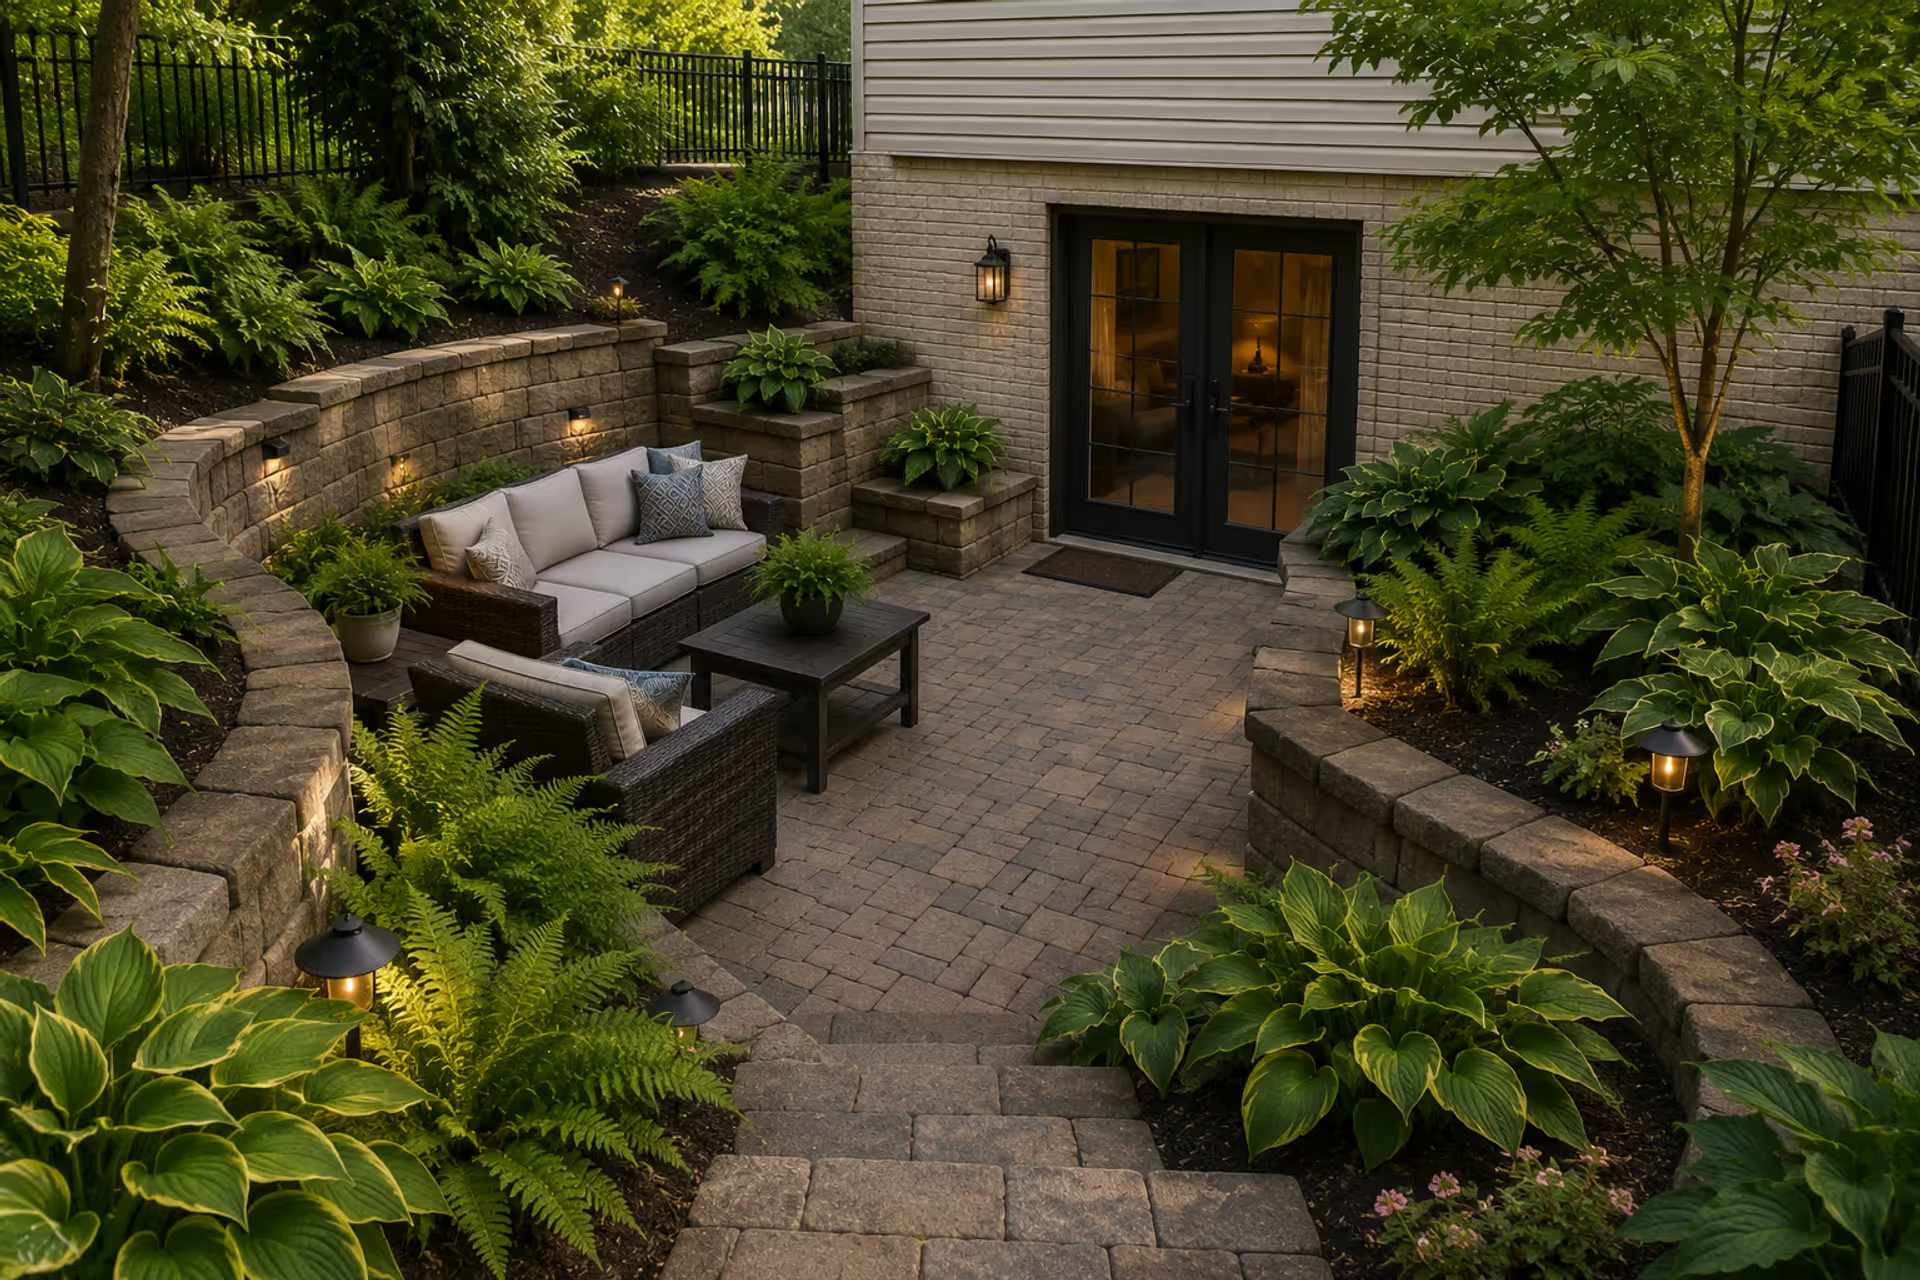
Discover practical exterior walkout basement ideas including patio layouts, landscaping solutions, and drainage strategies. Learn how to turn your below-grade outdoor space into a functional, attractive area with expert tips on materials, plantings, and design.
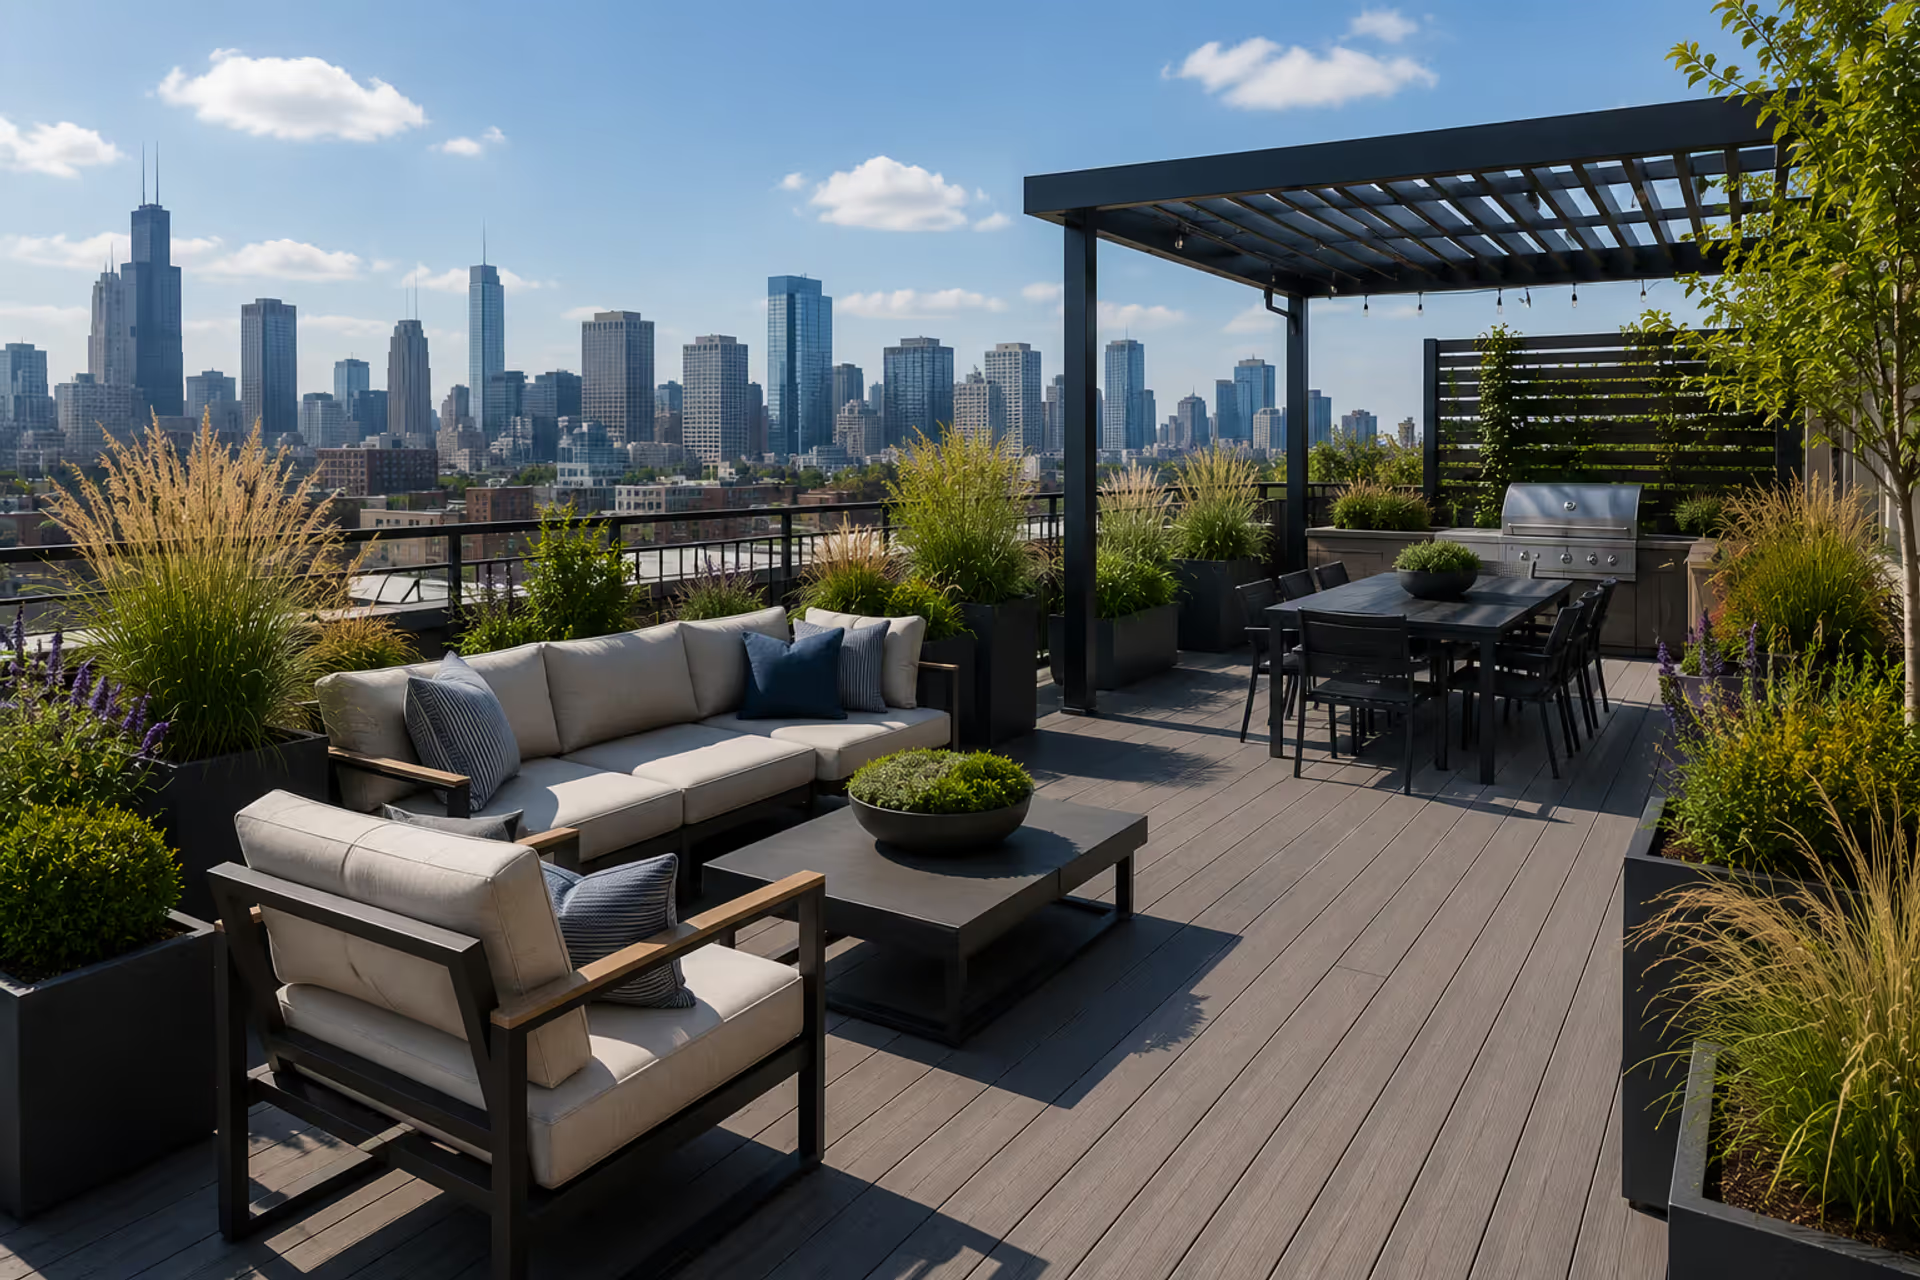
Transform your rooftop into a functional outdoor living space. Learn about structural requirements, weight limits, flooring options, wind-resistant furniture, container gardening, and design layouts for rooftops of all sizes.
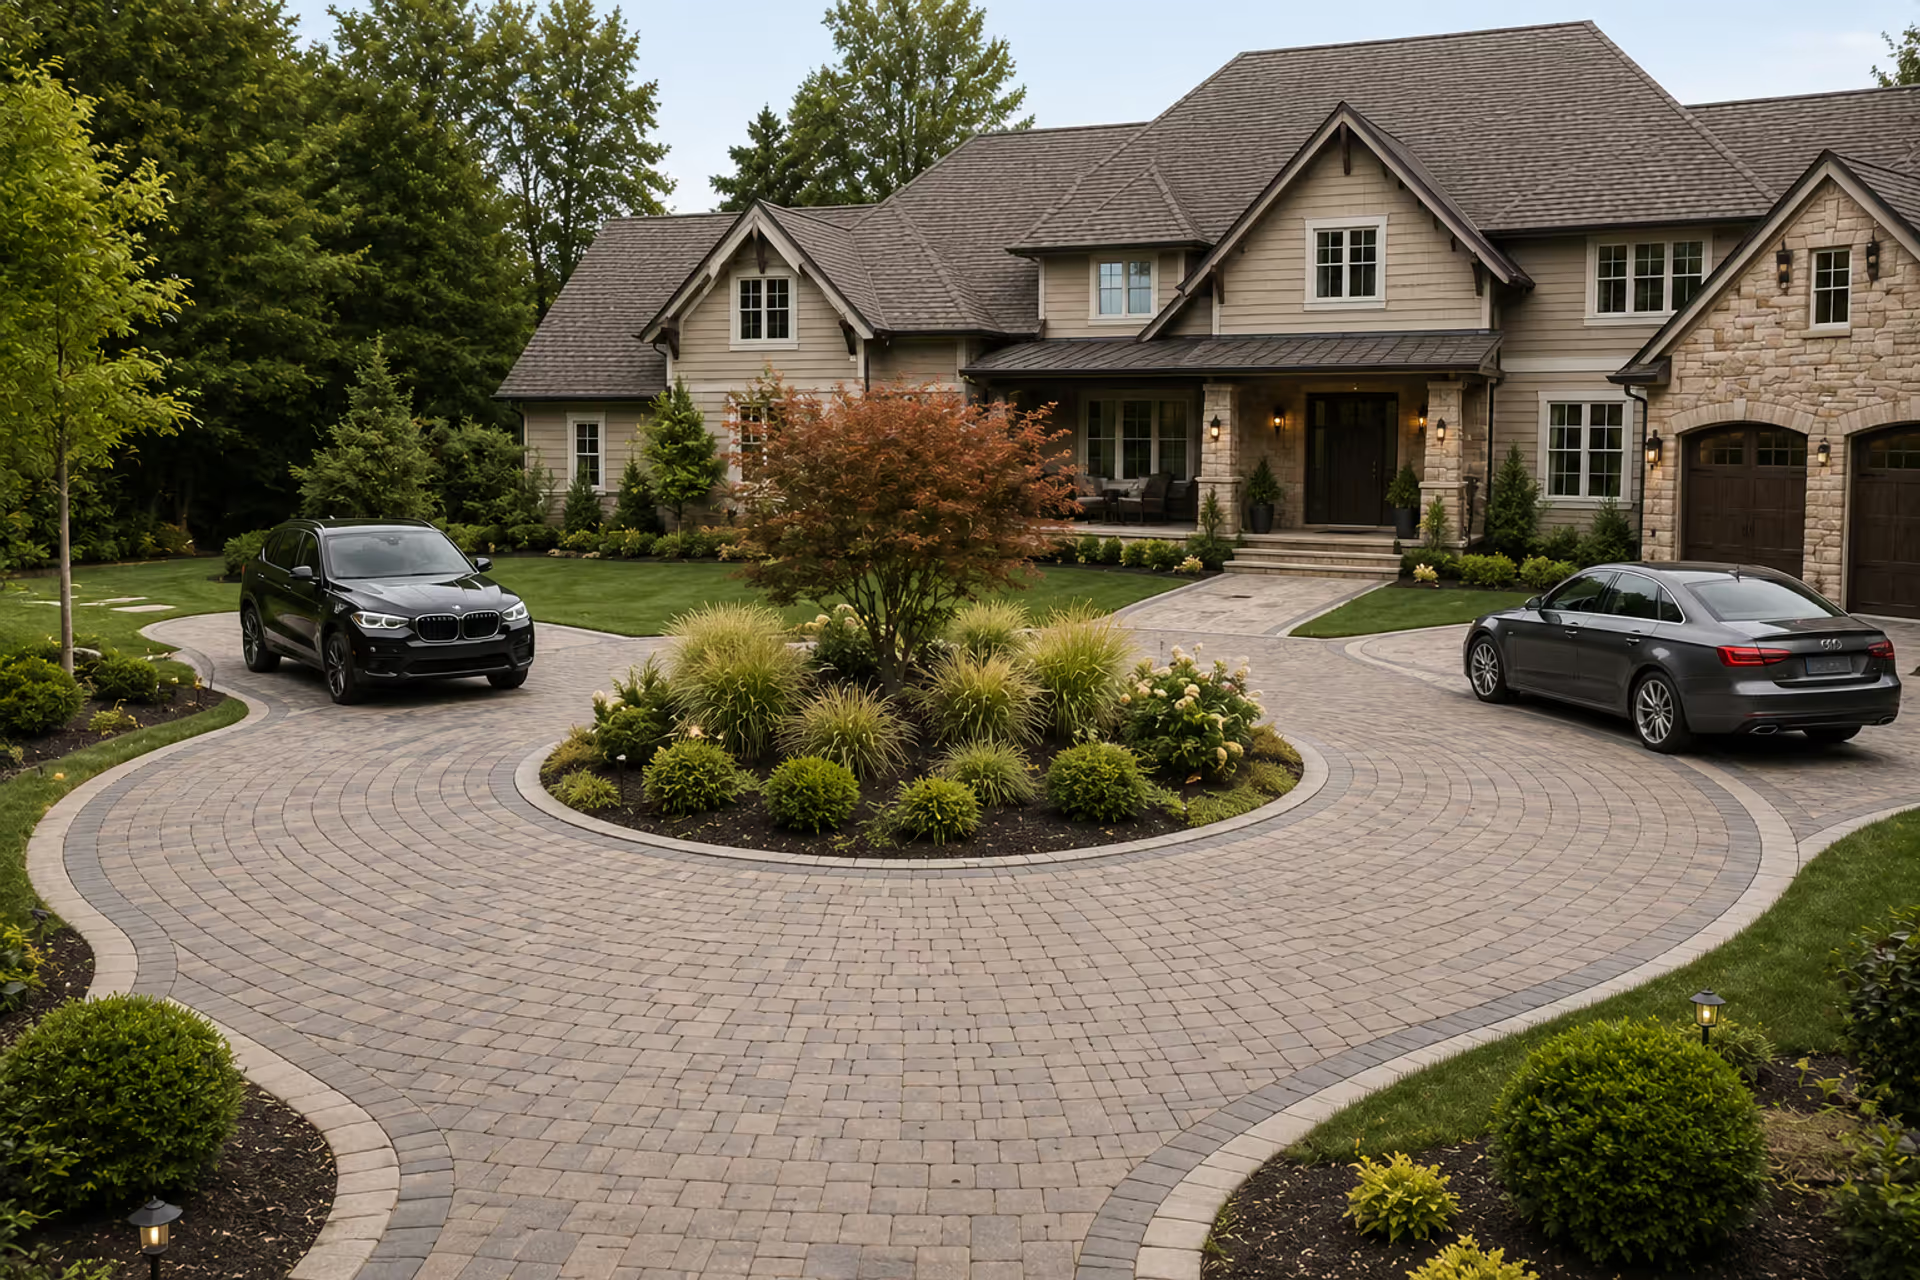
Discover how to fit a functional half circle driveway into a compact front yard. This guide covers layout planning, material selection, landscaping strategies, common mistakes to avoid, and realistic cost estimates for creating an attractive semicircular driveway that improves traffic flow and curb appeal.
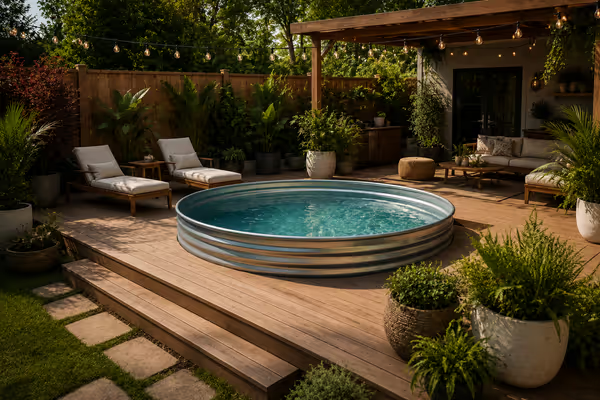
Discover practical stock tank pool deck ideas for small backyards. Learn how to build DIY decking, choose materials, add landscaping, and create privacy screens around your galvanized tank pool with expert installation tips and budget-friendly designs.
The content on this website is provided for general informational and educational purposes only. It is intended to explain concepts related to landscape design, outdoor spaces, plants, irrigation, hardscape and softscape, and sustainable landscaping.
All information on this website, including articles, guides, and examples, is presented for general educational purposes. Outcomes may vary depending on local climate, soil, plant selection, and project implementation.
This website does not provide professional design, construction, or horticultural advice, and the information presented should not be used as a substitute for consultation with qualified landscape architects, contractors, or horticulturists.
The website and its authors are not responsible for any errors or omissions, or for any outcomes resulting from decisions made based on the information provided on this website.