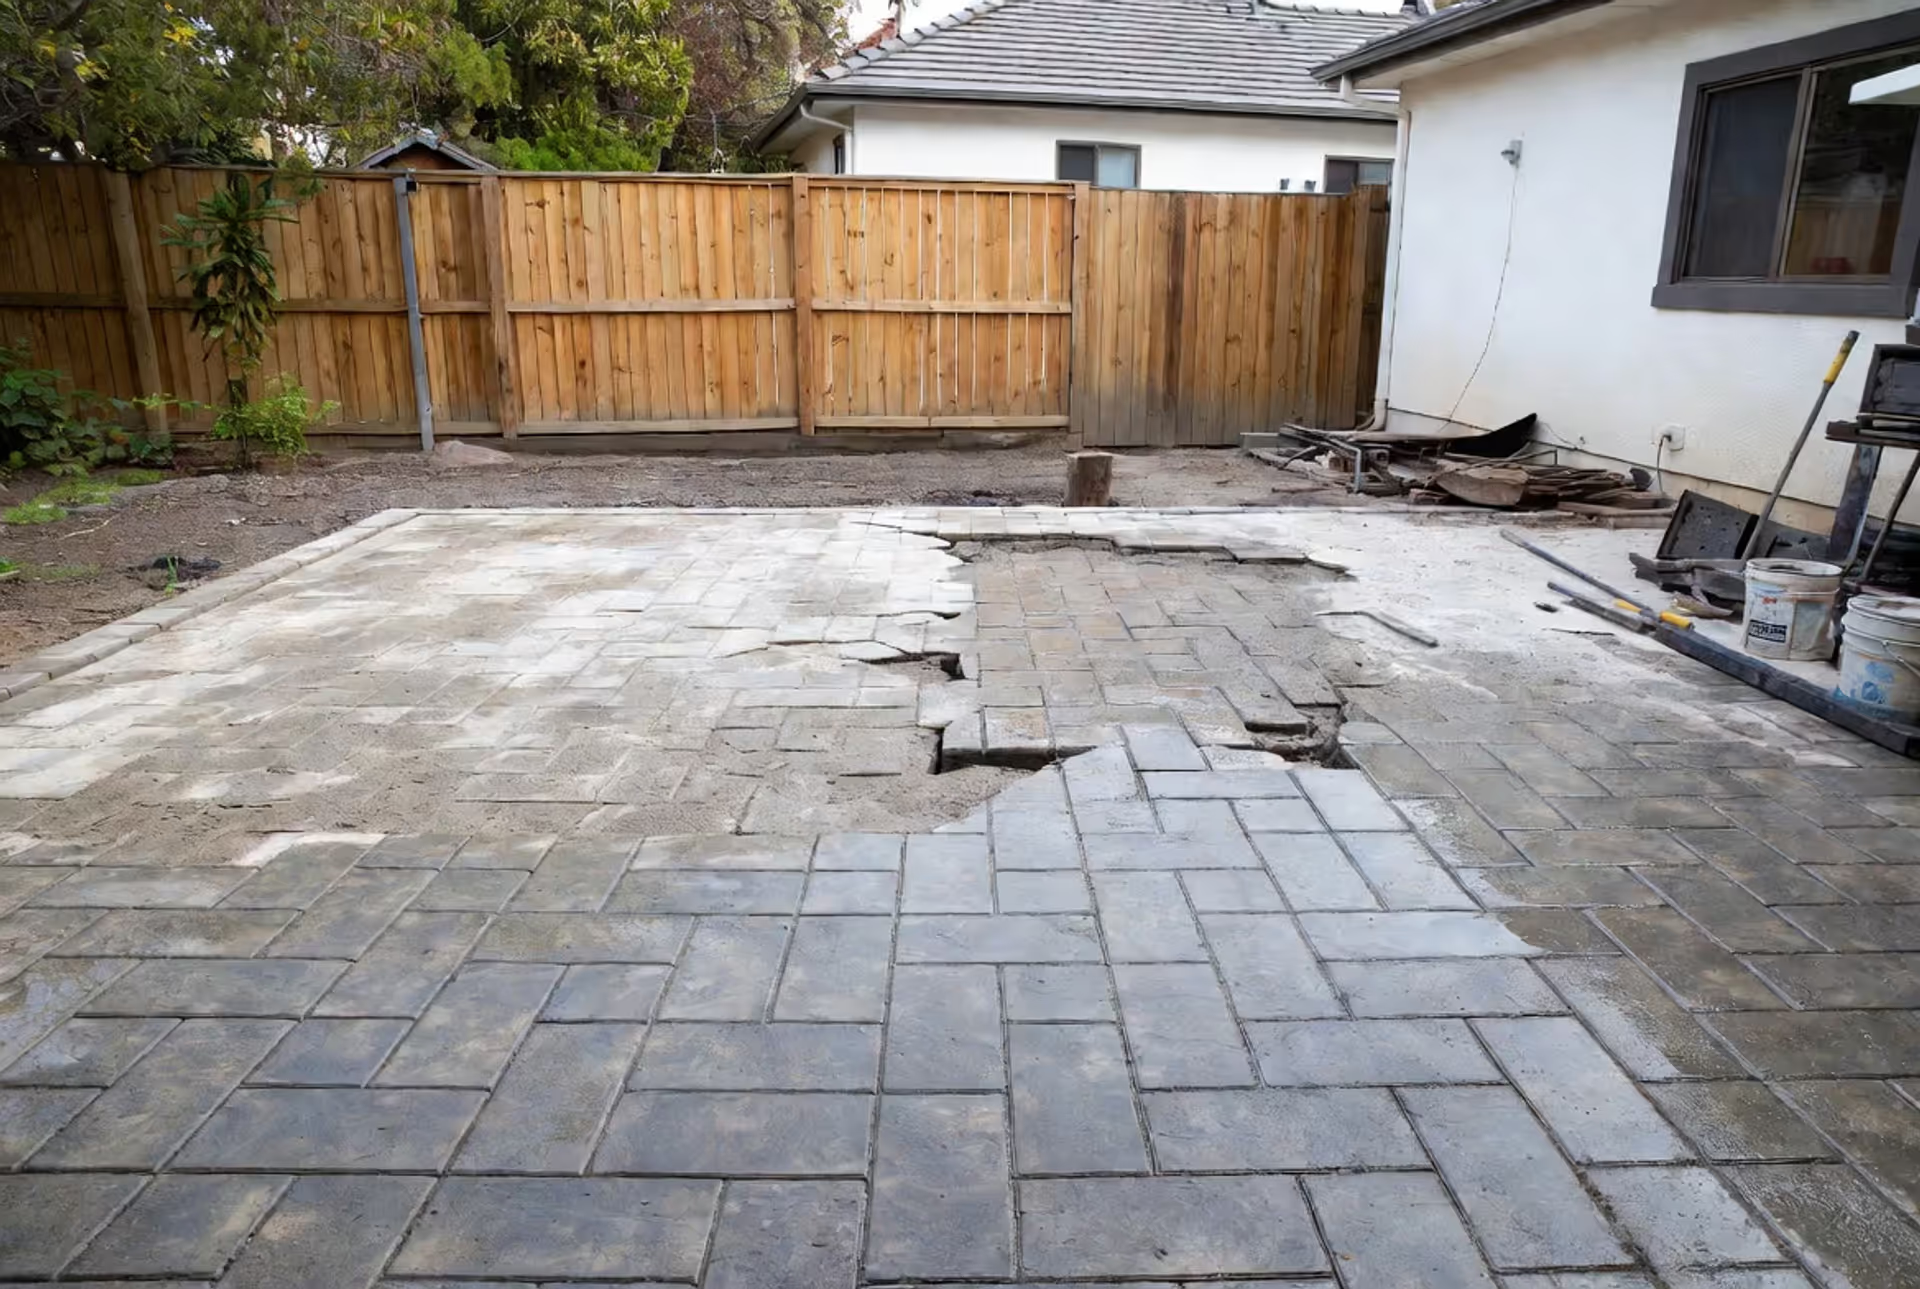
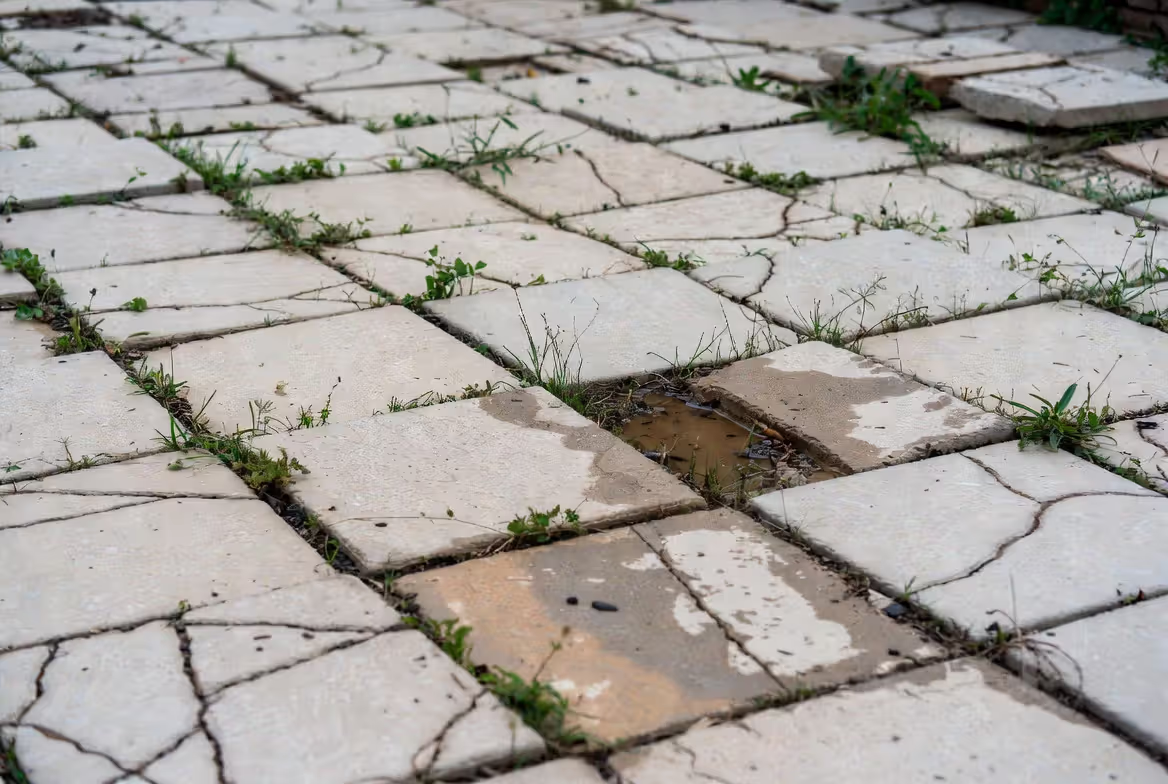
Your patio isn't supposed to look like that. Sunken corners, cracked pavers, weeds pushing through every joint. That gorgeous outdoor space you invested in years ago now feels more like a liability than an asset. The good news? Most hardscape damage isn't terminal. With the right approach, you can bring those weathered surfaces back to life without ripping everything out and starting over.
Hardscape restoration combines cleaning, structural repair, and protective sealing to extend the life of your existing patios, walkways, and retaining walls. It's almost always cheaper than replacement, and when done properly, it can add another decade or more to your outdoor surfaces.
Signs Your Hardscape Needs Restoration
Damage doesn't happen overnight. It creeps in gradually until one day you realize your patio looks rough.
Watch for these telltale signs that aged hardscape repair should move up your priority list:
Visible cracking is the most obvious red flag. Hairline cracks in concrete might seem minor, but they let water penetrate. That water freezes, expands, and turns small cracks into major breaks. Pavers can crack too, especially if the base has shifted underneath.
Sinking or settling sections create trip hazards and standing water. When you see low spots that puddle after rain, the base layer has likely eroded or compacted unevenly. This happens most often near downspouts or where tree roots have disrupted the foundation.
Fading and discoloration rob your hardscape of its original appeal. Constant sunlight breaks down pigments and surface materials, leaving concrete looking washed-out and dull instead of the rich color it had when new.
Joint erosion between pavers signals trouble. When the sand or mortar washes out, pavers lose lateral support. They start rocking when you step on them. Weeds and grass move into those empty joints quickly.
Efflorescence — those white, chalky deposits on brick or concrete — indicates moisture moving through the material. It's not just cosmetic. It means water is getting where it shouldn't.
The pattern I see most often is homeowners waiting too long. They notice one or two issues but don't act until multiple problems compound. Early intervention saves money and prevents structural damage that requires full replacement
Author: Marcus Eldridge;
Source: cribbslandscaping.com
Cleaning and Preparing Weathered Hardscapes
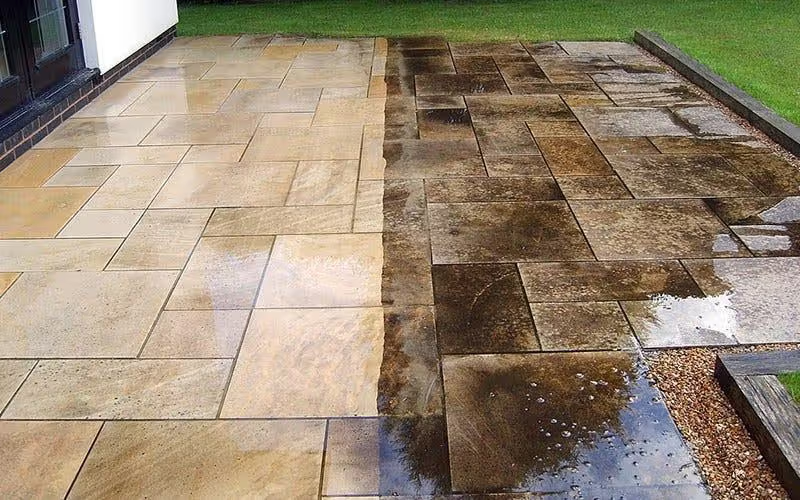
You can't assess real damage until you clean away years of grime, algae, and staining. Hardscape cleaning methods vary significantly based on what you're working with, but the goal stays the same: expose the actual surface so you can see what needs repair.
Begin by clearing all furniture, planters, and debris from the area. Use a push broom or leaf blower to eliminate loose dirt and organic matter. Then move to wet cleaning.
Power washing works wonders on most hardscapes, but technique matters. Hold the nozzle at a 45-degree angle, keep it moving, and maintain consistent distance from the surface. Too close and you'll etch concrete or blast sand out of paver joints. Too far and you're just getting things wet.
For heavily stained areas, pre-treat with appropriate cleaners before power washing. Oil stains need degreaser. Rust stains require oxalic acid-based products. Organic growth (algae, moss, mildew) responds to oxygen bleach or specialized hardscape cleaners.
Avoid using harsh acids on natural stone materials. They eat into the surface and create permanent damage that's worse than the original staining. Choose cleaners specifically designed for the stone type you're working with.
After washing, let everything dry completely — at least 48 hours in good weather. This reveals the true condition and lets you spot damage you couldn't see under the dirt.
Author: Marcus Eldridge;
Source: cribbslandscaping.com
Cleaning Methods by Material Type
Different materials need different approaches. What works perfectly on concrete can damage natural stone.
Concrete and concrete pavers tolerate aggressive cleaning. You can use higher pressure settings (2,500–3,000 PSI) and stronger chemical cleaners. For weathered stone restoration on concrete, a good degreaser followed by hot water pressure washing removes most staining. Stubborn discoloration might need a concrete brightener or mild acid wash.
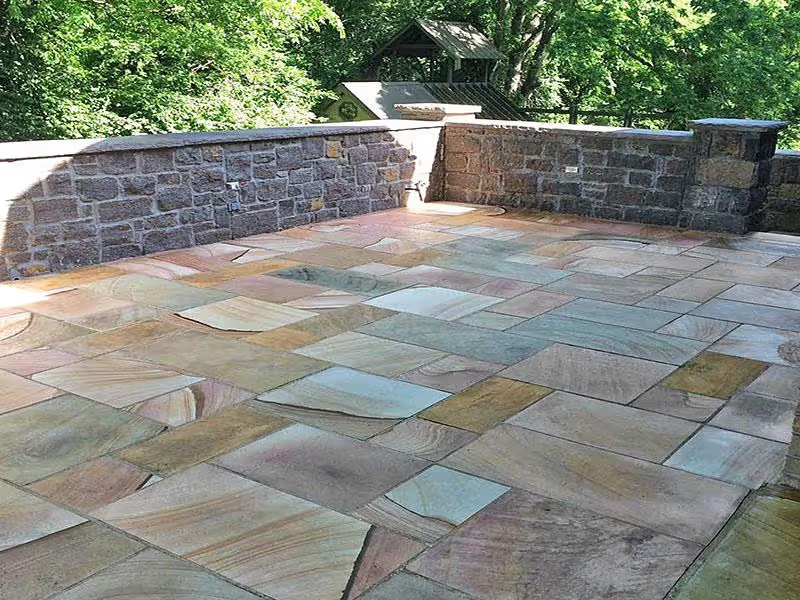
Natural stone (flagstone, bluestone, limestone, travertine) demands gentler treatment. Lower pressure (1,500–2,000 PSI), wider spray patterns, and neutral-pH cleaning solutions protect the surface integrity. Some stones are porous and stain easily, so test any cleaner in an inconspicuous spot first. Acidic products like vinegar will permanently etch limestone and marble, creating dull spots that never polish out.
Brick pavers fall somewhere in between. They can handle moderate pressure and most cleaners, but old brick might be softer and more fragile than modern pavers. Watch for mortar deterioration between bricks. If joints crumble during washing, you'll need repointing before you proceed.
One common mistake: using a surface cleaner attachment without adjusting pressure. Those spinning heads are efficient, but they can leave circular marks on softer materials if the pressure's too high.
Repairing Structural Damage in Pavers and Patios
Once the surface is clean and dry, structural repairs come next. This is where restoring old patio pavers moves from cosmetic improvement to functional restoration.
Address the biggest issues first. Sunken areas and major cracks compromise the entire structure. Cosmetic chips and minor surface damage can wait.
Author: Marcus Eldridge;
Source: cribbslandscaping.com
How to Reset Sunken or Shifted Pavers
Resetting sunken pavers isn't complicated, but it's physically demanding. You're essentially rebuilding the base in problem areas.
Mark the affected zone with spray paint or chalk. Remove pavers from the sunken section, stacking them in order if you want to preserve any pattern. Dig out the base material down to stable soil — usually 6–8 inches below the finished paver surface.
Check for drainage issues. If water caused the settling, you need to fix that or it'll happen again. Add a French drain, regrade the area, or redirect downspouts away from the patio.
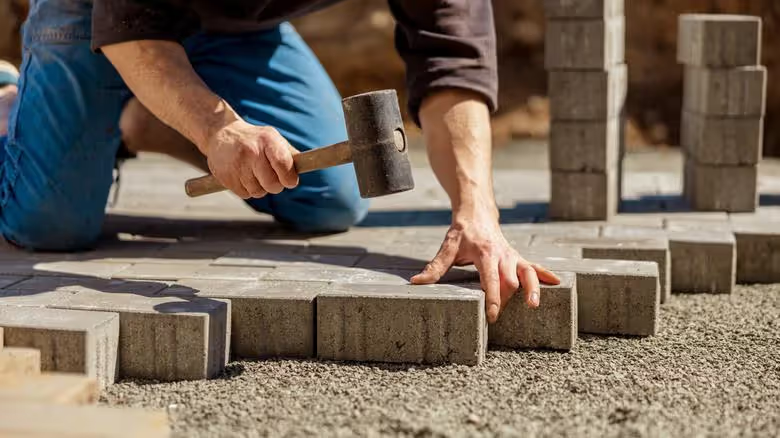
Rebuild the base in layers. Start with 4–6 inches of crushed stone (¾-inch minus works well). Use a mechanical compactor to compress each layer until it won't compact further — you should see minimal movement when you walk across it. Add 1–2 inches of bedding sand, screed it level, and compact again lightly.
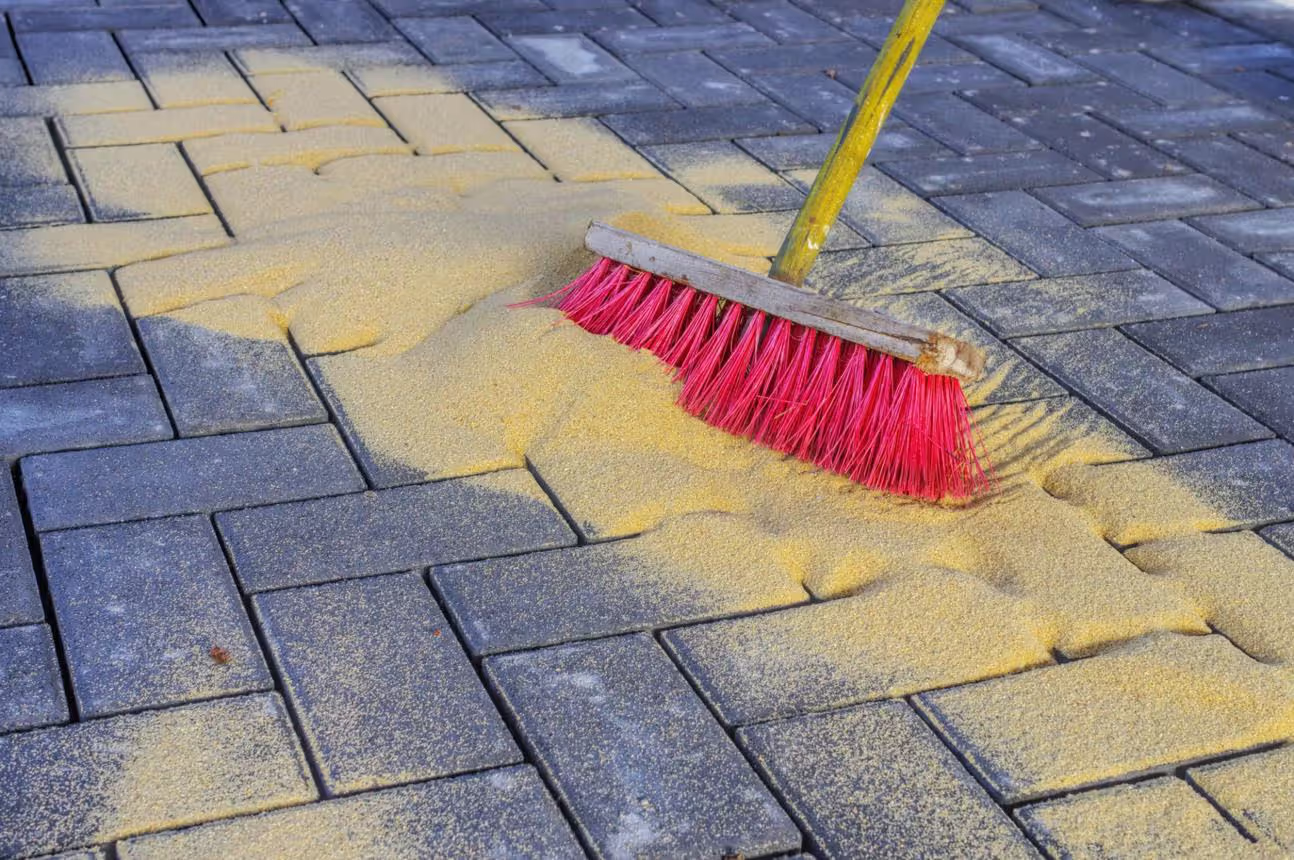
Reset the pavers, tapping them into place with a rubber mallet. Check for level constantly. It's tedious but necessary. Once all pavers are back in place, sweep polymeric sand into the joints and activate it with water mist.
This same process works for shifted pavers that have moved horizontally. Pull them up, correct the base, and reset them properly.
Patching Cracked Pavers and Concrete Surfaces
Patching cracked pavers depends on crack severity. Hairline cracks in concrete pavers often don't need repair — they're not structural. But cracks wider than ⅛ inch will grow and should be addressed.
For concrete pavers with significant cracks, replacement beats repair. Pavers are modular for a reason. Pull the damaged unit, replace it with a new one, and you're done. Finding an exact color match might be tricky on older installations, but a close match usually blends in after a few months of weathering.
Repairing cracks in poured concrete takes more effort. First, clear out the damaged area completely, removing any loose pieces and dust from the crack. Use a concrete crack filler or repair mortar, following the product instructions carefully. For cracks wider than ½ inch, use a backer rod to fill the bottom of the crack before applying filler on top.
Trowel the filler smooth and level with the surrounding surface. Most fillers shrink slightly as they cure, so you might need a second application. Once cured, the patch should be solid and flush with the original concrete.
The faded concrete patio fix often combines crack repair with resurfacing. If your concrete is extensively cracked but structurally sound, a concrete overlay or resurfacer can provide a fresh surface without full replacement.
Repointing and Joint Restoration
Repointing paver joints might be the most underrated part of hardscape restoration. Those joints do more than fill space — they lock pavers together and prevent lateral movement.
When sand washes out or mortar crumbles, pavers become unstable. They rock underfoot, edges chip, and the whole installation degrades faster.
Traditional joint sand needs replacement every few years. It washes out gradually with rain and gets displaced by foot traffic. You'll know it's time when you see wide gaps between pavers or when pavers wobble.
Remove old joint material completely before refilling. A stiff brush works for loose sand. Deteriorated mortar needs a grinder with a diamond blade or a specialized mortar rake. Get down to at least half the paver depth.
Clean the joints thoroughly. Blow out dust with a leaf blower or compressed air. Any debris left in the joints prevents new material from bonding properly.
For the refill, you've got two main options: polymeric sand or mortar.
Polymeric sand includes binding agents that create a semi-rigid joint when you add water to activate them. It resists washout and inhibits weed growth better than regular sand. It's easier to apply than mortar and works great for most residential applications. Sweep it into joints, compact it with a tamper, sweep off excess, then mist with water to activate. The polymers bind the sand particles together without becoming rigid like mortar.
Mortar joints provide maximum stability and work best for vehicular applications or areas with significant slope. Mix mortar to a stiff consistency (not soupy), pack it into joints with a grout bag or trowel, and tool it smooth. This is messier and more time-consuming than polymeric sand, but it creates a permanent joint.
One mistake I see constantly: applying polymeric sand to damp pavers or joints. It activates prematurely, hazes the paver surface, and doesn't harden properly in the joints. Always work with completely dry surfaces.
Author: Marcus Eldridge;
Source: cribbslandscaping.com
Sealing and Protecting Restored Hardscapes
You've cleaned, repaired, and repointed. Now protect that work with proper sealing.
Not every hardscape needs sealing, but most benefit from it. A quality sealer protects against staining, reduces moisture penetration, inhibits weed growth, and can enhance or restore color. The hardscape sealing guide comes down to choosing the right product and applying it correctly.
When to seal: Wait at least 30 days after installation or major repairs. New concrete needs time to cure fully. Pavers should be completely dry — no rain for 24 hours before and 24 hours after application.
Types of sealers:
Film-forming sealers (acrylics and urethanes) sit on the surface and provide a visible sheen. They enhance color dramatically and offer good stain protection. They wear over time and need reapplication every 2–3 years. Some people love the wet look; others find it too glossy.
Penetrating sealers soak into the material and protect from within. They don't change the appearance much — maybe a slight darkening. They last longer (5–7 years typically) and don't peel or flake. They're the better choice for high-traffic areas and most natural stone.
For a faded concrete patio fix, a color-enhancing acrylic sealer can restore much of the original richness. The sealer darkens the concrete and makes aggregate stand out again.
Application tips: Apply sealer with a pump sprayer or roller, following manufacturer coverage rates. Don't over-apply — more isn't better. Excess sealer creates a cloudy haze or tacky surface. Divide the area into manageable sections and keep your application consistent to prevent visible overlap marks.
Temperature matters. Apply sealer when temps are between 50–80°F and rising. Morning application works well — the surface warms throughout the day, helping the sealer cure properly.
Maintenance schedule: Sealed hardscapes need regular cleaning and periodic resealing. Sweep regularly, wash annually, and reseal based on water absorption. Test the seal by pouring a small amount of water on the surface. When water stops forming beads and starts absorbing into the material, your sealer has worn away and needs replacement.
Author: Marcus Eldridge;
Source: cribbslandscaping.com
When to Hire a Professional vs. DIY Restoration
Some hardscape restoration projects are perfect for DIY. Others? Not so much.
DIY-friendly projects:
Surface cleaning and power washing
Replacing individual damaged pavers
Repointing joints with polymeric sand
Applying sealer to small areas
Minor crack patching
These tasks require basic tools and moderate physical effort but no specialized skills. You'll save significant money doing them yourself.
Hire a professional for:
Large sunken areas requiring extensive base repair
Structural issues suggesting drainage problems
Old brick patio renovation with deteriorated mortar joints
Concrete resurfacing or overlay applications
Sealing large areas (consistency matters)
Repairs near utilities or property lines
The skill level required jumps significantly when you're dealing with base reconstruction or drainage correction. Getting the base wrong means the problem returns within a year or two.
Cost comparison: Professional hardscape restoration typically runs $8–$15 per square foot depending on damage severity and your location. That includes cleaning, repairs, repointing, and sealing. DIY costs might be $2–$5 per square foot for materials, but you're providing all the labor.
For a 400-square-foot patio, you're looking at $3,200–$6,000 professionally versus $800–$2,000 DIY. That's a substantial difference, but consider your time, tool investment, and risk of doing it wrong.
Tools needed for DIY: Pressure washer (rent for $75–$100/day), plate compactor (rent for $60–$80/day), masonry saw or grinder, levels, trowels, rubber mallet, wheelbarrow, and safety equipment. If you're buying everything, you're into the project for $500+ before materials.
The simpler option usually wins here. If you're handy and have a free weekend, tackle the straightforward stuff yourself. For complex repairs or if you're unsure about the cause of damage, get a professional assessment. They might spot underlying issues you'd miss.
The biggest mistake homeowners make is treating hardscape restoration as purely cosmetic. If you seal over structural problems without fixing the base, you're just hiding damage that'll come back worse in a year or two. Good restoration addresses the cause, not just the symptoms.
— Morrison Jake
Hardscape Restoration Methods by Damage Type
Damage Type
DIY Difficulty
Estimated Cost
Tools Required
Time to Complete
Surface cleaning
Easy
$50–$150
Power washer, cleaning solutions
4–8 hours
Single paver replacement
Easy
$5–$20 per unit
Mallet, sand, flathead screwdriver
1–2 hours
Joint refilling (polymeric sand)
Easy
$150–$300
Push broom, tamper, garden hose
4–6 hours
Small-area sealing
Moderate
$200–$400
Pump sprayer or paint roller, cleaner
6–8 hours
Sunken section reset
Moderate-Hard
$300–$800
Mechanical compactor, shovels, base stone
1–2 days
Concrete crack filling
Moderate
$100–$300
Angle grinder, repair compound, trowel
3–5 hours
Complete joint repointing (mortar)
Hard
$500–$1,500
Diamond blade grinder, mortar, pointing tools
2–3 days
Major base reconstruction
Hard
$1,000–$3,000+
Excavation equipment, compactor, aggregate
3–5 days
Hardscape restoration breathes new life into outdoor spaces without the cost and disruption of full replacement. Most damage you see — fading, minor cracks, joint erosion — is fixable with weekend effort and modest investment.
Start with a thorough cleaning to reveal the true condition. Address structural issues before cosmetic ones. Sunken pavers and significant cracks need fixing first. Then move to repointing joints and applying protective sealer.
The work isn't glamorous. It's physically demanding and detail-oriented. But the payoff is substantial. A properly restored patio or walkway can last another 10–15 years with basic maintenance, delivering excellent return on your time and money.
Don't wait until small problems become big ones. That hairline crack won't heal itself. Those eroded joints will only get worse. Catch damage early and you'll spend hours instead of days, hundreds instead of thousands.
Your hardscape is an investment. Treat it that way. Regular maintenance and timely restoration protect that investment and keep your outdoor spaces looking their best for decades.
FAQ: Hardscape Restoration Questions Answered
What causes pavers to sink over time?
Most sinking issues come from poor base compaction, water erosion, drainage problems, or tree root movement beneath the patio.
Is sealing necessary after patio restoration?
Not always, but sealing helps protect against moisture, stains, UV fading, and joint erosion, especially for concrete and natural stone surfaces.
Can weeds grow back after joint restoration?
Yes, but properly installed polymeric sand significantly reduces weed growth by hardening the joints and limiting space for seeds to settle.
How long does hardscape restoration usually last?
A professionally restored and sealed hardscape surface can last 8–15 years before major restoration is needed again, depending on climate, drainage, and maintenance.
How long does hardscape restoration take?
Timeline varies based on damage extent and project size. Basic cleaning and sealing of a typical 400-square-foot patio takes 1–2 days including drying time. Projects involving structural repairs, extensive repointing, or resetting sunken sections might take 3–5 days. Weather affects timing significantly — you need dry conditions for most restoration work. Professional crews often complete projects faster than DIY efforts because they work with specialized equipment and experienced teams.
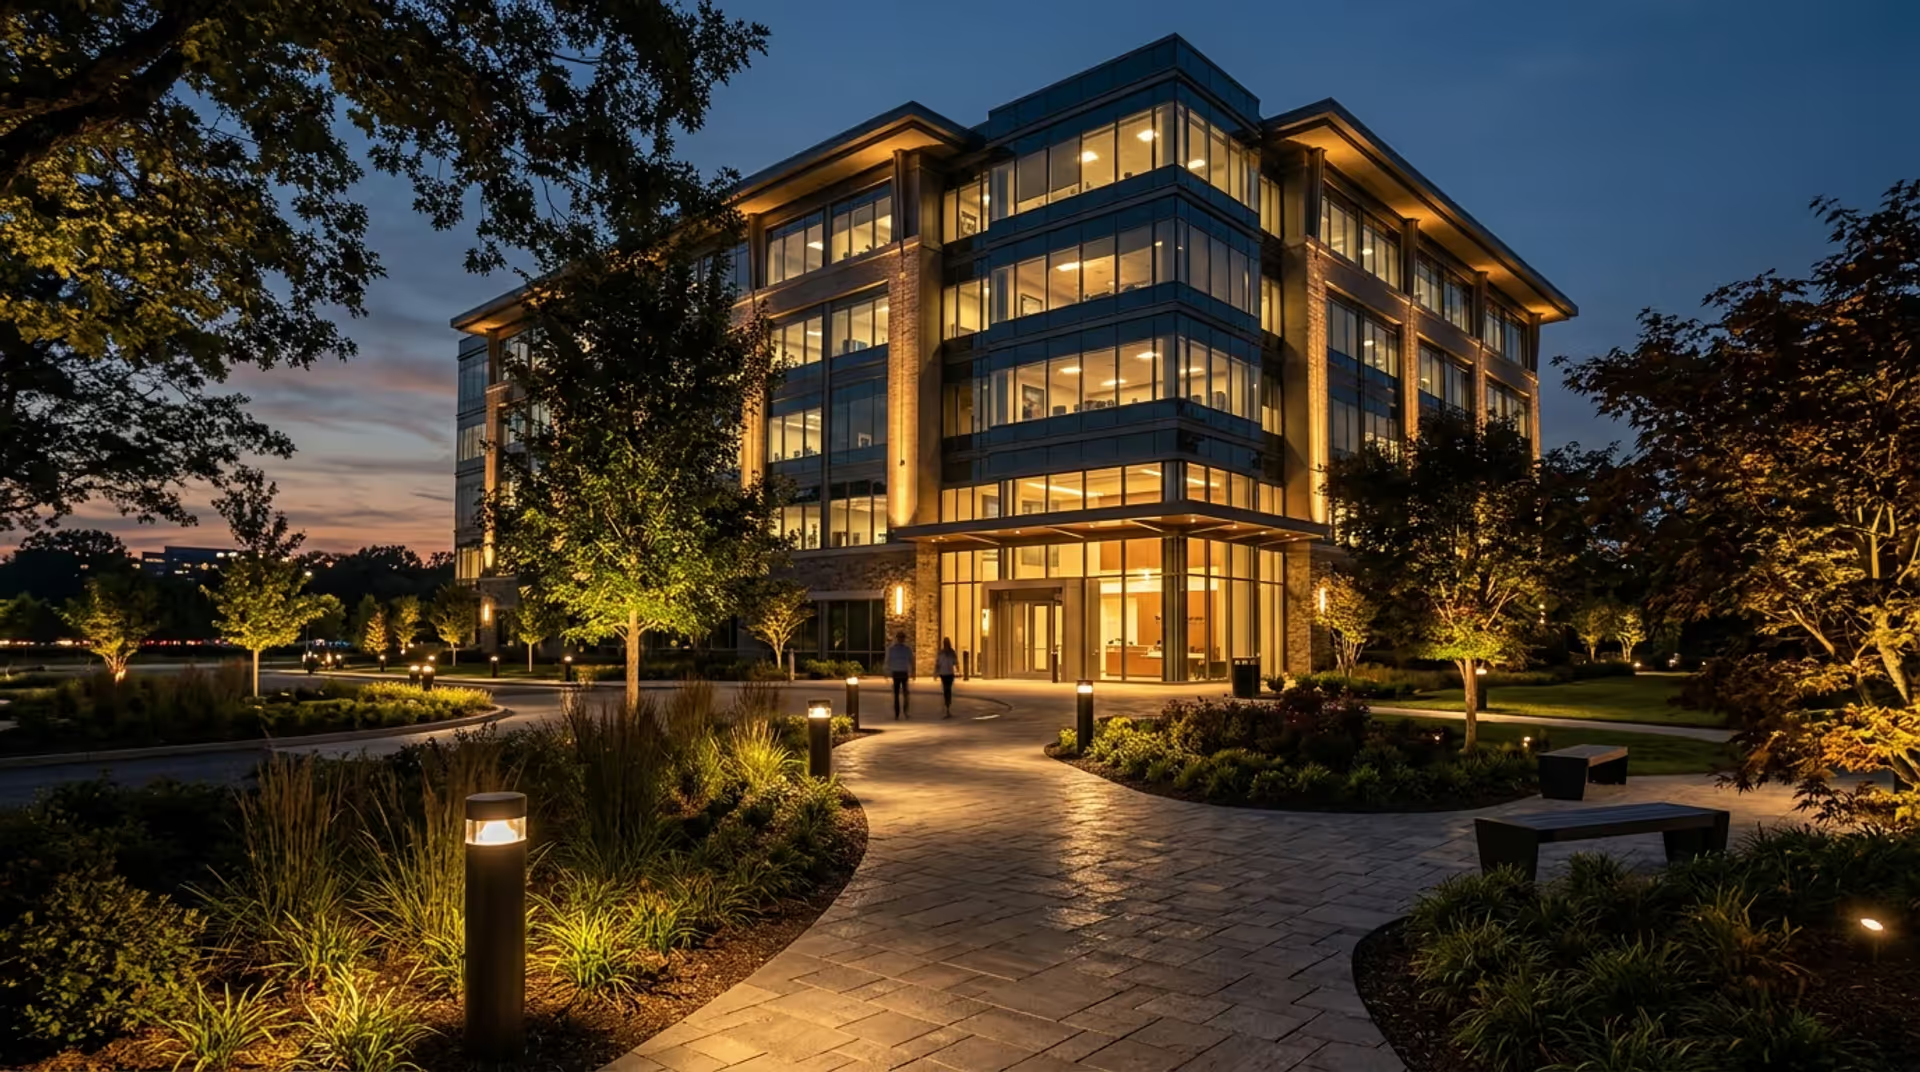
Learn professional commercial landscape lighting design principles that transform properties into 24-hour assets. Explore lighting techniques, fixture types, voltage systems, and the layered approach that creates safe, visually compelling outdoor spaces.
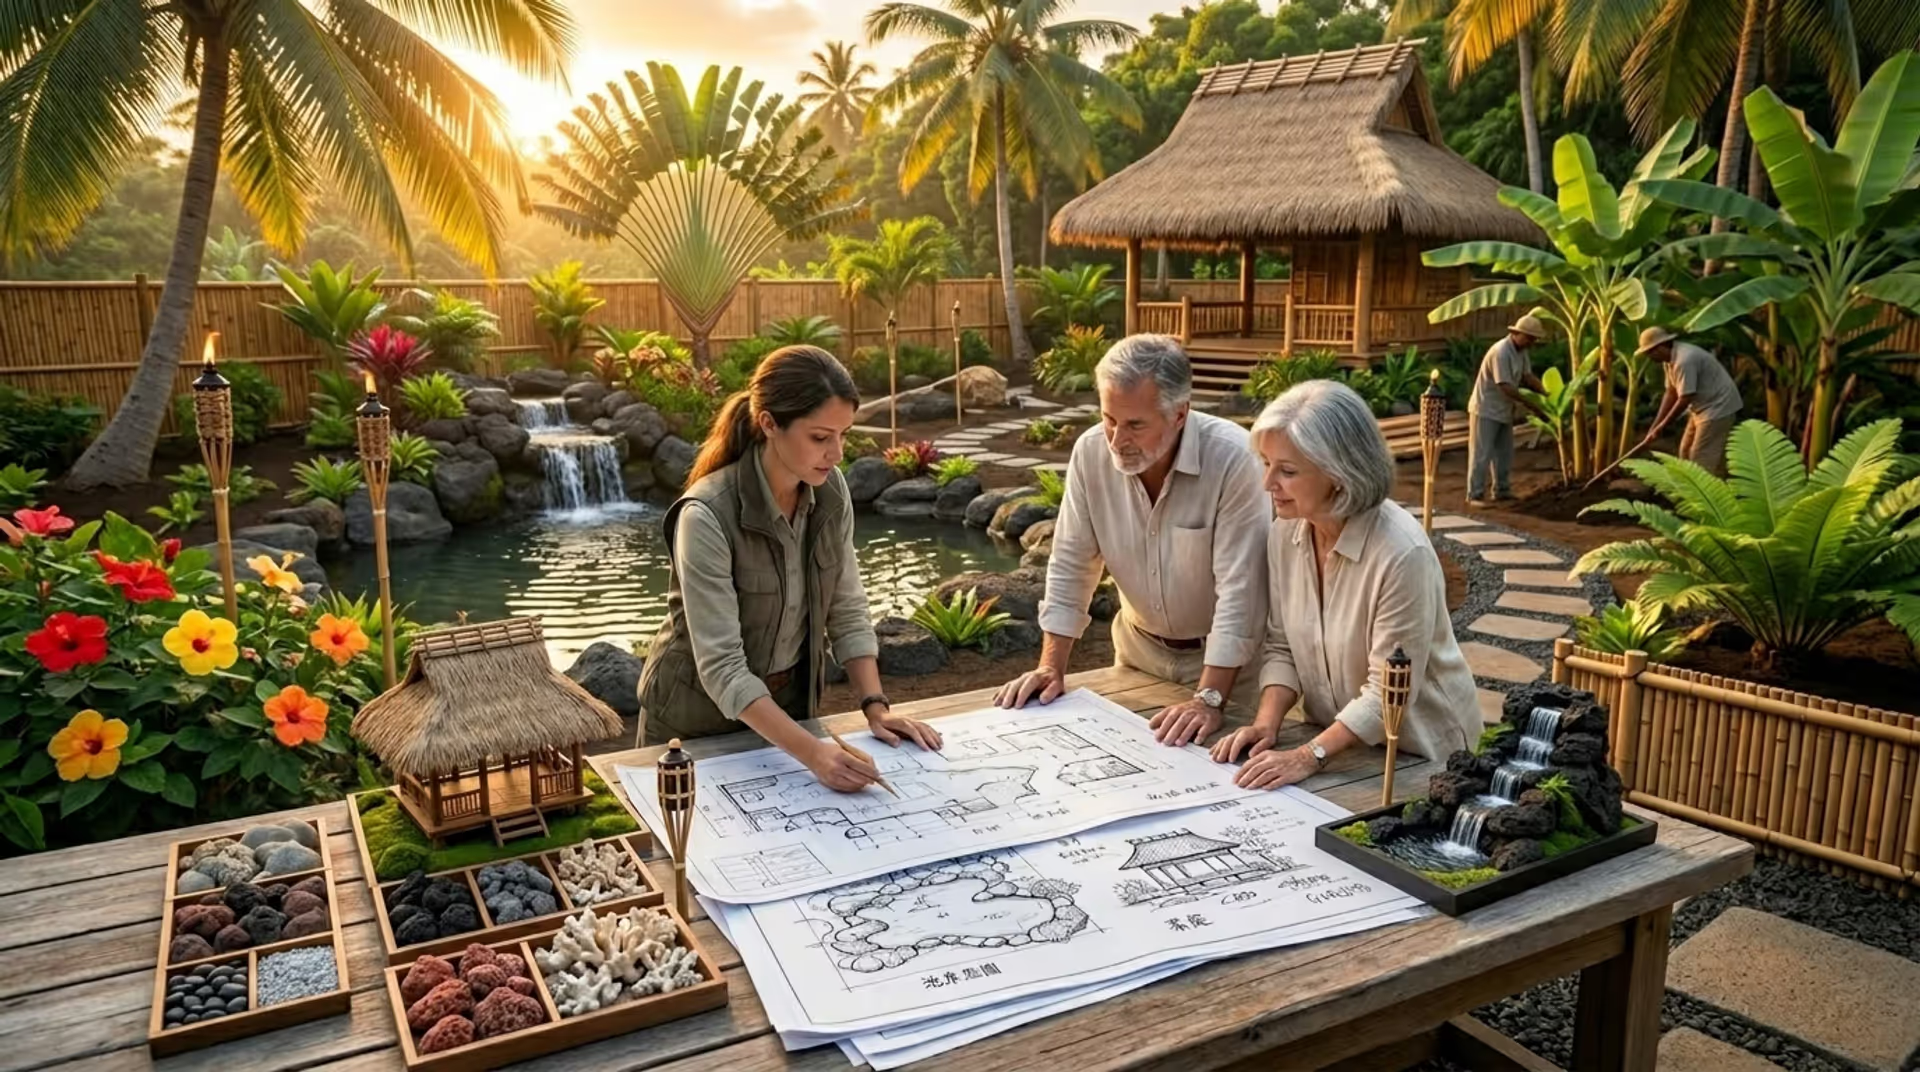
Transform your backyard into a lush island paradise with this complete guide to Polynesian garden design. Discover essential tropical plants, hardscape elements, water features, and climate adaptations that create an authentic Pacific island aesthetic right at home.
Japanese gardens aren't just pretty landscapes—they're philosophical statements in stone, water, and green. Each type serves a distinct purpose, from meditation to ceremony. Learn about karesansui zen gardens, stroll gardens, tea gardens, and specialized styles to find the right fit for your space.
Artificial turf transforms backyards with low-maintenance green space year-round. Discover design ideas combining turf with pavers and concrete, layout strategies for any yard size, putting green installation tips, and cost comparisons to create your ideal outdoor space.
The content on this website is provided for general informational and educational purposes only. It is intended to explain concepts related to landscape design, outdoor spaces, plants, irrigation, hardscape and softscape, and sustainable landscaping.
All information on this website, including articles, guides, and examples, is presented for general educational purposes. Outcomes may vary depending on local climate, soil, plant selection, and project implementation.
This website does not provide professional design, construction, or horticultural advice, and the information presented should not be used as a substitute for consultation with qualified landscape architects, contractors, or horticulturists.
The website and its authors are not responsible for any errors or omissions, or for any outcomes resulting from decisions made based on the information provided on this website.