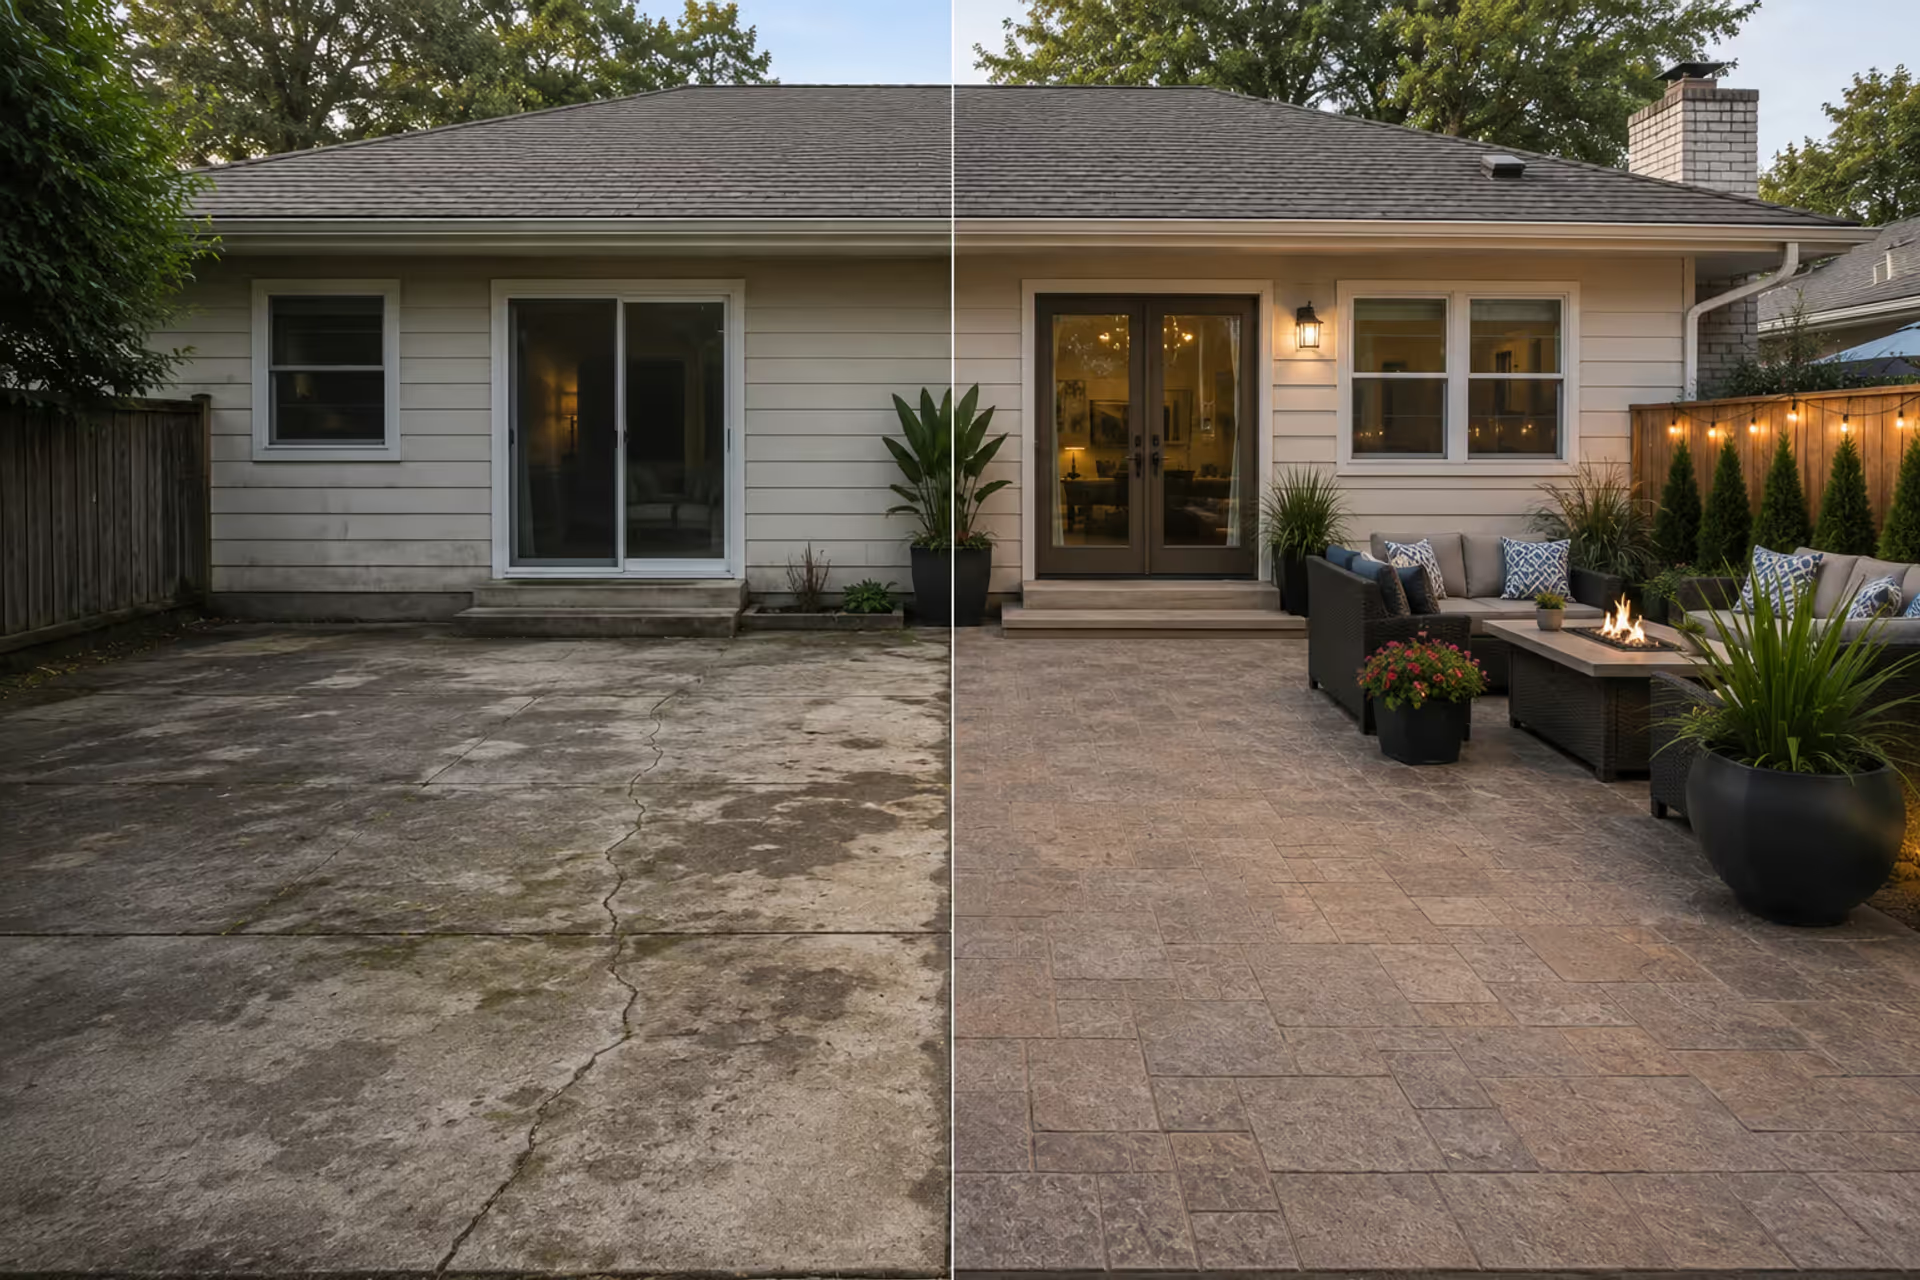
That concrete slab out back? The one you avoid showing guests? Here's something most contractors won't mention up front: demolition probably isn't necessary.
My neighbor Maria proved this last June. Her patio looked like a crime scene—rust stains, spiderweb cracks, that weird greenish tint concrete gets after years of neglect. Three weeks and $3,200 later, people literally stopped on the sidewalk to stare. Zero jackhammers involved.
Why Renovate Your Back Patio Instead of Replacing It
Full replacement with demolition starts around $8,000 for basic work. Fancy materials or complex layouts? You're hitting $20,000 fast. Compare that to renovation costs between $2,000-$8,000.
The price difference comes down to foundation work. Someone already excavated your yard, hauled in compacted gravel, built forms, and poured that slab. Those steps consume nearly half of what contractors bill for new construction. You've already paid for the expensive part.
Environmental angle: cement manufacturing accounts for roughly 8% of worldwide CO2 emissions. Keeping functional concrete in place means you're not adding to landfills or demanding new material production. Modern resurfacing products now incorporate recycled content and low-VOC chemistry.
Renovation works when: The slab stays relatively level, cracks measure narrower than a nickel's thickness, water drains away from your house properly, and the current size works for your needs.
Replacement becomes necessary when: Sections have settled or heaved significantly, wide cracks run throughout the surface, water pools against your foundation after storms, or you're planning to double the square footage.
Real estate professionals report renovated patios returning 50-75% of investment at sale time. More interesting? Homeowners tell me their usage jumps dramatically—from "we never use it" to "we're out here almost nightly."
Planning Your Patio Makeover
Assessing Your Current Patio Condition
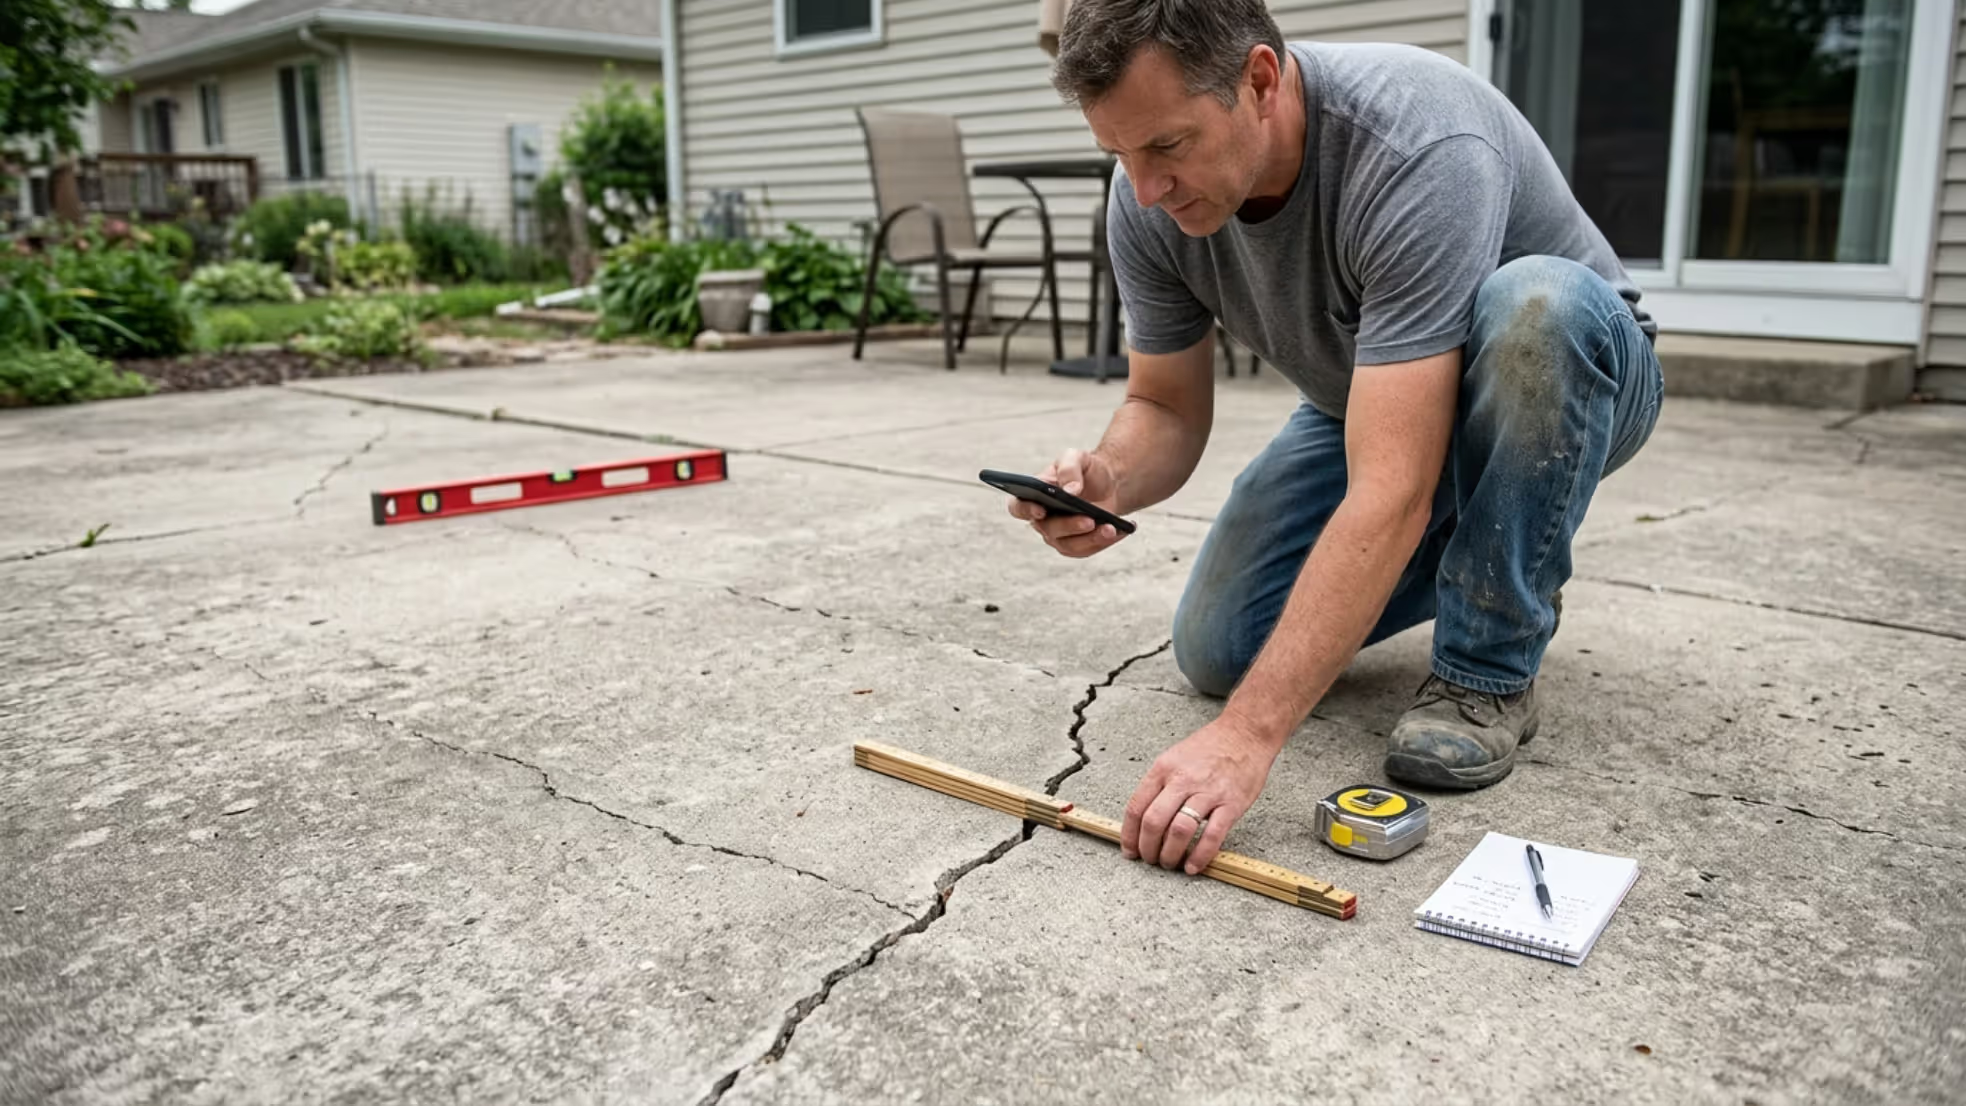
Documentation comes first. Grab your phone and shoot comprehensive photos—establish the full space with wide angles, capture damage details up close, photograph sight lines from inside looking out.
Watch for these specific issues:
Cosmetic problems: Organic stains from leaves, rust marks from furniture, faded color, worn sealer, shallow pitting. These look terrible but don't threaten structural integrity. Fixing them is straightforward.
Structural red flags: Cracks of any kind (measure width carefully—this matters), unlevel areas (check with a four-foot level), spalling where surface layers flake away, exposed aggregate showing through. These require attention but rarely demand complete replacement.
Water flow patterns: Choose a dry afternoon and dump multiple buckets across different zones. Watch where water travels. Standing water signals problems. Water flowing toward your house signals urgent problems requiring fixes before any aesthetic work.
Take a hammer and tap various spots. Healthy concrete rings with a clear, sharp tone. Deteriorating concrete sounds hollow or produces dull thuds.
Setting a Realistic Budget
Here's how money breaks down for patio remodel on budget projects in 2026:
Budget-conscious ($1,500-$3,000): Professional pressure washing, concrete stain, crack repairs, furniture repositioning, DIY shade structure, solar pathway lighting.
Mid-range ($3,000-$7,000): Professional resurfacing with decorative elements, modest size increase, built-in seating, hardwired lighting, ceiling fan under existing cover.
Premium ($7,000-$15,000): Complete resurfacing with custom colors and textures, new covered area, outdoor kitchen basics, fire feature, professional landscape integration.
The sweet spot? Most successful backyard patio transformation projects land between $4,000-$6,000, covering surface renewal plus one significant functional upgrade.
Budget mistake everyone makes: ignoring finishing touches. Set aside 15-20% for furniture, container gardens, light fixtures, and accessories. Perfectly refinished surfaces paired with cheap plastic chairs look unfinished.
Author: Marcus Eldridge;
Source: cribbslandscaping.com
Choosing a Design Style That Fits Your Home
Your renovated patio should extend your home's personality outdoors, not copy whatever's trending on Instagram.
Mid-century modern homes love clean concrete with geometric score patterns. Craftsman architecture needs textured surfaces in warm earth tones. Contemporary designs handle bold color experiments and material mixing.
Complement rather than match exactly. If your exterior already mixes siding types, stone accents, and busy details, keep outdoor spaces simple. Minimal house designs give you freedom to add pattern and texture outside.
Permit basics: Simple surface treatments usually don't trigger permit requirements. You'll need permits for: structures exceeding 120 square feet (varies locally), roofed additions, electrical work beyond low-voltage landscape lighting, gas line installations, or projects altering drainage. Call your building department first—rules change dramatically between neighboring cities.
Concrete Patio Upgrade Methods
Concrete's reputation for boring grey slabs is outdated by fifteen years. Current concrete patio upgrade ideas deliver more design flexibility than natural stone while costing half as much.
Concrete staining: Acid-based versions chemically react with concrete, creating organic variegated coloring. Water-based versions offer broader color ranges with simpler application. Staining works on any structurally sound concrete. Expect $2-$4 per square foot with professional installation. Color penetrates into the concrete rather than sitting on top, so it won't peel or chip.
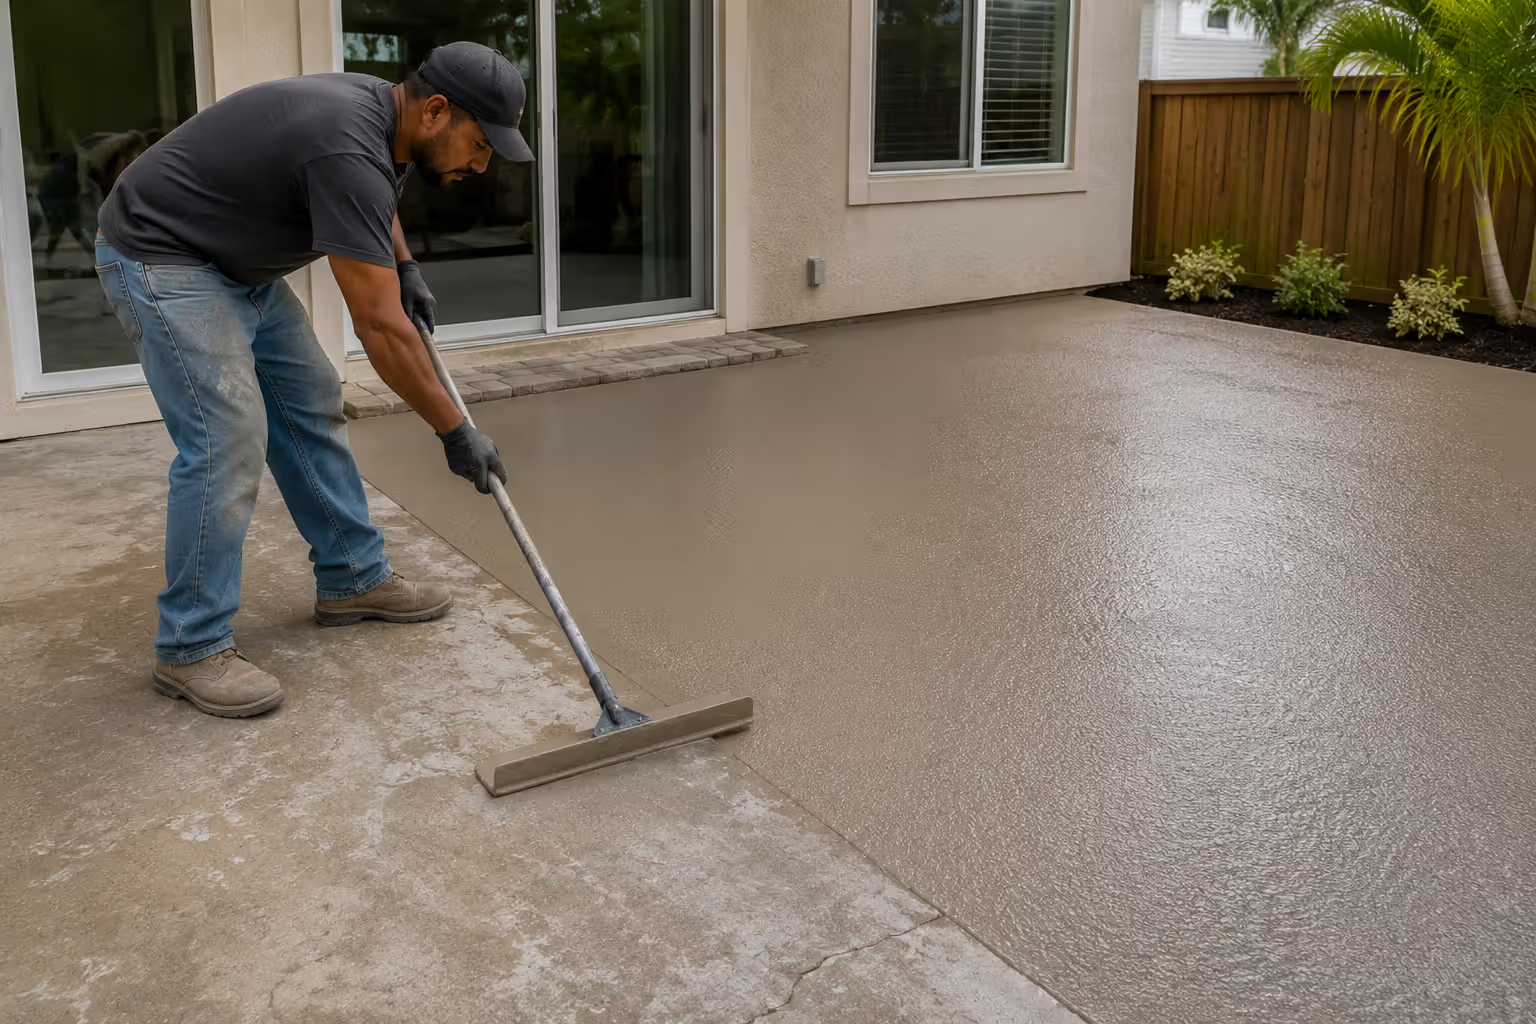
Stamped overlay systems: These apply a thin layer—usually 1/4 to 3/8 inch—of polymer-modified concrete over your existing surface, then stamp patterns that mimic stone, brick, or wood planks. You get luxury material looks at roughly half the cost. Properly installed overlays last 10-15 years before needing touchups.
Epoxy systems: Initially designed for garage floors, modern epoxy works beautifully on patios. It's incredibly durable, resists UV damage, and comes in unlimited colors and patterns. The catch? It gets slippery when wet unless you broadcast anti-slip aggregate into the final coat.
Thin resurfacers: The most budget-friendly choice. This thin coating—1/16 to 1/8 inch—repairs minor surface damage and provides a fresh canvas. You can leave it smooth, add broom texture, or stamp patterns. This genuinely works for DIY if you're comfortable following directions precisely and working with time-sensitive materials.
Paver installation: You can lay pavers directly onto your existing slab using polymeric sand or mortar. This adds 2-3 inches of height, which creates threshold issues at doorways. But it's among the fastest transformations—often completed in a weekend.
Surface Treatment
Price Range Per Sq Ft
Expected Duration
Ideal Applications
DIY Feasibility
Acid or water-based stain
$2-$4
10-20 years
Sound concrete needing visual refresh only
High
Stamped overlay systems
$6-$12
10-15 years
Covering damage while adding texture
Medium
Epoxy systems
$4-$8
15-20 years
Heavy-use areas, modern aesthetics
Medium
Thin resurfacer products
$2-$5
5-10 years
Minor repairs, tight budgets
High
Paver installation
$8-$15
20+ years
Fast transformation, classic look
High
Sometimes the simplest solution delivers the biggest impact. If your concrete just needs visual improvement without structural repairs, staining provides dramatic results for minimal investment.
Author: Marcus Eldridge;
Source: cribbslandscaping.com
Small Patio Renovation Strategies That Maximize Space
Tight spaces demand strategic thinking. Since expanding the footprint isn't possible, focus on functionality and visual tricks that make compact areas feel generous.
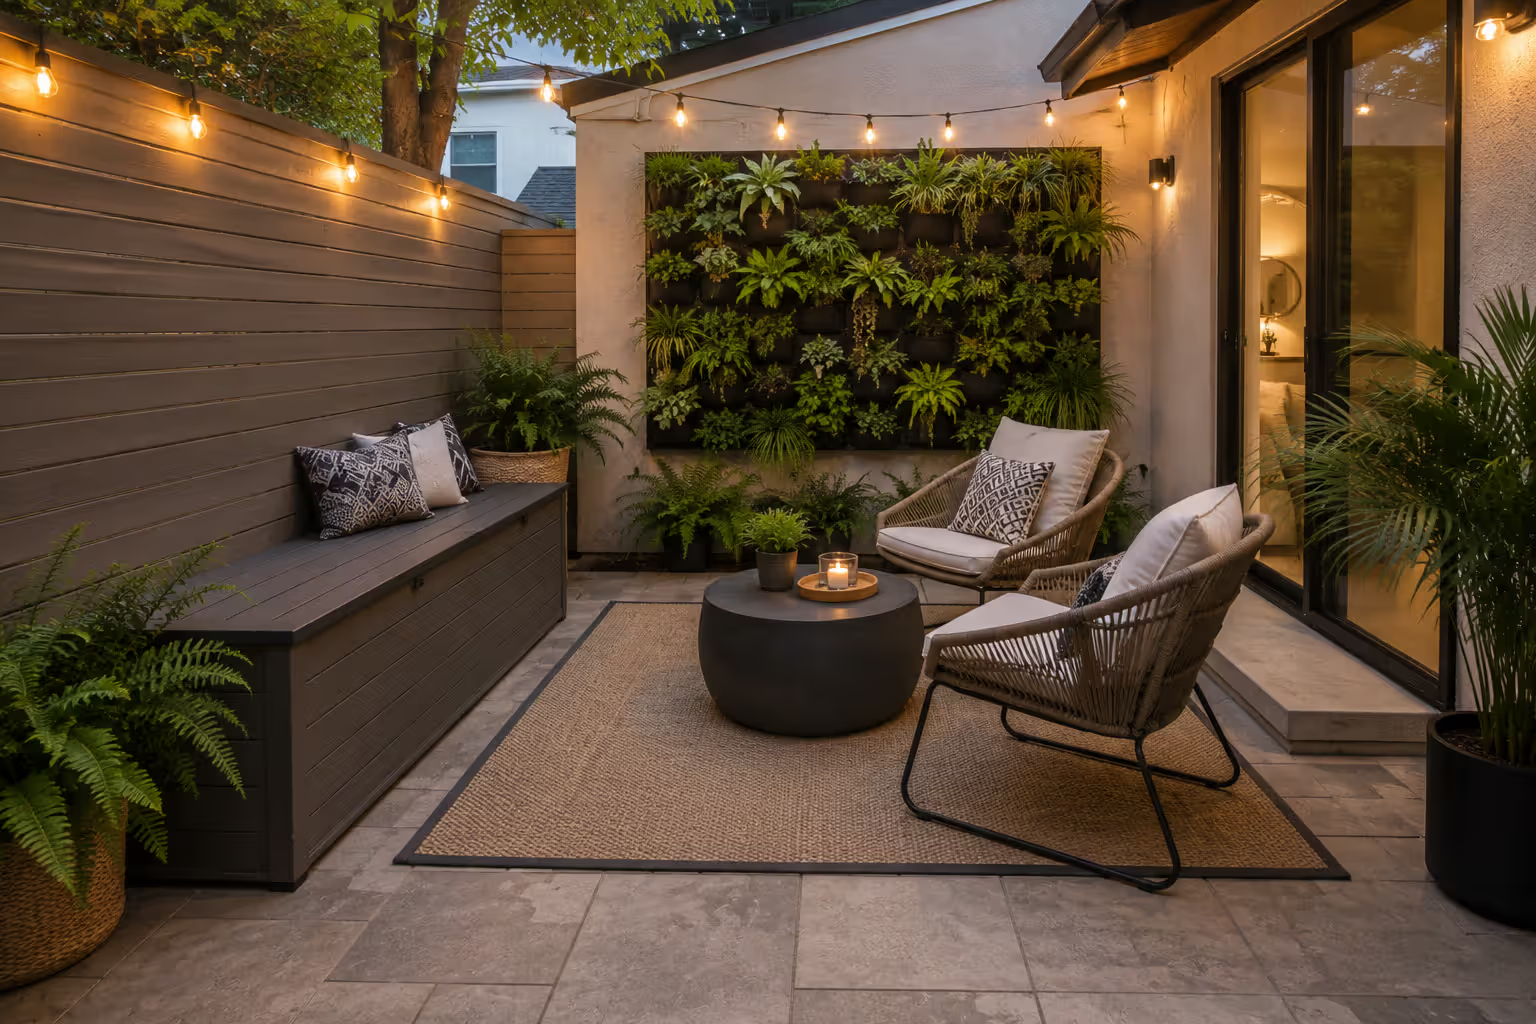
Build upward instead of outward. Wall-mounted planters, vertical garden systems, and hanging elements pull eyes upward and expand perceived boundaries. A vertical herb garden consumes six inches of floor space while adding three feet of visual interest.
Multi-purpose furniture becomes essential. Storage benches, nesting tables, and folding chairs let you reconfigure the space for different uses. Your 100-square-foot patio might serve morning coffee, afternoon workspace, and evening entertainment—all the same day.
Strategic lighting creates perceived depth. String lights define perimeters and add dimension after dark. Uplighting plants or walls creates layers. Well-lit spaces register as more spacious in human perception.
Color selection impacts spatial perception. Lighter colors reflect more light and feel airier. But don't automatically default to all-white schemes. A darker accent wall actually increases perceived depth by establishing contrast and creating focal points that suggest distance.
Define zones within compact spaces. A small outdoor rug anchoring seating, different surface texture for dining, or planters separating areas psychologically expands the patio by suggesting multiple distinct "rooms."
Counterintuitive trick: don't push all furniture against walls. Floating a seating arrangement slightly inward makes the patio feel intentionally designed rather than cramped.
Author: Marcus Eldridge;
Source: cribbslandscaping.com
Patio Addition and Expansion Options
Sometimes renovation means expanding square footage or adding structures that boost functionality and extend your usable season.
Footprint expansion: Tacking on 50-100 square feet runs $1,500-$3,000 when matching existing concrete. New sections need proper base preparation even when connecting to existing slabs. Professional help pays dividends here—improper grading creates drainage nightmares that haunt you for years.
Pergolas and overhead coverage: These outdoor patio additions transform usage frequency. Basic pergolas run $2,000-$4,000 installed. Full roof coverage costs $5,000-$12,000 but extends your usable season by months in many climates. Many municipalities allow pergolas without permits if they stay under specific dimensions and don't attach to your house, though covered structures almost always need approval.
Connecting to existing structures: Extending your patio to wrap around decks or connect with a back porch redesign creates better traffic flow and visual cohesion. The material transition matters—use a border treatment or step to clearly define where surfaces change.
Local zoning rules: Most residential lots permit patio expansion within setback limits—typically 5-10 feet from property lines, though this varies wildly. Impervious surface regulations sometimes cap how much of your lot can be covered with non-absorbing materials like concrete. Your planning department has these specifics.
The biggest mistake homeowners make is treating the patio as separate from their landscape. The most successful renovations integrate hardscape and softscape—your patio should feel nestled into your yard, not dropped onto it. That integration typically adds 20-30% to perceived value compared to isolated patio upgrades.
— Martinez Elena
Before and After Patio Makeover Inspiration
Real transformations demonstrate what's achievable at different spending levels and help you set realistic expectations.
Under $2,000 transformation: A 200-square-foot concrete patio in Phoenix showed severe staining, discoloration, and dated appearance. The homeowner pressure-washed thoroughly, applied concrete resurfacer in light grey, built a DIY cedar pergola from kit components, and installed string lights. Total investment: $1,850. Key lesson? Thorough surface prep combined with one strong design element—the pergola—completely transformed the space without expensive professional services.
$2,000-$5,000 transformation: A Chicago-area patio suffered from multiple cracks and boring beige concrete that hadn't been sealed in a decade. The contractor applied stamped overlay in a flagstone pattern with warm brown tones, added a small retaining wall with built-in seating, and installed low-voltage LED lighting. Investment: $4,200. Takeaway: Addressing both surface appearance and functionality—the seating wall—made this feel like complete reconstruction for half the typical cost.
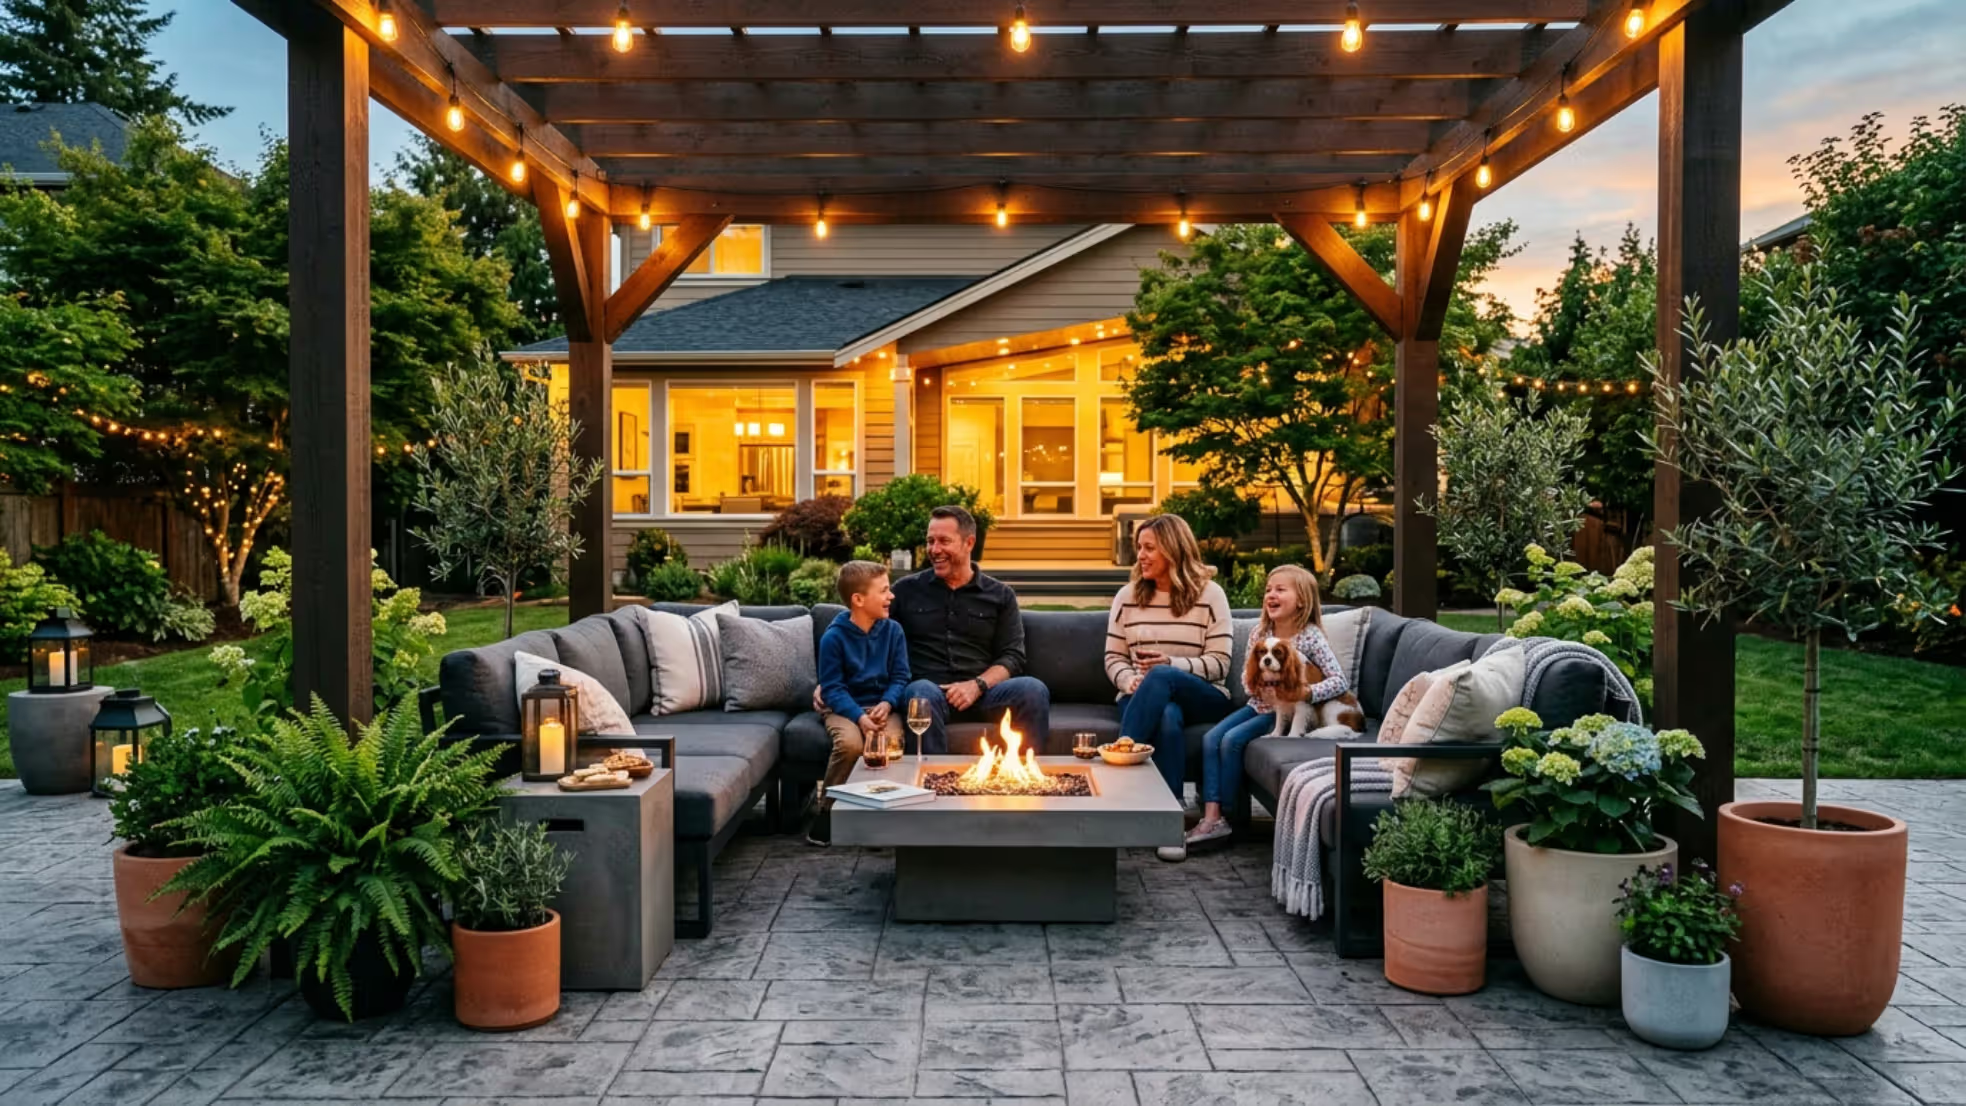
$5,000+ transformation: A 300-square-foot Seattle patio struggled with drainage issues, outdated red brick pavers, and zero weather protection that restricted use to summer months only. The renovation removed old pavers, resurfaced the concrete base with modern grey stamped overlay, built a covered structure with ceiling fan, added a built-in fire pit, and completely redesigned perimeter landscaping. Investment: $11,500. Outcome: A year-round outdoor room that added an estimated $18,000 to home value according to the real estate agent.
The common thread in successful before and after patio makeovers? Each project solved a specific functional problem beyond just appearance and created a space the homeowners genuinely wanted to spend time in daily.
Author: Marcus Eldridge;
Source: cribbslandscaping.com
Common Patio Renovation Mistakes to Avoid
Ignoring water management. This destroys more patio projects than any other single factor. Your patio requires minimum 2% slope away from your house—that's a quarter-inch drop per linear foot. If water pools or flows toward your foundation, stop everything and correct the grade first before spending a dollar on cosmetic improvements.
Selecting materials wrong for your climate. Smooth-finished concrete in rainy Seattle? Dangerously slippery nine months yearly. Dark-colored surfaces in Phoenix? Too hot for bare feet from April through October. Unsealed concrete in freeze-thaw climates? It'll spall within three winters as water infiltrates, freezes, and pops the surface. Match your patio resurfacing options to local weather patterns and usage expectations.
Rushing surface preparation. The most beautiful overlay or stain fails when applied to dirty, oily, or inadequately prepared concrete. Proper prep consumes more time than actual application in most cases. Never rush this step to save an afternoon.
Overestimating DIY skills. Staining concrete? Absolutely DIY-friendly for most homeowners. Installing stamped overlay? Maybe if you have concrete experience and understand working times. Pouring new sections that connect seamlessly to existing hardscape? Hire professionals. Be brutally honest about your skill level and available time.
Misjudging scale and proportion. Oversized furniture makes small patios feel cramped and difficult to navigate. Furniture that's too small on large patios appears lost and uninviting. A 10x10 patio comfortably accommodates a small bistro set. A 12x16 patio handles a full dining set or sectional seating—but not both simultaneously without feeling crowded.
Forgetting the indoor view. You'll see your patio through windows year-round, but you'll only be sitting on it seasonally in most climates. Design it to look appealing from inside your house, not just when you're standing on it during summer barbecues.
FAQ: Back Patio Renovation Questions Answered
Do I need a permit for a back patio renovation?
Surface-level work like resurfacing, staining, or applying overlays typically doesn't require permits since you're not altering the structure, footprint, or drainage. Permits become necessary for covered structures, electrical installations beyond low-voltage landscape lighting, gas line work, plumbing additions, or expanding the patio beyond certain dimensions—often 120-200 square feet depending on your municipality. Permits also apply when changing drainage patterns or working within setback zones near property lines. A quick five-minute call to your local building department can prevent thousands in fines or mandatory demolition down the road.
How much does a typical patio makeover cost?
The majority of homeowners I've talked with spend somewhere between $3,500-$7,000 for comprehensive patio renovation that includes resurfacing plus at least one functional improvement like lighting or shade structures. Basic concrete staining on a 200-square-foot patio runs $800-$1,200 including prep work and sealing. Full stamped overlay on the same area costs $2,400-$3,600 professionally installed. Adding a pergola increases costs by another $2,000-$4,000 depending on materials and complexity. High-end projects incorporating covered structures, built-in features like fire pits or kitchens, and extensive landscape integration can hit $12,000-$18,000. The wide range reflects your existing condition, material choices, regional labor costs, and whether you're adding structures or just refinishing surfaces.
Can I renovate a concrete patio without replacing it?
Absolutely—and you should unless the concrete has major structural problems that threaten your home's foundation. Concrete in good structural shape—no significant settling, heaving, or cracks exceeding a quarter-inch width—can be resurfaced, overlaid, stained, or covered with pavers. Modern overlay systems can hide substantial surface damage including minor cracks, spalling, and deep staining. You only need full replacement if the slab has shifted dramatically creating trip hazards, broken into multiple pieces, or has severe drainage issues caused by improper grading that directs water toward your foundation. Roughly 75% of unattractive patios are excellent candidates for renovation rather than expensive replacement.
What's the best time of year to renovate a patio?
Late spring through early fall provides the most flexibility and ideal conditions, though optimal timing depends on your climate and chosen materials. Most concrete resurfacing products need temperatures staying between 50-90°F during application and curing—that's typically April through October across most US regions. Skip peak summer months—July and August—in southern states where concrete can cure too rapidly in extreme heat and develop cracks. Fall often proves ideal with mild temperatures, reduced contractor demand leading to better pricing, and your finished space ready for next spring's outdoor season.
Should I hire a contractor or DIY my patio renovation?
This depends entirely on the complexity of your chosen approach and your honest assessment of your skills. Simple concrete staining? Most homeowners with basic DIY experience can handle this successfully by following product instructions carefully. Stamped overlays require understanding of working times, proper mixing, and application
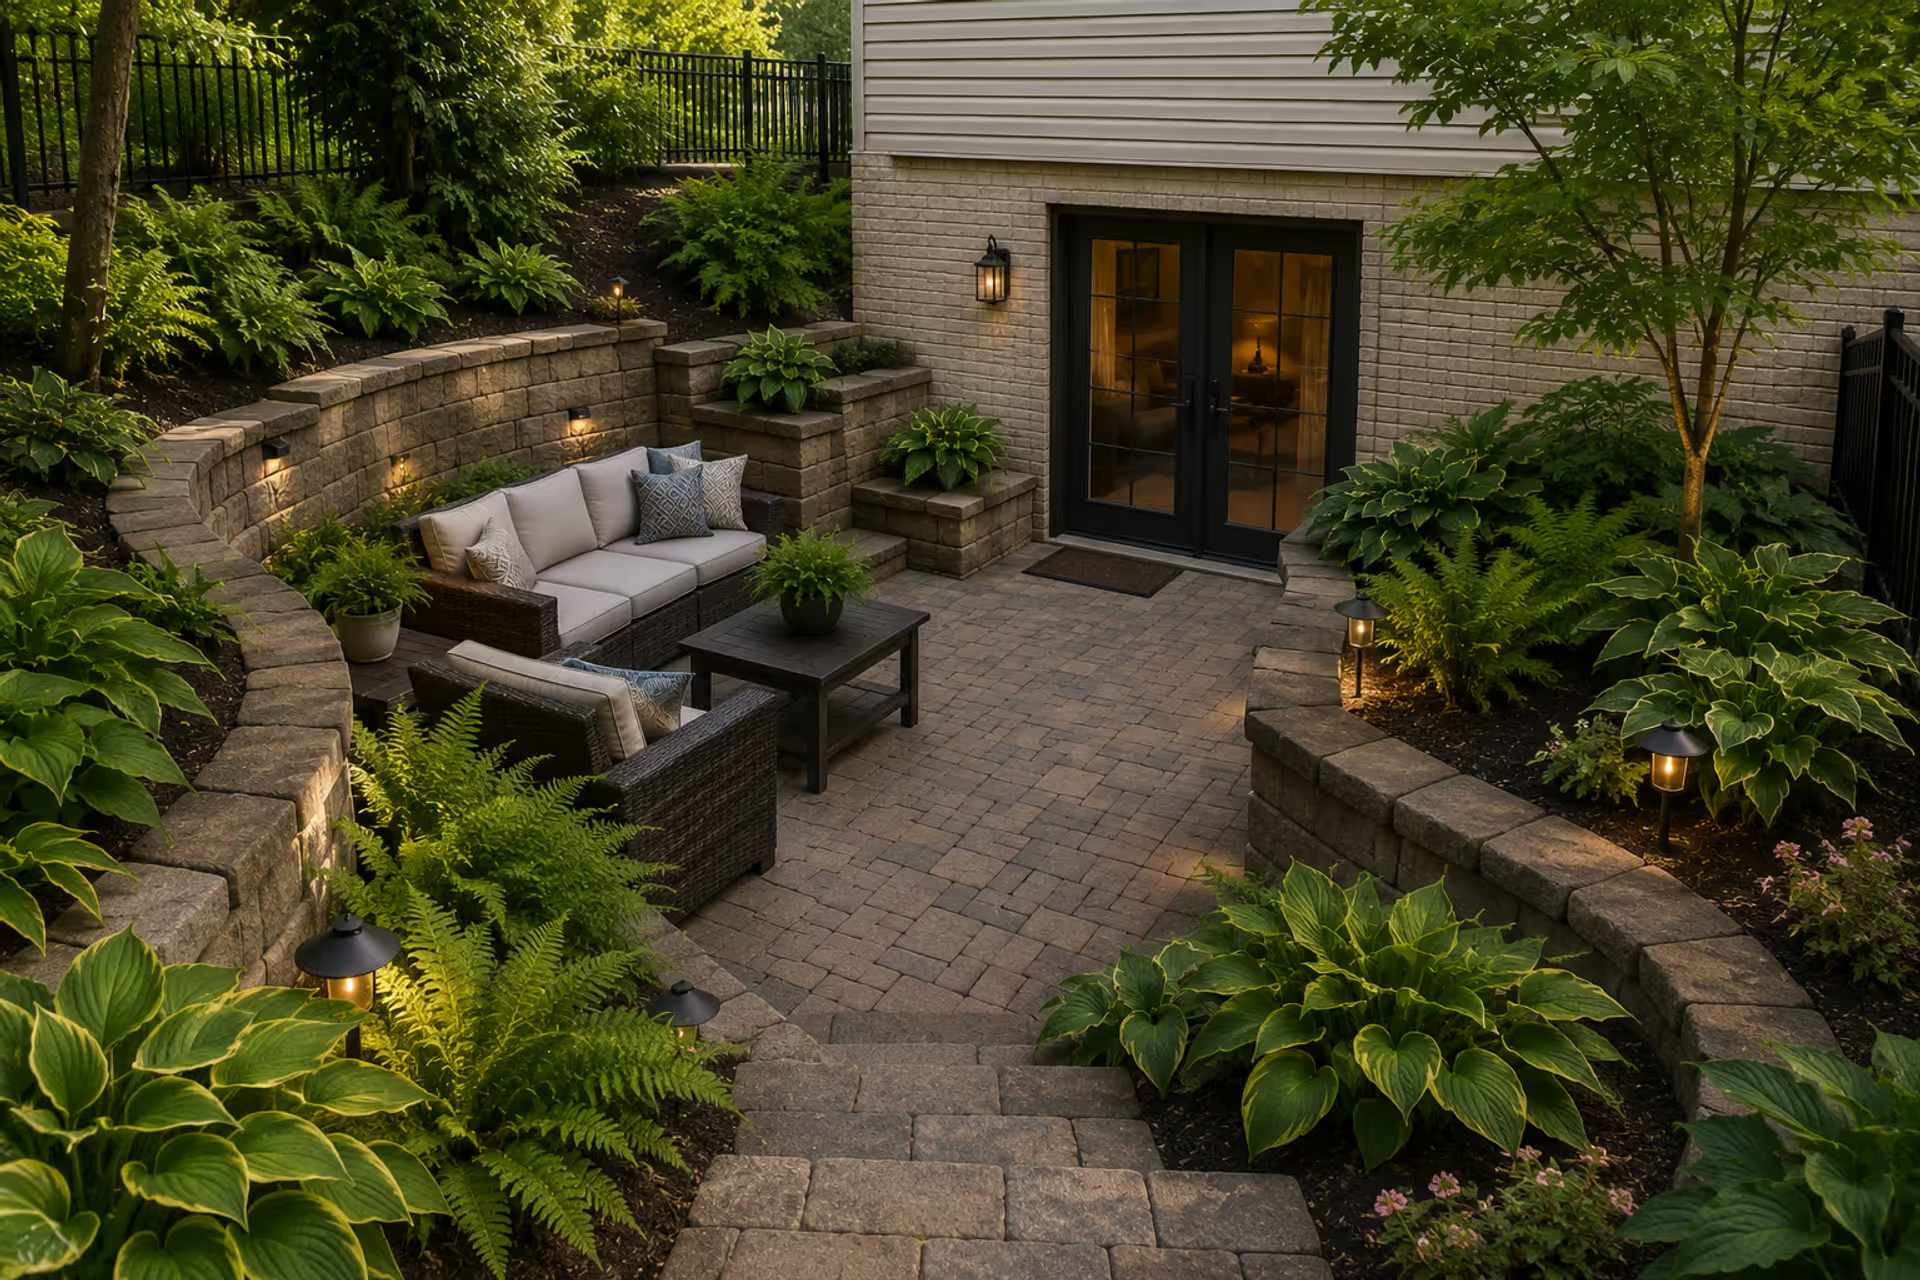
Discover practical exterior walkout basement ideas including patio layouts, landscaping solutions, and drainage strategies. Learn how to turn your below-grade outdoor space into a functional, attractive area with expert tips on materials, plantings, and design.
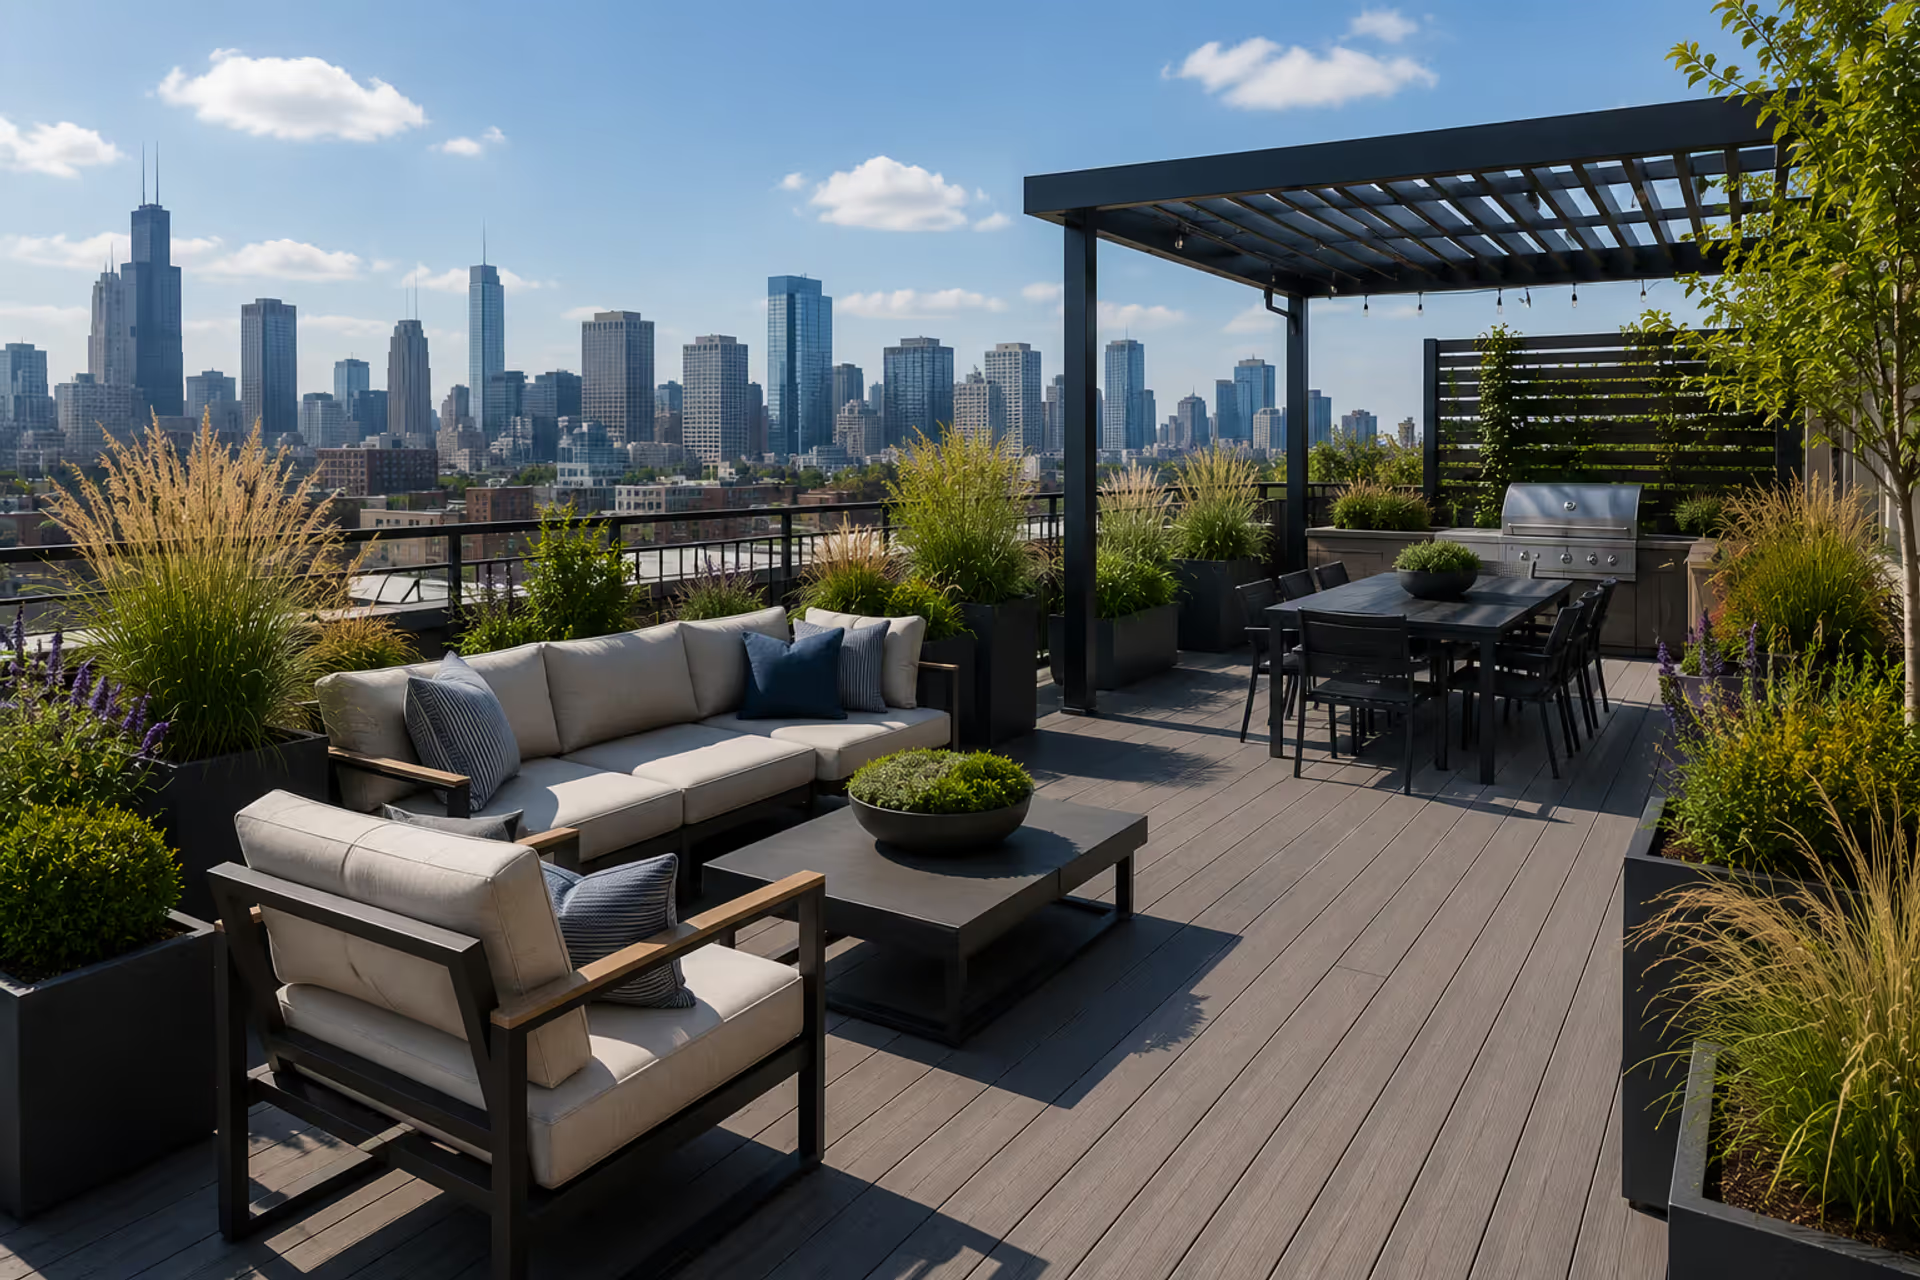
Transform your rooftop into a functional outdoor living space. Learn about structural requirements, weight limits, flooring options, wind-resistant furniture, container gardening, and design layouts for rooftops of all sizes.
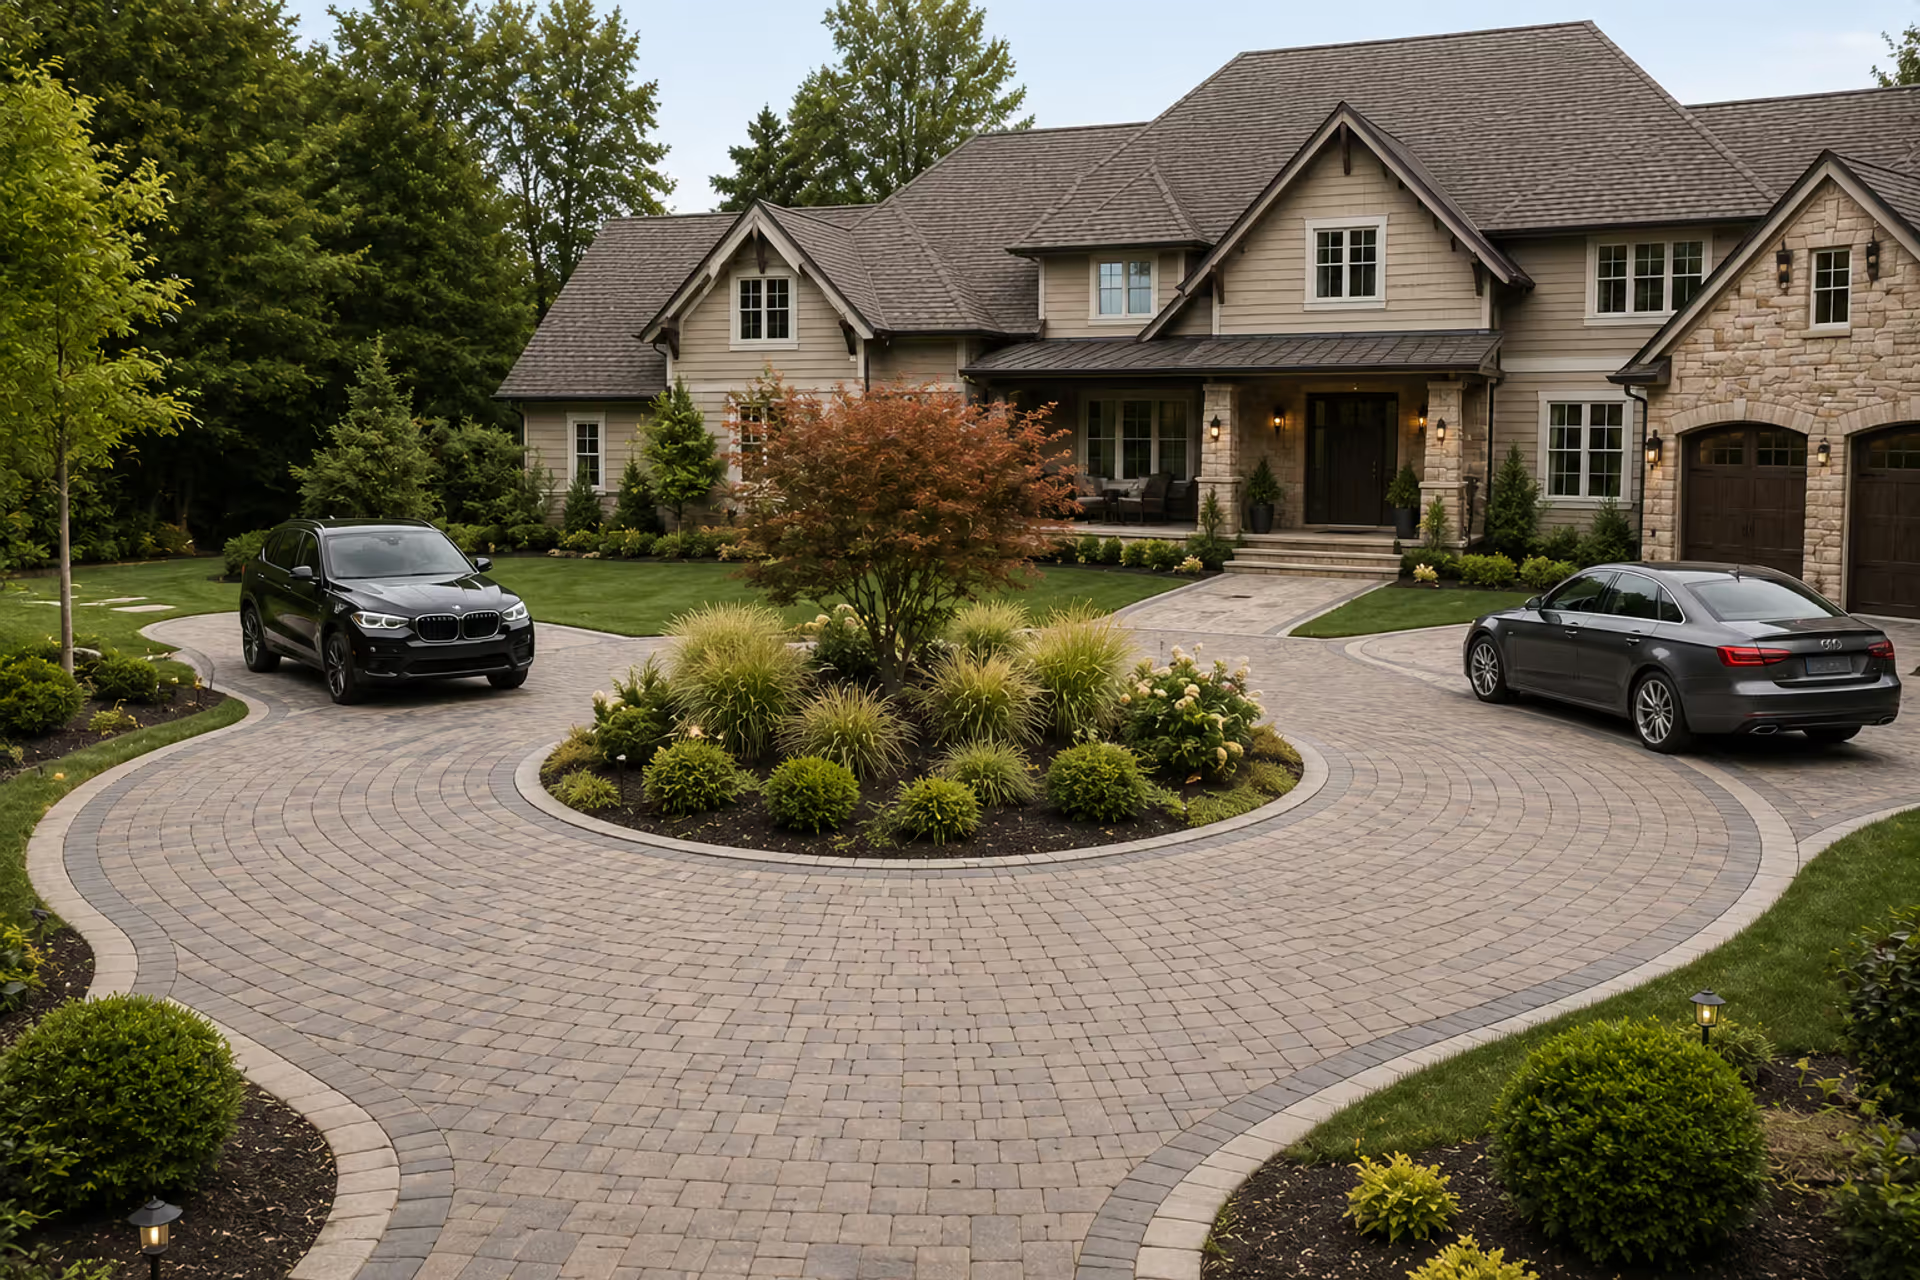
Discover how to fit a functional half circle driveway into a compact front yard. This guide covers layout planning, material selection, landscaping strategies, common mistakes to avoid, and realistic cost estimates for creating an attractive semicircular driveway that improves traffic flow and curb appeal.
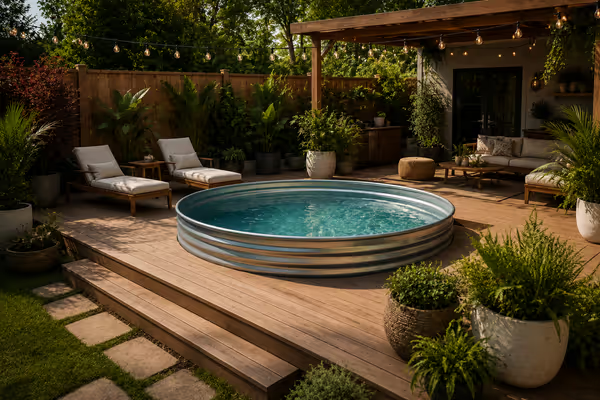
Discover practical stock tank pool deck ideas for small backyards. Learn how to build DIY decking, choose materials, add landscaping, and create privacy screens around your galvanized tank pool with expert installation tips and budget-friendly designs.
The content on this website is provided for general informational and educational purposes only. It is intended to explain concepts related to landscape design, outdoor spaces, plants, irrigation, hardscape and softscape, and sustainable landscaping.
All information on this website, including articles, guides, and examples, is presented for general educational purposes. Outcomes may vary depending on local climate, soil, plant selection, and project implementation.
This website does not provide professional design, construction, or horticultural advice, and the information presented should not be used as a substitute for consultation with qualified landscape architects, contractors, or horticulturists.
The website and its authors are not responsible for any errors or omissions, or for any outcomes resulting from decisions made based on the information provided on this website.